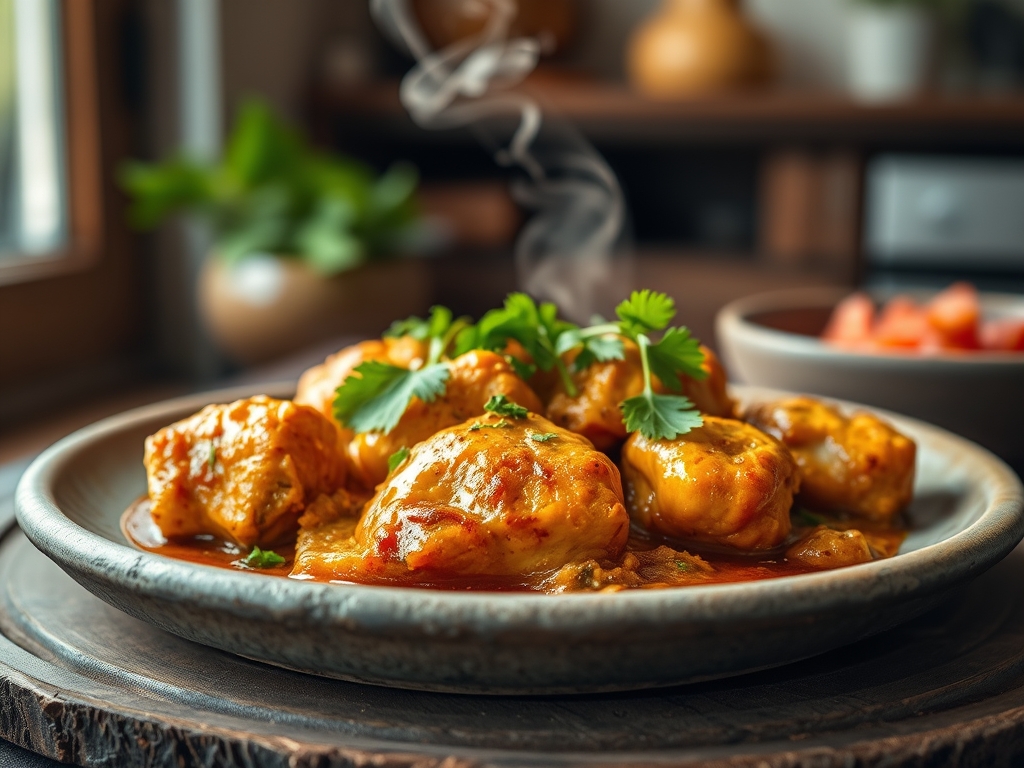
Picture the sound of a heavy-bottomed stainless steel skillet meeting the flame; it is the starting bell for a weeknight transformation. You are tired, the fridge is a puzzle, and you need a win that does not involve a delivery app. Finding delicious chicken recipes healthy enough to fuel your body without sacrificing the soul-satisfying sear of a perfect cutlet is the ultimate kitchen flex. We are moving past the era of rubbery, boiled breasts and into a world where high-heat chemistry meets lightning-fast prep. This is not just about eating; it is about mastering the art of the 15-minute sear and the 5-minute pan sauce. We are going to harness the power of amino acids and thermal conductivity to ensure every bite is succulent, piquant, and nutritionally dense. Forget everything you know about "diet food." We are building flavor profiles that rely on fresh aromatics and the Maillard reaction rather than heavy creams or processed fats. Grab your favorite apron and let us turn your kitchen into a high-efficiency flavor lab.
The Gathers:
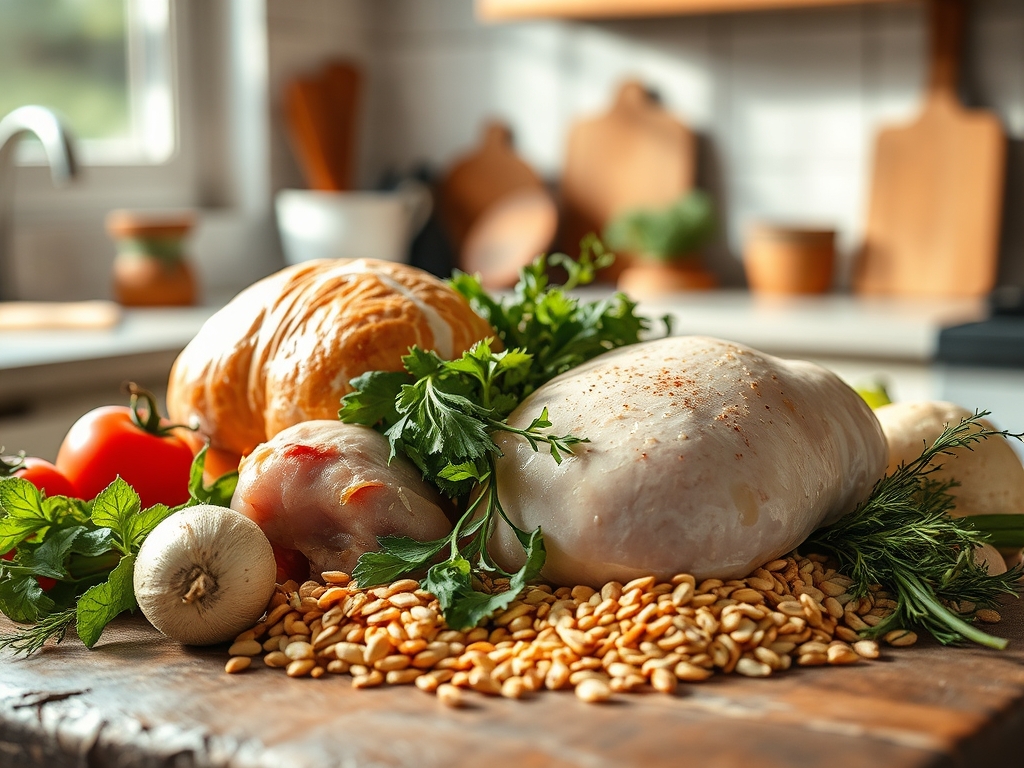
The secret to speed is a disciplined mise-en-place. Before you even ignite the burner, your workstation should be a curated landscape of textures and colors. Start with your protein: organic, air-chilled chicken breasts or thighs. Air-chilled poultry is superior because it has not absorbed excess water during processing; this means the skin will crisp more effectively and the meat will not shrink into a watery mess. You will need a high-smoke-point fat, like avocado oil or clarified butter, to facilitate heat transfer without scorching.
Next, gather your aromatics. Use a microplane to zest lemons and grate fresh ginger into a fine, fibrous paste. This increases the surface area, allowing the essential oils to infuse your cooking fat almost instantly. For crunch and micronutrients, look toward cruciferous vegetables like shaved Brussels sprouts or broccolini. If you are looking for smart substitutions, swap heavy soy sauce for liquid aminos to reduce sodium while maintaining that deep umami profile. Instead of cornstarch for thickening, try a dollop of Greek yogurt at the very end to create a viscous, creamy texture without the carbohydrate load.
The Clock:
Efficiency in the kitchen is all about "Chef's Flow." This is the psychological state where your movements are optimized to eliminate "dead time." Most of these meals require a 10-minute prep window and a 12-to-15-minute cook time. The trick is to utilize the time the chicken spends searing to chop your secondary ingredients. Never stand still while a pan is heating.
A digital scale is your best friend here; measuring by weight rather than volume ensures consistency and helps you track macros with surgical precision. If you are prepping for the week, you can batch-sear four pounds of chicken in under twenty minutes using two pans simultaneously. By the time the internal temperature reaches its target, your vegetables should be steamed or sautéed, and your sauce should be ready to deglaze the pan.
The Masterclass:
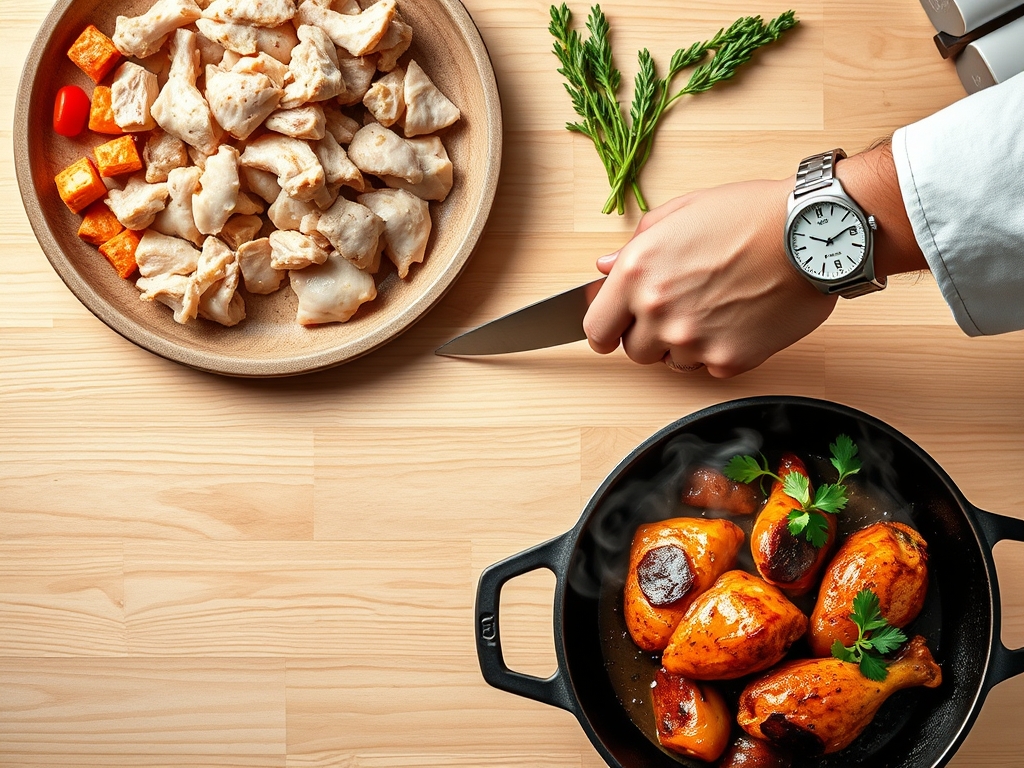
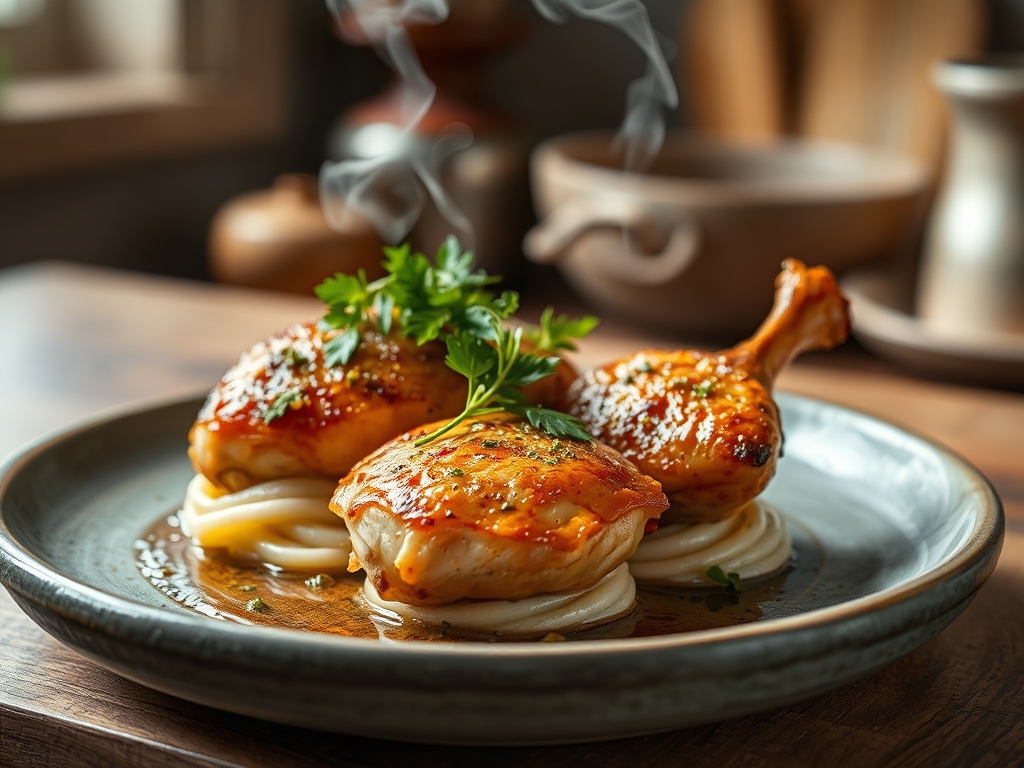
1. The High-Heat Sear
Pat your chicken dry with paper towels until the surface is bone-dry. Season aggressively with kosher salt from a height to ensure even distribution. Heat your skillet until the oil shimmers and just begins to wisps smoke. Lay the chicken away from you to avoid oil splatter.
Pro Tip: This relies on the Maillard reaction, a chemical dance between amino acids and reducing sugars that creates hundreds of different flavor compounds. If the meat is wet, it will steam instead of sear, resulting in a gray, bland exterior.
2. The Deglaze and Emulsify
Once the chicken is flipped and nearly cooked, remove it from the pan. You will see brown bits stuck to the bottom; this is "fond," and it is concentrated flavor gold. Pour in a splash of chicken stock or dry white wine. Use a wooden spoon or bench scraper to lift those bits.
Pro Tip: This is the process of deglazing. By adding a cold liquid to a hot pan, you release the caramelized proteins. Adding a small amount of cold butter or mustard at this stage creates an emulsion, thickening the liquid into a glossy sauce.
3. The Thermal Rest
Transfer your chicken to a warm plate and tent it loosely with foil. Do not cut into it immediately. Let it sit for at least five minutes while you finish your vegetables in the same pan.
Pro Tip: This accounts for thermal carryover. The internal temperature will continue to rise by 5 to 10 degrees after removal. Resting allows the muscle fibers to relax and reabsorb juices; cutting too early causes the liquid to purge, leaving the meat dry.
4. The Acid Finish
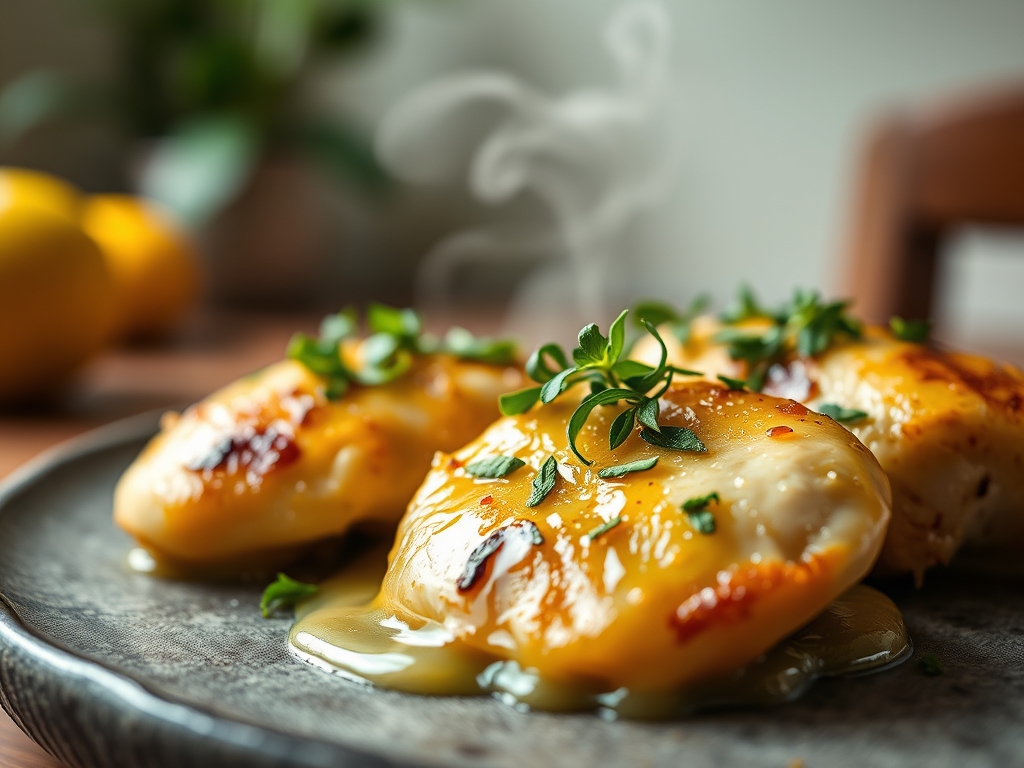
Just before serving, hit the dish with a squeeze of fresh lime or a dash of apple cider vinegar. This is the "brightness" factor that balances out the savory fats.
Pro Tip: Acid acts as a flavor enhancer by stimulating the salivary glands and cutting through the richness of the proteins. It provides a structural contrast that makes the other flavors "pop" on the palate.
The Deep Dive:
When we look at the macro nutrition of these delicious chicken recipes healthy, we are aiming for a high-protein, moderate-fat, and low-complex-carb balance. A standard 6-ounce serving of chicken breast provides roughly 50 grams of protein, which is essential for muscle repair and satiety.
If you are following a Keto lifestyle, lean into chicken thighs for the higher fat content and use heavy cream in your deglazing step. For Vegan friends, these same techniques apply to extra-firm tofu or tempeh; just ensure you press the moisture out of the tofu for at least 30 minutes to achieve that same Maillard crust. Gluten-free requirements are easily met by using tamari instead of soy sauce and arrowroot powder as a thickener.
The Fix-It: Troubleshooting Common Issues
- The Chicken is Tough: You likely overcooked it. Use a digital meat thermometer and pull the chicken at 160 degrees Fahrenheit; carryover heat will bring it to the safe 165 mark.
- The Sauce is Broken: If your sauce looks oily and separated, it has "broken." Fix it by adding a teaspoon of warm water and whisking vigorously to re-establish the emulsion.
- The Meat is Sticking: You tried to flip it too early. Protein "releases" from the pan naturally once the crust has formed. If it resists the tongs, give it another sixty seconds.
Meal Prep Reheating Science: To maintain "day-one" quality, avoid the microwave if possible. Reheat your chicken in a covered skillet with a tablespoon of water or stock. This creates a steam-chamber effect that rehydrates the protein fibers without toughening them through electromagnetic radiation.
The Wrap-Up:
Mastering delicious chicken recipes healthy is less about following a rigid script and more about understanding the physics of your stove. Once you realize that heat control and moisture management are the two pillars of great cooking, you can turn a basic bird into a gourmet experience every single night. You have the tools, you have the science, and you definitely have the taste. Now, go forth and sear with confidence!
The Kitchen Table:
How do I keep chicken breast from getting dry?
Use a meat thermometer to pull the chicken at 160 degrees Fahrenheit. Allow it to rest for five minutes so the muscle fibers can reabsorb the internal juices. This prevents the "sawdust" texture common in overcooked poultry.
Can I cook frozen chicken in a skillet?
It is not recommended for high-quality results. Frozen chicken releases excess moisture as it thaws in the pan, which prevents the Maillard reaction. Always thaw completely in the refrigerator and pat dry before searing for the best flavor.
What is the best oil for healthy chicken recipes?
Avocado oil is ideal because it has a high smoke point and contains heart-healthy monounsaturated fats. This allows you to achieve a professional sear without the oil breaking down and releasing bitter, scorched flavors into your food.
How long does cooked chicken stay fresh in the fridge?
Properly stored in an airtight container, cooked chicken remains safe and delicious for three to four days. For the best texture, reheat it gently on the stovetop with a splash of liquid to prevent the protein from becoming rubbery.