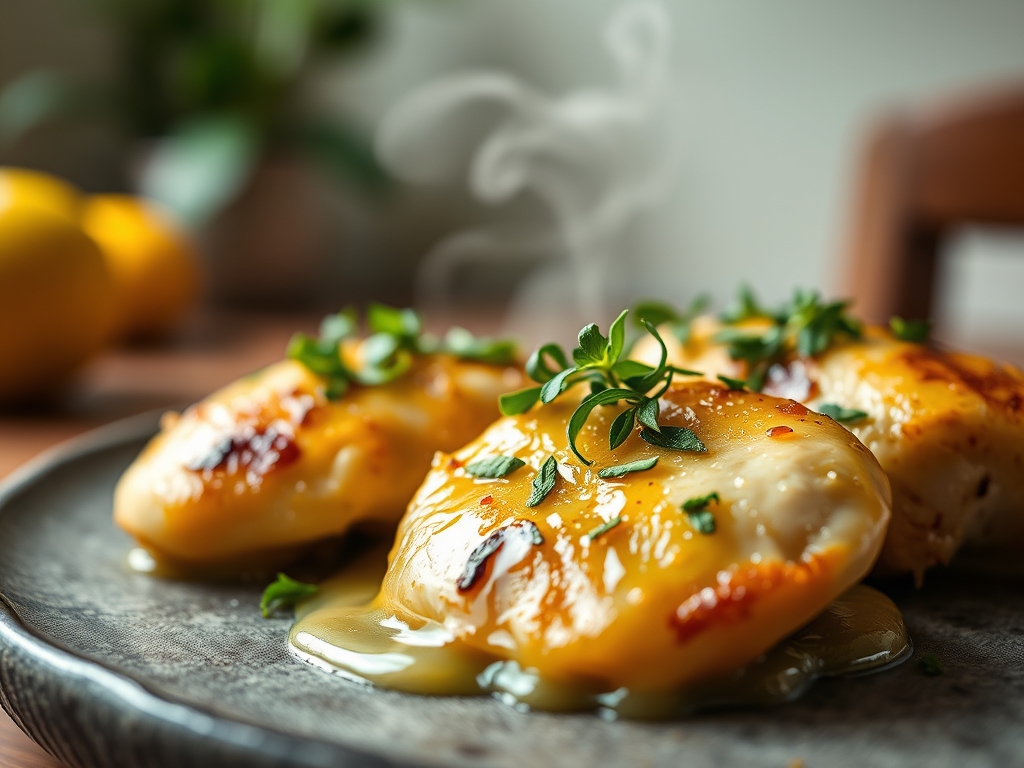
Picture the kitchen at sunset; the air is heavy with the scent of toasted cumin and the sharp, bright sting of fresh ginger. There is a specific, soul-warming magic found in authentic curry chicken recipes that transcends a simple meal. It is a sensory journey where the hiss of the heavy-bottomed skillet meets the velvet swirl of coconut milk. We are not just making dinner; we are engineering a masterpiece of heat, fat, and acid. To achieve that restaurant-quality depth, you must treat your spices like precious volatile oils and your aromatics like the foundation of a skyscraper. Forget the bland, yellow powders of your grocery store youth. We are diving into the molecular mechanics of blooming spices and the precise rendering of poultry fat to create a gravy so viscous and piquant it feels like a hug for your palate. Grab your apron and your favorite wooden spoon; it is time to master the art of the simmer.
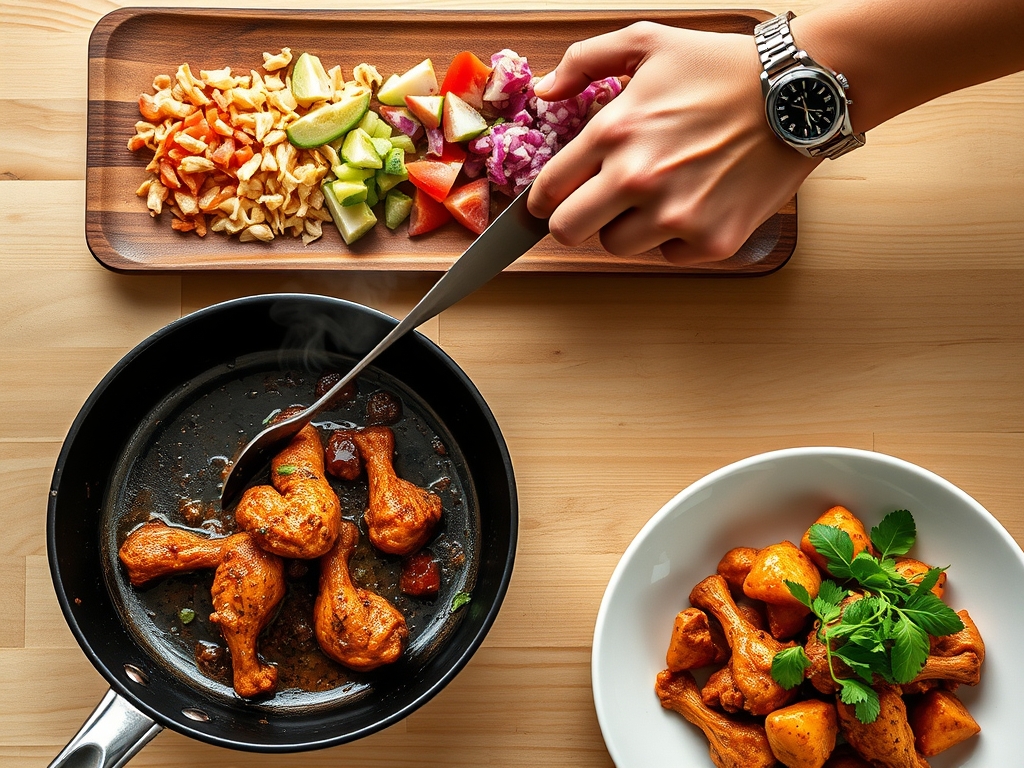
The Gathers:
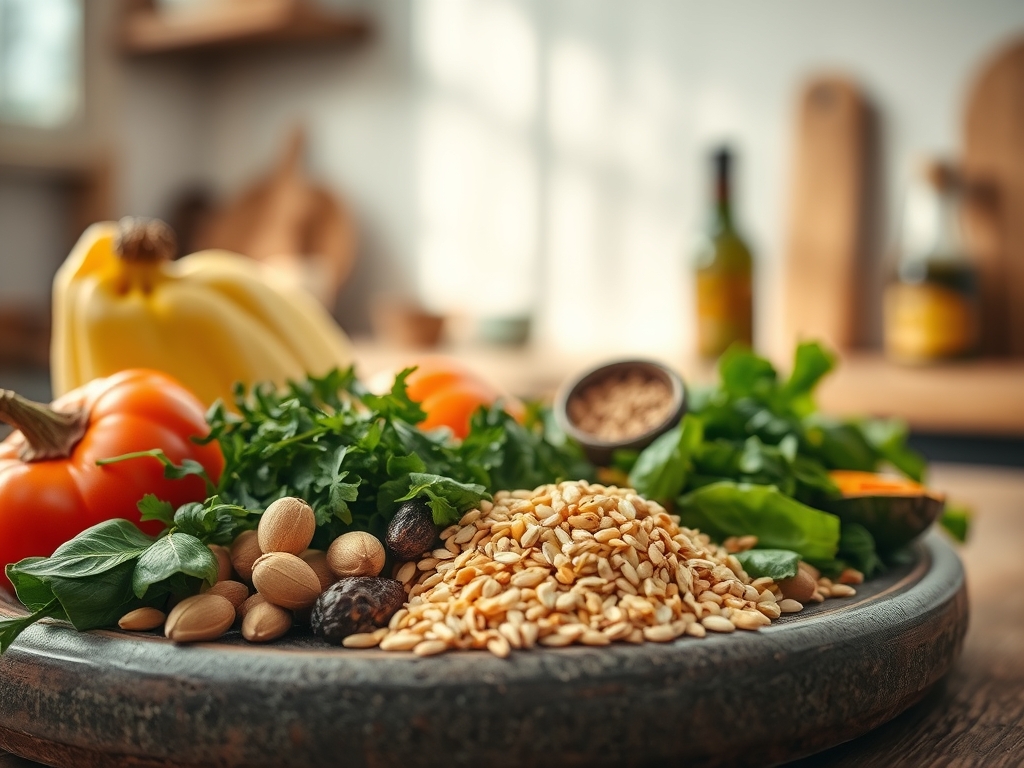
The success of this dish lives in the mise-en-place. Use a digital scale to measure your proteins for consistency. You will need 1.5 pounds of boneless, skinless chicken thighs; their higher fat content and connective tissue provide a superior mouthfeel compared to lean breasts. For the aromatics, reach for your microplane to grate fresh turmeric and ginger into a fine paste. This increases the surface area, allowing the essential oils to release instantly into the fat.
Your spice kit should include whole cumin seeds, coriander, and green cardamom pods. Using a mortar and pestle to crack these seeds fresh is non-negotiable for high-level flavor. For the liquid base, use full-fat coconut milk or a rich tomato puree. Smart Substitutions: If you lack fresh galangal, use extra ginger with a squeeze of lime to mimic that citrusy punch. If you are avoiding nightshades, swap chili peppers for a pinch of white pepper and extra ginger to maintain the heat profile without the capsaicin burn.
The Clock: Chef's Flow
Timing is the difference between a muddy mess and a vibrant curry. Total preparation takes 20 minutes of focused knife work, while the active cooking time spans 35 to 40 minutes. The Chef's Flow dictates that you never start the heat until every ingredient is prepped and staged. The first 5 minutes are dedicated to the "bloom," where spices meet hot oil. The next 10 minutes focus on the "sofrito phase," browning the onions until the sugars caramelize. The final 20 minutes are a gentle, low-temperature simmer. This allows the collagen in the chicken to break down into gelatin without toughening the muscle fibers, ensuring every bite is succulent rather than stringy.
The Masterclass:
1. The Tempering of Whole Spices
Begin by heating two tablespoons of neutral oil in a saucier. Once the oil shimmers, drop in your whole spices. They should sizzle and dance immediately. This process, known as tempering, migrates the flavor compounds from the spice into the fat, which acts as the delivery vehicle for the entire dish.
Pro Tip: This is about lipid-solubility. Many flavor compounds in spices like cinnamon and cloves are not water-soluble; they require fat to unlock their full aromatic potential.
2. The Maillard Aromatics
Add your finely diced onions to the pot. Use a bench scraper to transfer them from your board to the pan without losing a drop of juice. Sauté until they reach a deep golden brown. This is not just softening; it is the Maillard reaction creating hundreds of new flavor compounds.
Pro Tip: Adding a pinch of salt now draws out moisture through osmosis, speeding up the browning process and preventing the onions from burning.
3. The Paste Integration
Incorporate your grated ginger, garlic, and chili. Stir constantly for 60 seconds. You want to cook out the "raw" bite of the garlic without letting it turn bitter. The kitchen should smell intensely fragrant at this stage.
Pro Tip: Garlic contains allicin, which is highly heat-sensitive. Brief exposure to heat mellows the sharp sulfurous notes into a nutty sweetness.
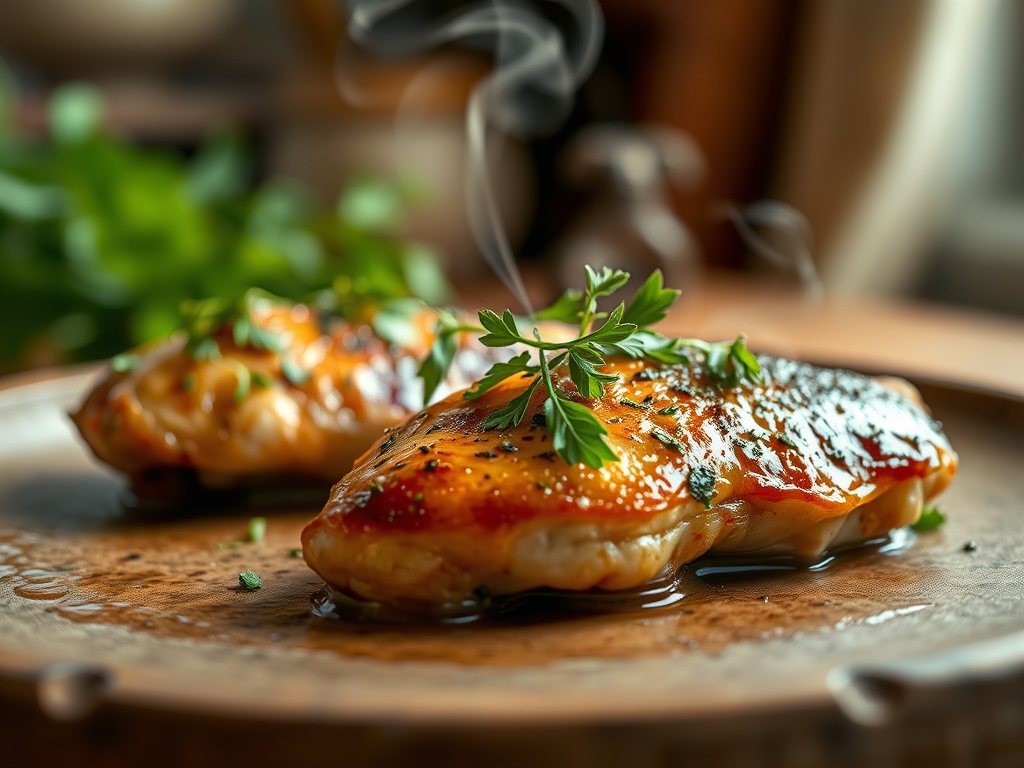
4. Searing the Protein
Push the aromatics to the side and add the chicken pieces. Use tongs to ensure each piece makes direct contact with the metal. Do not overcrowd the pan; you want a sear, not a steam.
Pro Tip: This stage utilizes thermal carryover. Even if the chicken is not cooked through, the exterior browning adds a savory "umami" depth to the final sauce.
5. Deglazing the Fond
As the chicken browns, a brown crust will form on the bottom of the pan. This is called the fond. Pour in a splash of stock or water and use a firm spatula to scrape those bits up.
Pro Tip: Deglazing incorporates the concentrated proteins and sugars back into the liquid, acting as a natural flavor intensifier for the gravy.
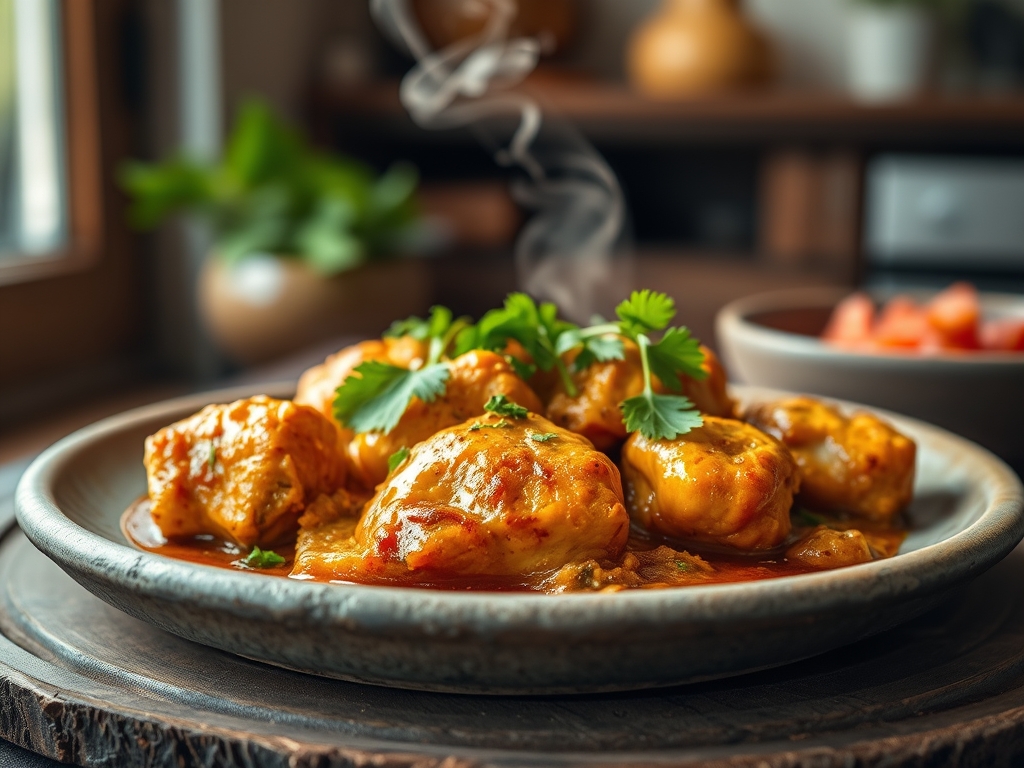
6. The Long Simmer
Add your coconut milk or tomato base. Reduce the heat to a whisper. The liquid should barely bubble. Cover the pot to retain moisture and let the flavors marry.
Pro Tip: Low heat prevents the denaturation of proteins from happening too quickly, which keeps the chicken tender while the sauce reduces and thickens.
The Deep Dive:
From a Macro Nutrition perspective, this dish is a powerhouse. A standard serving provides roughly 35g of protein and 15g of healthy fats, especially if using coconut milk which is rich in medium-chain triglycerides.
Dietary Swaps: To make this Keto, ensure your tomato base has no added sugars and serve over cauliflower rice. For a Vegan version, swap chicken for extra-firm tofu or chickpeas; just ensure you press the tofu first to maximize sauce absorption. For Gluten-Free needs, authentic curry is naturally safe, but always check your pre-mixed spice blends for anti-caking agents that might contain wheat.
The Fix-It:
- Too Salty? Drop in a peeled, halved potato. It acts as a molecular sponge, absorbing excess sodium as it simmers.
- Too Thin? Whisk a teaspoon of cornstarch with cold water and stir it in. This creates a slurry that thickens the sauce without changing the flavor.
- Too Bitter? A teaspoon of honey or brown sugar will balance the over-extracted spices through flavor masking.
Meal Prep Science: Curry is notoriously better the next day. As the dish cools, the spices continue to infuse the liquid, and the starches in the sauce stabilize. When reheating, use a low flame and add a tablespoon of water to re-emulsify the fats, ensuring "day-one" silkiness.
The Wrap-Up:
Mastering authentic curry chicken recipes is like learning a new language; once you understand the grammar of spices and the syntax of heat, you can communicate anything. You have moved beyond following a list of steps to understanding the molecular transformation happening inside your skillet. Whether you are serving this for a cozy weeknight or a grand dinner party, remember that the secret ingredient is patience. Let the spices bloom, let the onions caramelize, and let the sauce thicken into a luxurious coat for that tender chicken. You are now the master of your kitchen, one piquant bite at a time.
The Kitchen Table:
How do I stop my coconut milk from curdling?
Avoid boiling the sauce vigorously. High heat causes the proteins in the coconut milk to clump and separate from the fats. Maintain a gentle simmer and stir occasionally to keep the emulsion stable and the texture silky smooth.
Can I use chicken breast instead of thighs?
Yes, but reduce the simmering time by half. Breasts lack the connective tissue of thighs and will become dry and "chalky" if overcooked. For best results, poach them gently in the sauce just until they reach an internal temperature of 165F.
What is the best way to store leftovers?
Place the curry in an airtight glass container within two hours of cooking. It will stay fresh in the refrigerator for up to four days. The flavors actually deepen over time as the aromatic compounds further permeate the protein.
Why are my spices not flavorful?
Your spices might be oxidized. Ground spices lose their volatile oils within six months. For maximum impact, buy whole seeds, toast them in a dry pan until fragrant, and grind them immediately before you begin the cooking process.