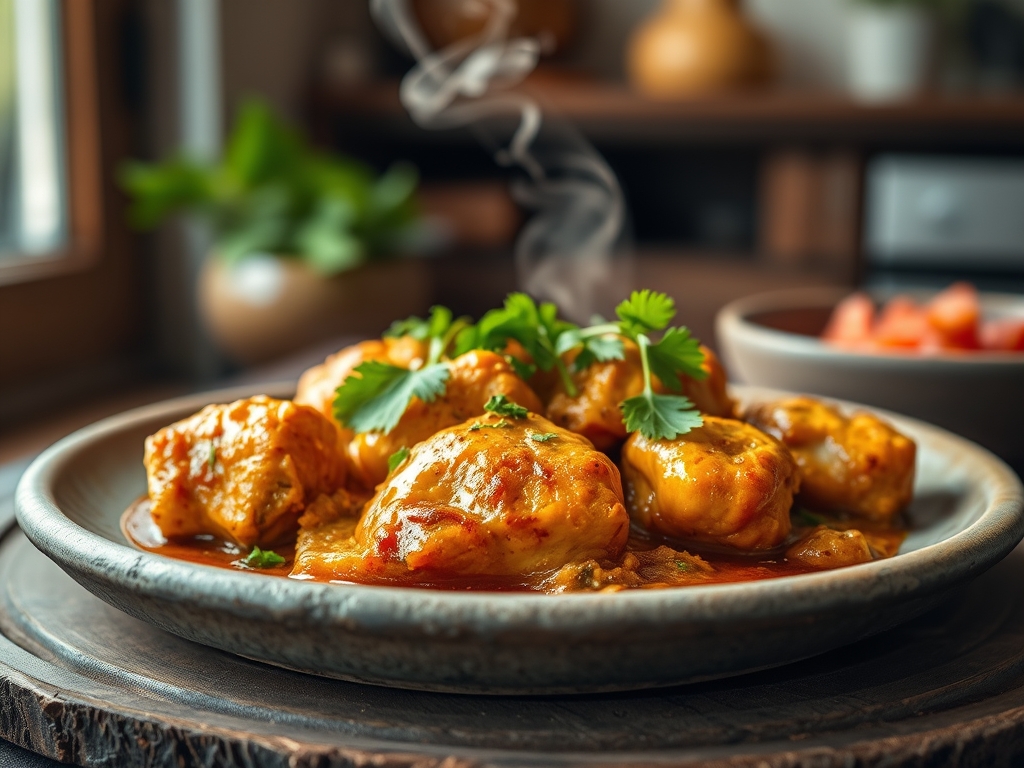
Close your eyes and listen for that distinct, rhythmic sizzle as cold protein hits a shimmering layer of oil. It is the sound of a transformation beginning. When you search for honey lemon chicken recipes, you are likely looking for that elusive balance between the piquant snap of citrus and the deep, viscous embrace of caramelized sugar. This dish is not just a weeknight staple; it is a masterclass in the Maillard reaction and acid-base equilibrium. We are going after that glossy, amber-hued glaze that clings to the chicken like a silk ribbon, providing a textural contrast that makes your taste buds stand up and pay attention. Forget the soggy, overly sweet takeout versions of the past. Today, we are leveraging professional culinary techniques to ensure every bite is a high-definition explosion of flavor. We are aiming for a dish that feels sophisticated enough for a dinner party but is fast enough to conquer your Tuesday night cravings. Let us get into the grit of how to turn humble poultry into a masterpiece of zesty, golden perfection.
The Gathers:
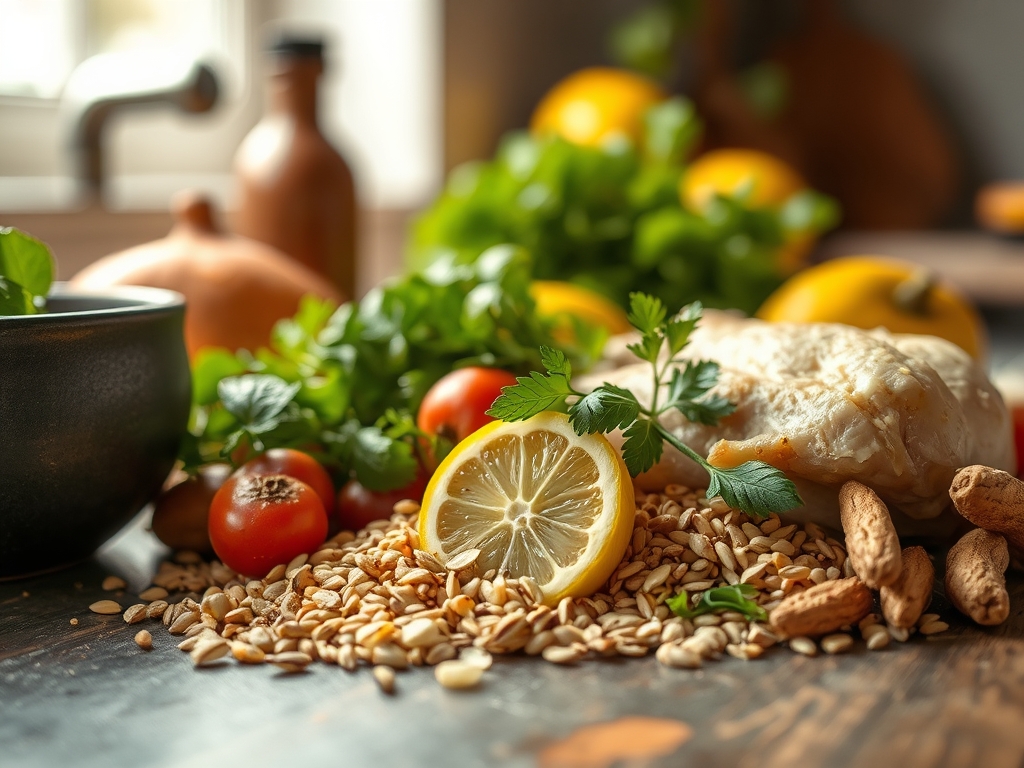
To achieve a restaurant-grade result, your mise-en-place must be impeccable. Start with 1.5 pounds of chicken thighs or breasts; thighs are preferred for their higher fat content, which ensures the meat remains succulent during the reduction phase. You will need a microplane to harvest the zest from two large lemons. This tool is essential because it avoids the bitter white pith, capturing only the volatile oils stored in the flavedo. For the glaze, gather 1/2 cup of raw honey, which contains enzymes that aid in browning, and 1/4 cup of low-sodium soy sauce to provide an umami backbone.
Smart Substitutions:
If you are out of honey, maple syrup offers a similar viscosity but adds a woody depth. For those avoiding soy, coconut aminos provide a gluten-free alternative with a slightly sweeter profile. If you find your lemons are lacking juice, a splash of rice vinegar can provide that necessary sharp acidity to balance the sugars. Always use a digital scale for your dry ingredients like cornstarch to ensure the slurry is precise; too much will turn your sauce into a gelatinous mass, while too little will leave it thin and watery.
The Clock
Efficiency in the kitchen is about the Chef's Flow. This is the art of overlapping tasks so that no heat is wasted. Prep time takes exactly 15 minutes if you use a sharp chef's knife and a bench scraper to clear your board. The cooking process is a swift 20-minute affair. While the chicken renders its fat in a heavy-bottomed skillet, you should be whisking your sauce components. This ensures that the moment the chicken reaches its peak internal temperature, the glaze is ready to be introduced. Total time from pantry to plate is 35 minutes; a perfect window for the flavors to meld without the vegetables losing their structural integrity.
The Masterclass
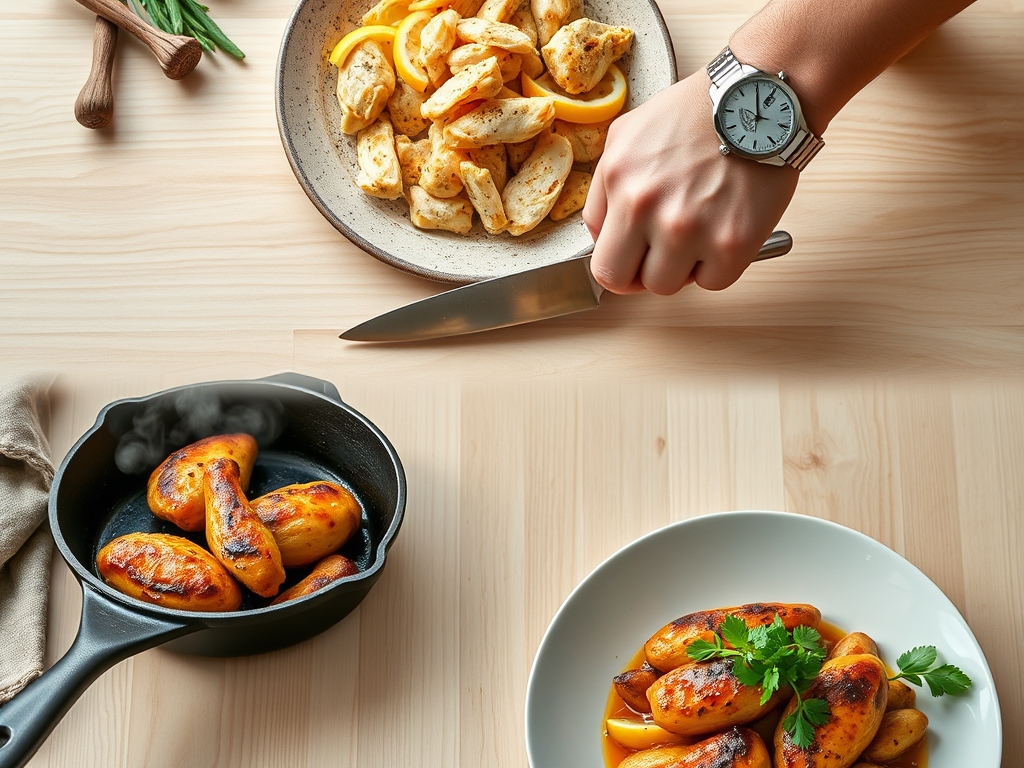
1. The Sear and Render
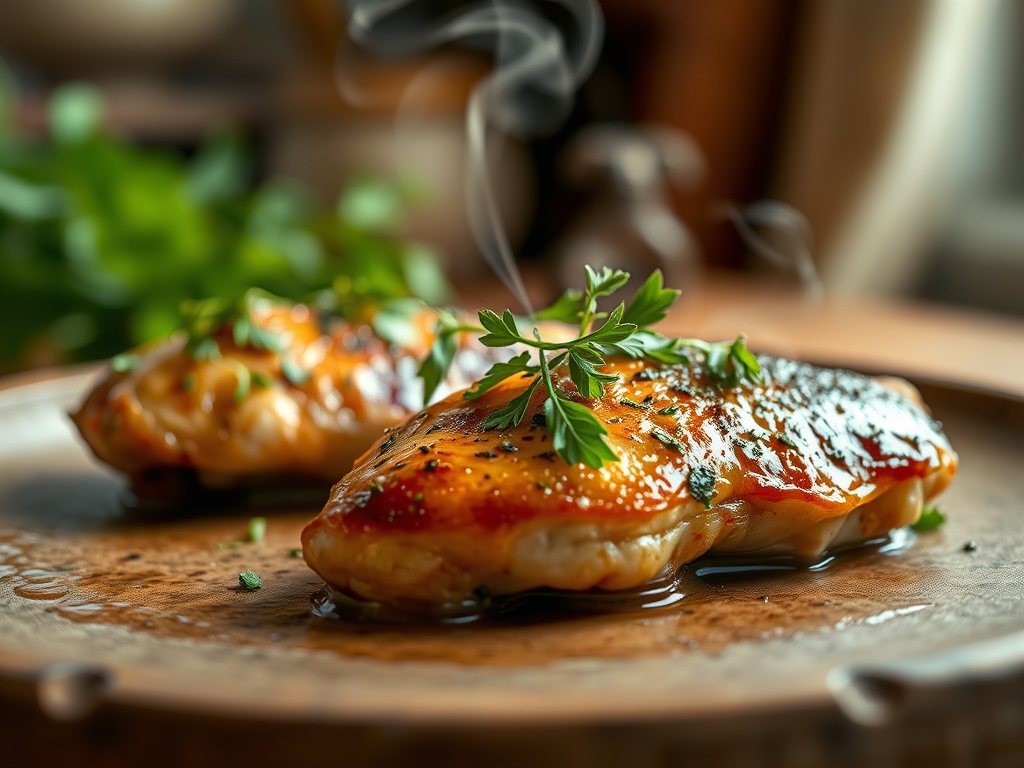
Pat your chicken dry with paper towels to remove surface moisture. Season aggressively with kosher salt. Heat your skillet over medium-high heat until the oil reaches its smoke point. Place the chicken in the pan using tongs, ensuring you do not crowd the surface.
Pro Tip: This step relies on the Maillard reaction. By removing surface moisture, you prevent steaming and allow the proteins and sugars to bond, creating a savory brown crust. If the pan is too crowded, the temperature drops and the meat boils in its own juices.
2. The Aromatics Infusion
Once the chicken is golden, flip it and add minced garlic and grated ginger. Use a saucier or a small whisk to keep the aromatics moving so they do not scorch.
Pro Tip: Garlic contains sulfur compounds that become sweet when toasted but acrid when burnt. This is known as enzymatic browning. Adding them halfway through the sear protects these delicate compounds while allowing their oils to infuse the cooking fat.
3. The Deglaze and Emulsify
Pour in your honey and lemon mixture. Use a wooden spoon to scrape the bottom of the pan, releasing the fond (those delicious browned bits). Bring the liquid to a simmer.
Pro Tip: This is the deglazing phase. The acidity in the lemon juice dissolves the caramelized proteins stuck to the pan, integrating them back into the sauce for a deeper flavor profile.
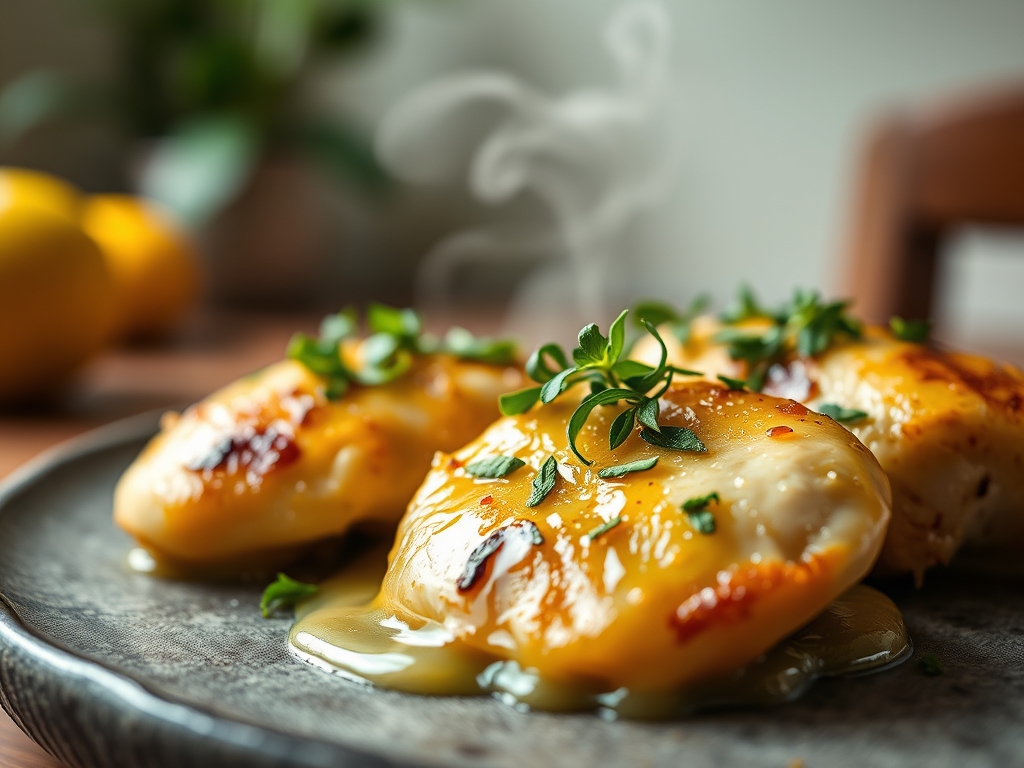
4. The Glossy Reduction
Whisk a small amount of cornstarch with cold water and pour it into the bubbling sauce. Stir constantly until the sauce coats the back of a spoon.
Pro Tip: This involves starch gelatinization. The starch granules absorb the liquid and swell, creating a thick, translucent glaze. Do not overcook at this stage, or the starch bonds will break and the sauce will thin out again.
5. The Thermal Rest
Remove the skillet from the heat and let the chicken sit for three minutes before serving. Garnish with fresh parsley and extra lemon zest.
Pro Tip: This accounts for thermal carryover. The internal temperature will continue to rise by about five degrees after leaving the heat. Resting allows the muscle fibers to relax and reabsorb their juices, ensuring a tender bite.
The Deep Dive
From a nutritional standpoint, this dish is a powerhouse of lean protein and Vitamin C. A standard serving contains roughly 340 calories, 32g of protein, and 14g of carbohydrates. To make this Keto-friendly, swap the honey for a monk fruit-based syrup and use xanthan gum as a thickener. For a Vegan version, substitute the chicken with extra-firm pressed tofu or cauliflower florets and use agave nectar.
The Fix-It:
- Sauce is too salty: Add a teaspoon of rice vinegar or a squeeze of fresh lime. The acid cuts through the sodium perception.
- Chicken is tough: You likely skipped the rest. Let it sit! If it is already overcooked, slice it thin against the grain to break up the fibers.
- Glaze is clumpy: You likely added cornstarch directly to hot liquid. Always create a cold slurry first to prevent the starch from seizing.
Meal Prep Science:
When reheating, avoid the microwave if possible. The high-intensity waves can make the honey glaze "break" and become oily. Instead, use a small pan over low heat with a tablespoon of water. This creates steam that re-hydrates the sauce and gently warms the chicken without toughening the proteins.
The Wrap-Up
You now hold the keys to the kingdom of honey lemon chicken recipes. By understanding the chemistry of the sear and the physics of the reduction, you have moved beyond being a recipe-follower to becoming a true kitchen scientist. This dish is vibrant, soulful, and scientifically sound. Go forth, grab your favorite skillet, and turn your kitchen into the best bistro in town. You have got this!
The Kitchen Table
Can I use bottled lemon juice for this?
Fresh is non-negotiable. Bottled juice is pasteurized, which destroys the bright, volatile citrus oils and adds a metallic aftertaste. For the best honey lemon chicken recipes, use a microplane on fresh fruit to get that essential aromatic zest.
Why is my honey sauce staying watery?
You likely did not reach the "simmer" threshold. Cornstarch requires heat to trigger gelatinization. Ensure the sauce reaches a gentle bubble for at least thirty seconds to allow the starch molecules to fully expand and thicken the liquid.
Is chicken breast or thigh better for this?
Thighs are superior for beginners because their higher fat content provides a safety net against overcooking. Breasts are leaner and dry out quickly; if using them, use a digital thermometer to pull them at exactly 160 degrees Fahrenheit.
How do I get the chicken extra crispy?
Dredge the chicken lightly in cornstarch or arrowroot powder before searing. This creates a dry, starchy exterior that dehydrates rapidly in the hot oil, resulting in a shatteringly crisp crust that holds onto the honey glaze perfectly.