Imagine the scent of hot cast iron meeting cold fat; it is the olfactory equivalent of a standing ovation. When you master cut up chicken recipes, you stop fighting the physics of a whole bird and start playing to the strengths of every limb. The breast stays succulent while the thighs reach that glorious, lacquered finish. This is not just cooking; it is strategic engineering on a dinner plate. We are going to transform a single bird into six distinct flavor profiles that will make your kitchen feel like a high-end bistro. Whether you are craving a sharp citrus glaze or a deep, earthy rub, these methods ensure every fiber of protein is treated with the respect it deserves. Get your knives ready because we are about to turn a basic grocery staple into a week of culinary triumphs that look as good as they taste.
The Gathers:
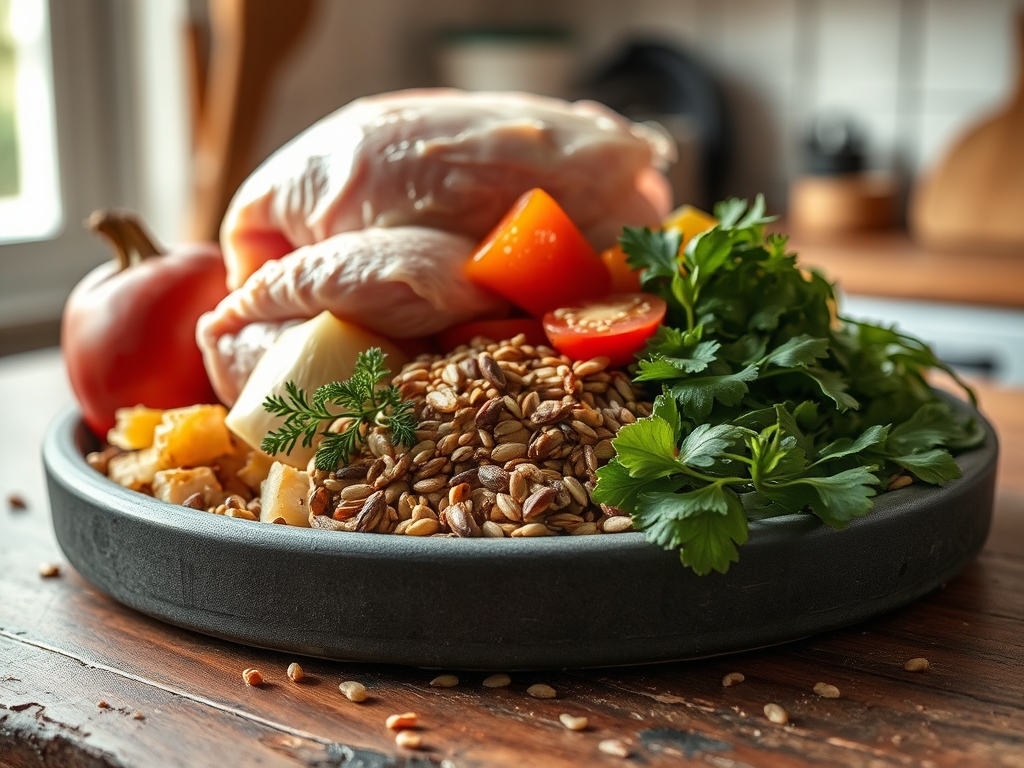
To execute these cut up chicken recipes with precision, your mise-en-place must be more than just organized; it must be intentional. Start with a high-quality whole chicken, roughly four pounds, which offers the ideal surface-area-to-volume ratio for even heat distribution. You will need a heavy-bottomed skillet or a stainless steel saucier to manage heat flux. For the aromatics, gather fresh rosemary, thyme, and garlic bulbs that feel heavy for their size, indicating high moisture content in the cloves.
The science of flavor requires high-quality fats. Keep a bottle of neutral oil with a high smoke point, like avocado oil, alongside a block of European-style butter for its lower water content and higher butterfat. Use a digital scale to measure your dry spices; consistency is the secret to professional results. You will also need acidic components like Meyer lemons or a piquant white wine vinegar to balance the viscous nature of the rendered chicken fat.
Smart Substitutions: If you lack fresh herbs, use one-third the amount of dried herbs to account for their concentrated volatile oils. Swap traditional butter for ghee if you need a higher thermal threshold without sacrificing that nutty, browned-butter aroma. For a keto-friendly crust, replace flour dredges with finely ground pork rinds or almond flour to maintain that satisfying crunch.
The Clock: Chef's Flow
Efficiency in the kitchen is about managing "The Clock." Your prep time for breaking down a whole bird should take approximately 15 minutes once you find your rhythm with a sharp boning knife. The cooking times vary by cut; breasts require about 12 to 15 minutes of active heat, while bone-in thighs need 25 to 30 minutes to allow the collagen to melt into gelatin.
The "Chef's Flow" is the art of overlapping tasks. While the chicken rests to allow internal juices to redistribute, you should be using that time to deglaze the pan and build your pan sauce. This prevents "dead time" and ensures that every element of the meal hits the table at the optimal temperature. Total active time for these recipes usually clocks in at 45 minutes, making them perfect for high-speed weeknights or slow, methodical Sunday meal preps.
The Masterclass:
1. The Precision Breakdown
Start by placing the bird on a stable cutting board. Use a bench scraper to keep your workspace clear of debris. Locate the joints and slice through the connective tissue rather than the bone. This preserves the integrity of the muscle fibers and prevents bone shards.
Pro Tip: This step utilizes mechanical advantage. By cutting through the joints, you avoid dulling your knife on calcified bone and ensure each piece has a uniform thickness for predictable thermal conductivity.
2. The Dry Brine Technique
Generously salt every surface of the chicken pieces. Let them sit uncovered in the refrigerator for at least an hour. This allows the salt to penetrate the protein structure through osmosis, seasoning the meat from the inside out.
Pro Tip: This process triggers protein denaturation. The salt breaks down the tightly wound muscle filaments, allowing them to retain more moisture during the high-heat cooking process.
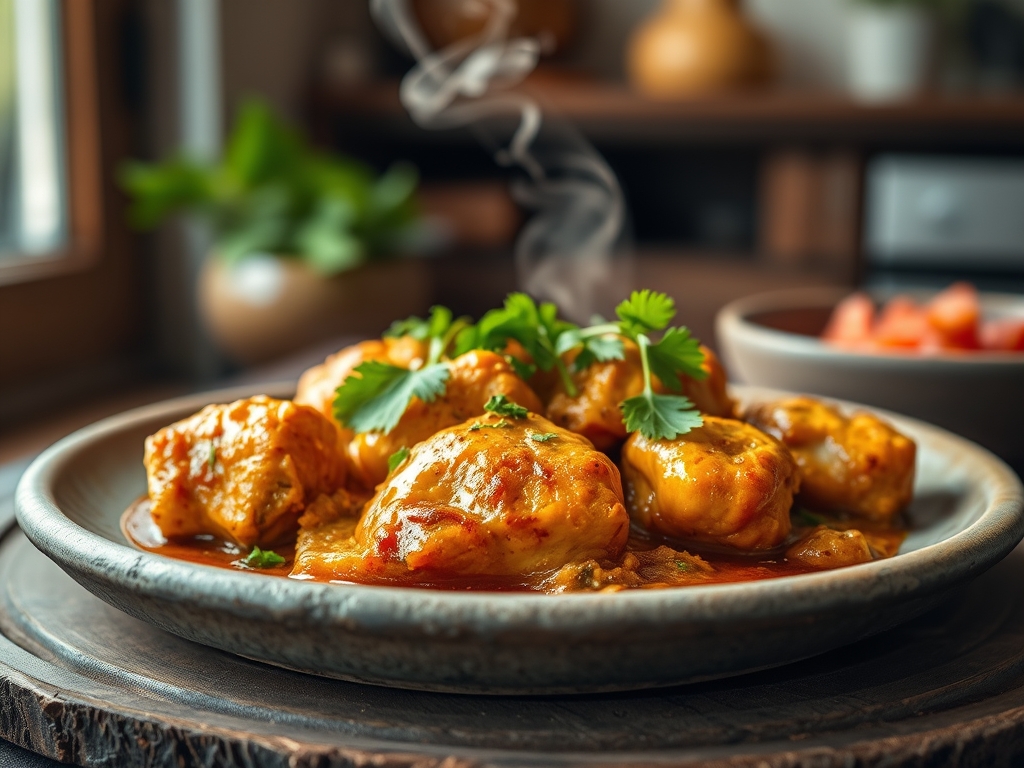
3. Achieving the Maillard Reaction
Pat the skin bone-dry with paper towels. Heat your skillet until the oil shimmers. Place the chicken skin-side down and do not move it. You are looking for a deep, golden-brown crust that releases naturally from the pan.
Pro Tip: The Maillard reaction occurs between amino acids and reducing sugars at temperatures above 285 degrees Fahrenheit. Moisture is the enemy of this reaction; hence, the dry skin is non-negotiable for flavor development.
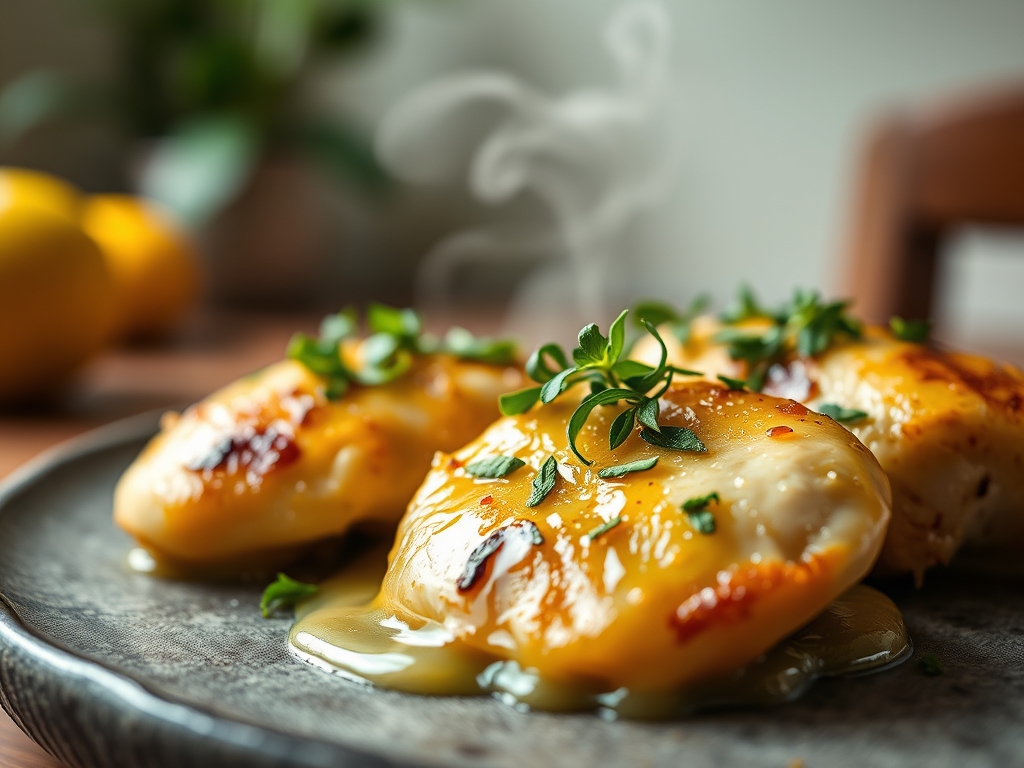
4. Aromatics and Fat Basting
Once the chicken is flipped, add butter, smashed garlic, and woody herbs to the pan. Use a large spoon to continuously pour the foaming butter over the cooked skin. This is known as "arrosé" in French technique.
Pro Tip: Basting creates a convective heat environment. The hot fat carries the fat-soluble compounds from the herbs directly into the meat, while the milk solids in the butter undergo enzymatic browning for added depth.
5. The Deglaze and Emulsification
Remove the chicken and pour off excess fat, leaving the brown bits (fond) behind. Add a splash of wine or stock and scrape the bottom of the pan. Whisk in a cold knob of butter to create a glossy, viscous sauce.
Pro Tip: This creates a stable emulsification. The cold butter prevents the sauce from "breaking," ensuring the fats and liquids stay bonded in a smooth, velvety coating.
6. The Carryover Rest
Transfer the chicken to a warm plate and tent loosely with foil. Let it rest for at least five to eight minutes before serving. This is the most skipped step, but the most vital for texture.
Pro Tip: This accounts for thermal carryover. The internal temperature will continue to rise by 5 degrees while resting, and the muscle fibers will relax, allowing the juices to move back toward the center of the meat.
The Deep Dive:
From a macro perspective, cut up chicken recipes are a powerhouse. A standard serving provides roughly 30 grams of high-bioavailability protein. Thighs offer more iron and zinc, while breasts are lower in lipids. For dietary swaps, use coconut aminos instead of soy for a paleo-friendly umami boost, or use a cornstarch slurry for a gluten-free thickener in your pan sauces.
The Fix-It:
- Soggy Skin: This happens if the pan is overcrowded. Fix it by giving each piece at least an inch of space to allow steam to escape.
- Tough Breast Meat: This is usually overcooking. Use a digital thermometer and pull the breasts at 160 degrees Fahrenheit; carryover will take them to the safe 165 mark.
- Broken Sauce: If your sauce looks oily, whisk in a teaspoon of warm water or heavy cream to re-establish the emulsion.
Meal Prep Science: To maintain "day-one" quality, reheat chicken in a 300-degree oven with a splash of water covered in foil. This prevents the "warmed-over flavor" caused by lipid oxidation, keeping the fats tasting fresh rather than stale.
The Wrap-Up:
Mastering these cut up chicken recipes turns you into a kitchen scientist with a flair for the dramatic. By understanding the physics of heat and the chemistry of salt, you move beyond following a script and start creating art. These six hacks are your foundation for a lifetime of better meals. Now, grab your tongs, fire up that stove, and show that chicken who is boss!
The Kitchen Table:
Why should I cut up a whole chicken instead of buying parts?
Buying a whole bird is more economical and provides bones for stock. Cutting it yourself ensures the skin-to-meat ratio is perfect, and the meat remains fresher since it hasn't been exposed to air as long as pre-cut parts.
How do I get the skin extra crispy every time?
The secret is moisture removal. Salt the skin and leave it uncovered in the fridge overnight. This dehydrates the epidermis, allowing the fat to render quickly and the skin to crisp into a cracker-like texture during searing.
What is the best way to tell if chicken is done?
Always use a digital thermometer. For breasts, aim for an internal temperature of 160 degrees Fahrenheit. For thighs, aim for 175 degrees. This higher temperature for dark meat allows the tough connective tissues to break down into silky gelatin.
Can I use these methods for frozen chicken?
You must fully thaw the chicken first. Cooking from frozen prevents the Maillard reaction because the surface stays wet. Thaw in the refrigerator for 24 hours to ensure the protein structure remains intact and the texture stays juicy.