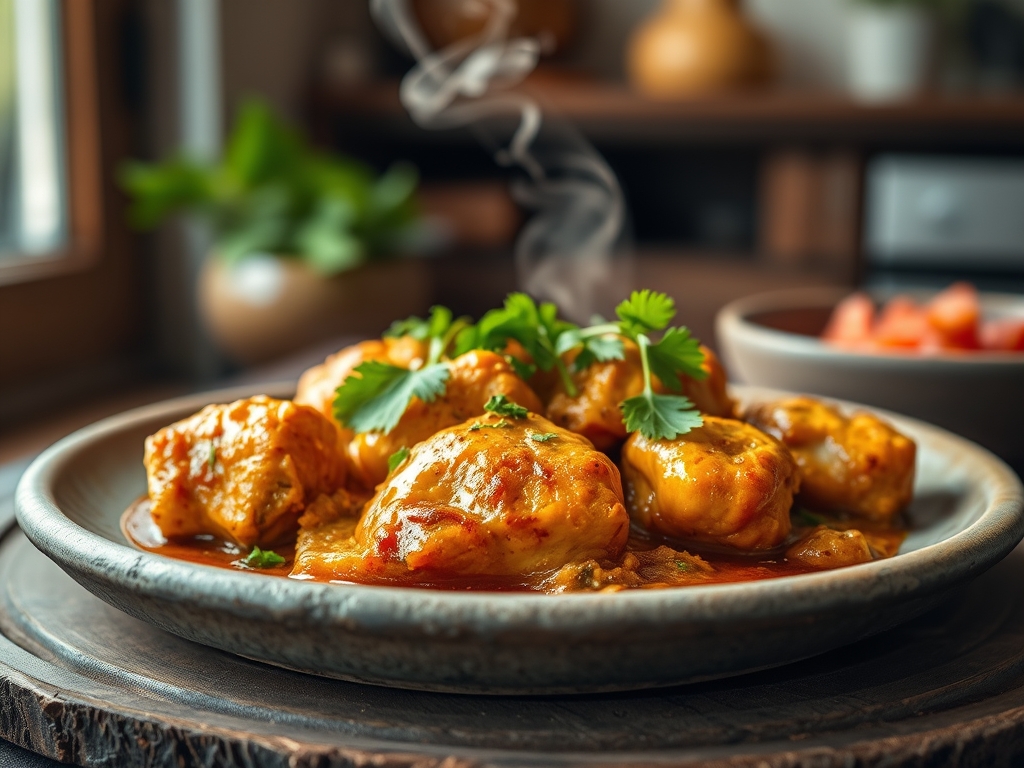
Picture this: it is 6:00 PM on a Tuesday and the air in your kitchen smells like victory instead of panic. While everyone else is wrestling with frozen plastic wrap, you are pulling a perfectly marinated, prepped bird from the fridge. Mastering chicken recipes make ahead is not just about convenience; it is about reclaiming your evening through strategic molecular planning and a little bit of cold-chain management. We are moving beyond the dry, sad meal prep containers of the past and entering a world where chicken stays succulent, sauces remain emulsified, and your sanity stays intact.
The secret lies in understanding how protein structures behave under refrigeration. When we talk about chicken recipes make ahead, we are actually discussing the science of flavor infusion and moisture retention. By prepping your poultry in advance, you allow enzymes to break down tough connective tissues and give salt time to penetrate deep into the muscle fibers through osmosis. This results in a finished product that is seasoned to the bone, not just on the surface. We are going to tackle six distinct profiles today, ensuring your weekly rotation never feels repetitive.
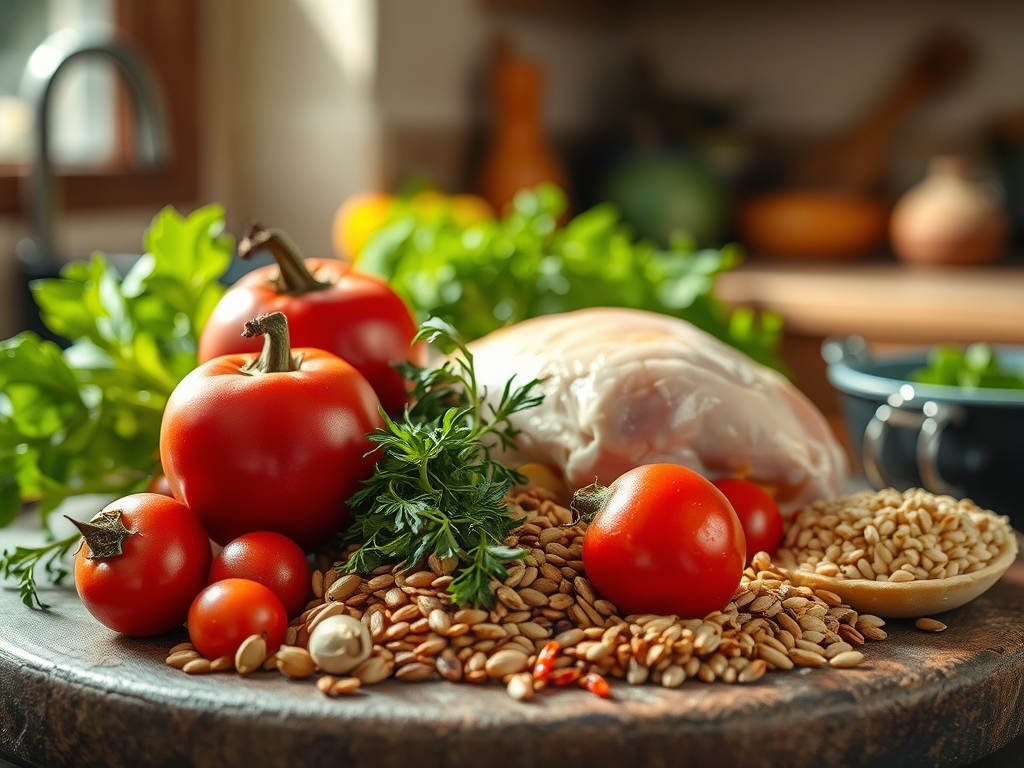
The Gathers:
Your mise-en-place is the foundation of culinary success. For these six meals, you will need high-quality poultry; preferably organic thighs for their higher fat content and resilience during reheating. Arrange your ingredients on a clean workspace. You will need a digital scale for precision, a microplane for zesting aromatics, and a heavy-bottomed skillet for that crucial initial sear.
The aromatic base includes piquant shallots, pungent garlic, and fresh ginger. For the liquids, gather high-viscosity coconut milk, low-sodium chicken stock, and acidic components like rice vinegar or lemon juice to brighten the flavor profiles. Smart Substitutions: If you are avoiding dairy, a cashew cream provides the same mouthfeel as heavy cream. If you lack fresh herbs, use one-third the amount of dried herbs, as their oils are more concentrated. Always toast your dry spices in a dry pan for sixty seconds to aerate the volatile oils before adding them to your marinade.
The Clock
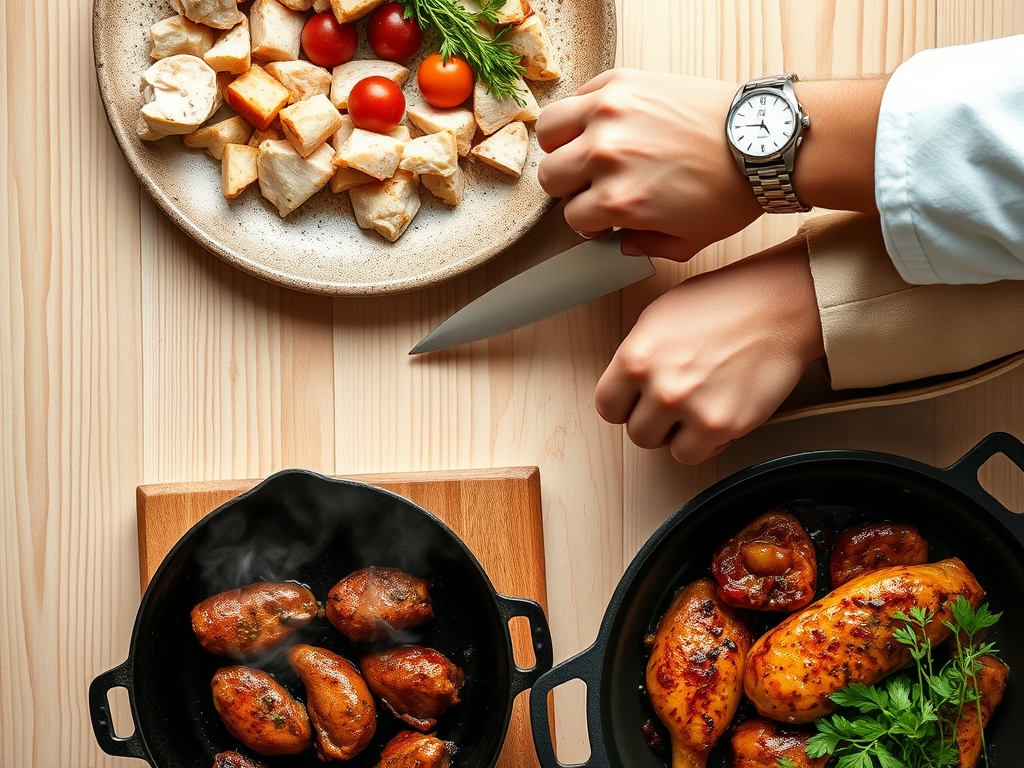
The "Chef's Flow" is all about overlapping tasks to maximize efficiency. Total active prep time for all six meals is roughly ninety minutes. You will spend the first twenty minutes on "The Great Chop," processing all vegetables and aromatics at once using a sharp chef's knife and a bench scraper to move ingredients to their respective bowls.
The next forty minutes involve the "Searing Phase." By browning your chicken in batches, you utilize the Maillard reaction to create a complex crust that will hold up during storage. The final thirty minutes are dedicated to "The Assembly," where you portion the proteins into airtight containers and whisk together your sauces in a saucier to ensure they are perfectly emulsified before they hit the fridge. This structured approach prevents kitchen fatigue and ensures every dish receives the same level of technical attention.
The Masterclass
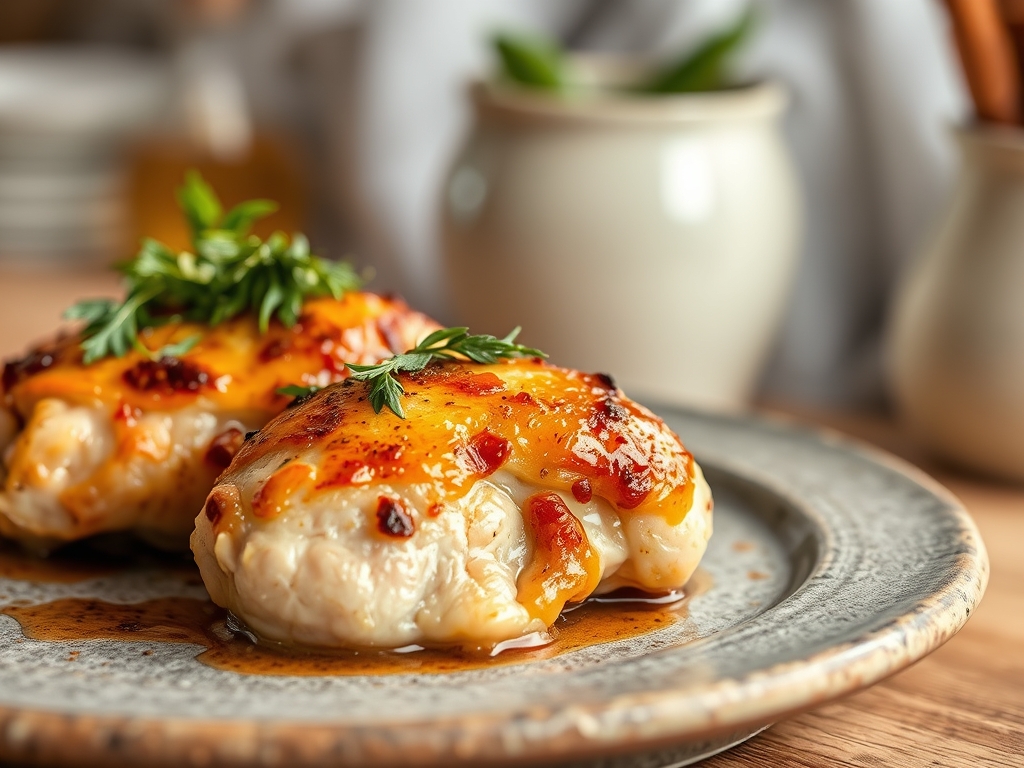
1. The Strategic Sear
Begin by patting your chicken completely dry with paper towels. Moisture is the enemy of browning. Use tongs to place the chicken in a shimmering layer of high-smoke-point oil. Do not crowd the pan; this drops the temperature and causes the meat to steam in its own juices rather than sear.
Pro Tip: This stage triggers enzymatic browning. The amino acids and reducing sugars react at high heat to create hundreds of different flavor compounds that simply cannot be replicated by boiling or steaming.
2. Deglazing the Fond
Once the chicken is removed, you will see brown bits stuck to the bottom of your skillet. This is "fond," or concentrated flavor. Pour in a splash of wine or stock and use a wooden spoon to scrape it up. This liquid becomes the soulful base of your make-ahead sauce.
Pro Tip: Deglazing utilizes thermal shock to lift caramelized proteins. This ensures that the most flavorful elements of the meat are incorporated back into the sauce, preventing them from being lost during the cleaning process.
3. The Emulsion Whisk
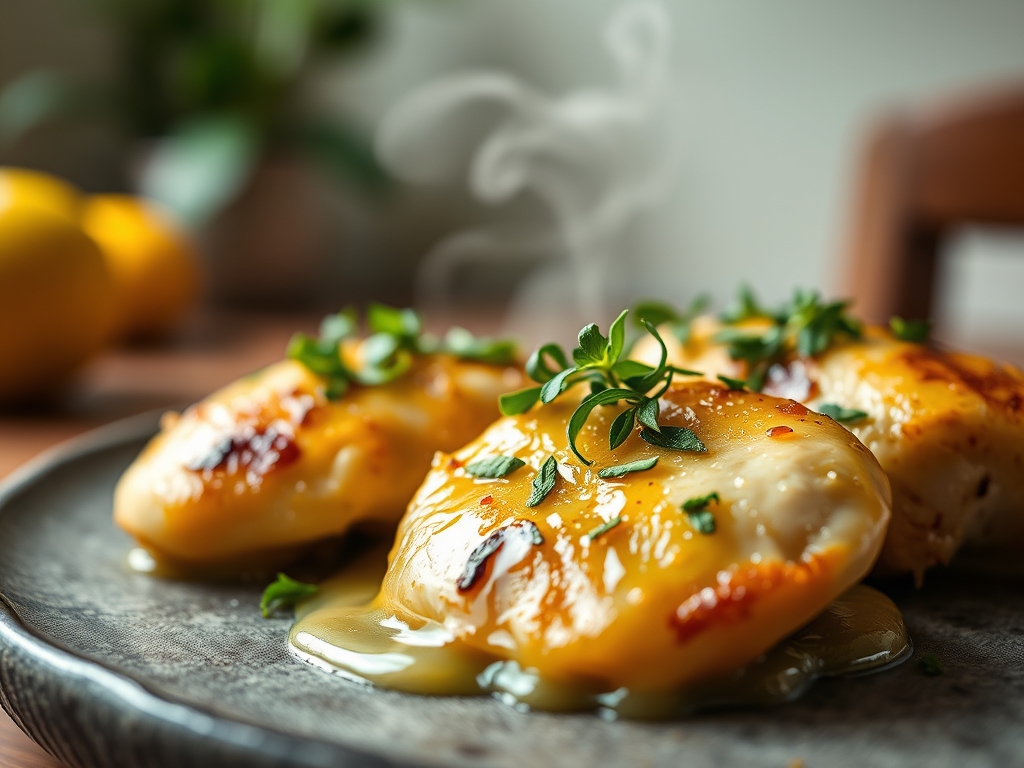
For sauces involving fats and liquids, like our Lemon-Garlic or Creamy Tuscan profiles, you must create a stable emulsion. Slowly stream your fats into your acids while whisking vigorously in a saucier.
Pro Tip: A stable emulsion prevents the sauce from "breaking" or separating when you reheat it later in the week. The mechanical action of whisking breaks the oil into tiny droplets that are suspended in the water-based liquid.
4. Rapid Cooling
Never put hot chicken directly into a sealed container in the fridge. This creates a "greenhouse effect" of condensation that turns your crispy skin soggy and promotes bacterial growth. Spread the cooked chicken on a sheet tray to cool to room temperature first.
Pro Tip: This manages evaporative cooling. By letting the steam escape before sealing, you preserve the integrity of the crust and ensure the chicken stays firm rather than mushy during the reheating process.
5. Vacuum Sealing or Tight Packing
When storing your six meals, oxygen is your primary adversary. Use high-quality glass containers or vacuum-seal bags. If using containers, fill them as close to the top as possible to minimize the headspace where air can sit.
Pro Tip: Oxygen causes lipid oxidation, which is what gives leftover chicken that "reheated" off-flavor. Reducing oxygen exposure keeps the fats in the chicken tasting fresh for up to four days.
6. The Finishing Touch
When you are ready to eat, do not just microwave the entire container. Reheat the chicken separately from the fresh garnishes. Add a splash of water or stock to the pan to create a mini-steam chamber that gently warms the protein without drying it out.
Pro Tip: This utilizes conductive heating through steam. It prevents the internal temperature from spiking too fast, which would cause the protein fibers to contract and squeeze out all their moisture.
The Deep Dive
From a macro perspective, chicken is a lean protein powerhouse. Each of these six meals averages 35 to 45 grams of protein and roughly 500 calories, depending on your choice of grain or vegetable side. For Keto followers, swap rice for cauliflower grits. For Vegan guests, the same sauce techniques work beautifully with extra-firm tofu or seitan.
The Fix-It: If your sauce breaks during reheating, whisk in a teaspoon of warm water or a tiny bit of Dijon mustard to re-bind the fats. If the chicken feels dry, you likely overcooked it during the initial sear; next time, pull the meat when it reaches 160 degrees and let thermal carryover bring it to the safe 165 mark. If the flavors seem dull after three days, it is because cold temperatures mute acidity. A fresh squeeze of lime or a dash of sea salt will wake up the molecules instantly.
Reheating science is simple: low and slow. Use a covered skillet on medium-low heat or a microwave at 50 percent power. This prevents the "rubbery" texture caused by over-agitated protein strands.
The Wrap-Up
You are now equipped with the technical prowess to dominate your meal prep. By focusing on the Maillard reaction, proper cooling, and stable emulsions, your chicken recipes make ahead will rival any fresh-cooked meal. Grab your digital scale, fire up that skillet, and enjoy the luxury of a gourmet dinner that is ready when you are.
The Kitchen Table
How long does make-ahead chicken last in the fridge?
Properly stored in airtight containers, cooked chicken stays fresh and safe for three to four days. Always ensure your refrigerator is set to 40 degrees Fahrenheit or below to inhibit bacterial growth and maintain optimal texture.
Can I freeze these chicken recipes?
Yes, most chicken recipes make ahead freeze beautifully for up to three months. To prevent freezer burn, use vacuum-sealed bags or wrap the chicken tightly in foil before placing it in a heavy-duty freezer bag.
What is the best way to reheat chicken without it getting dry?
Reheat chicken in a covered skillet over medium-low heat with a splash of water or broth. This creates steam that gently warms the meat through without stripping away its natural oils or toughening the protein fibers.
Should I cut the chicken before or after storing?
Store the chicken in larger pieces to retain moisture. Slicing increases the surface area exposed to air, which can lead to faster oxidation and dryness. Slice your chicken just before serving for the juiciest results.