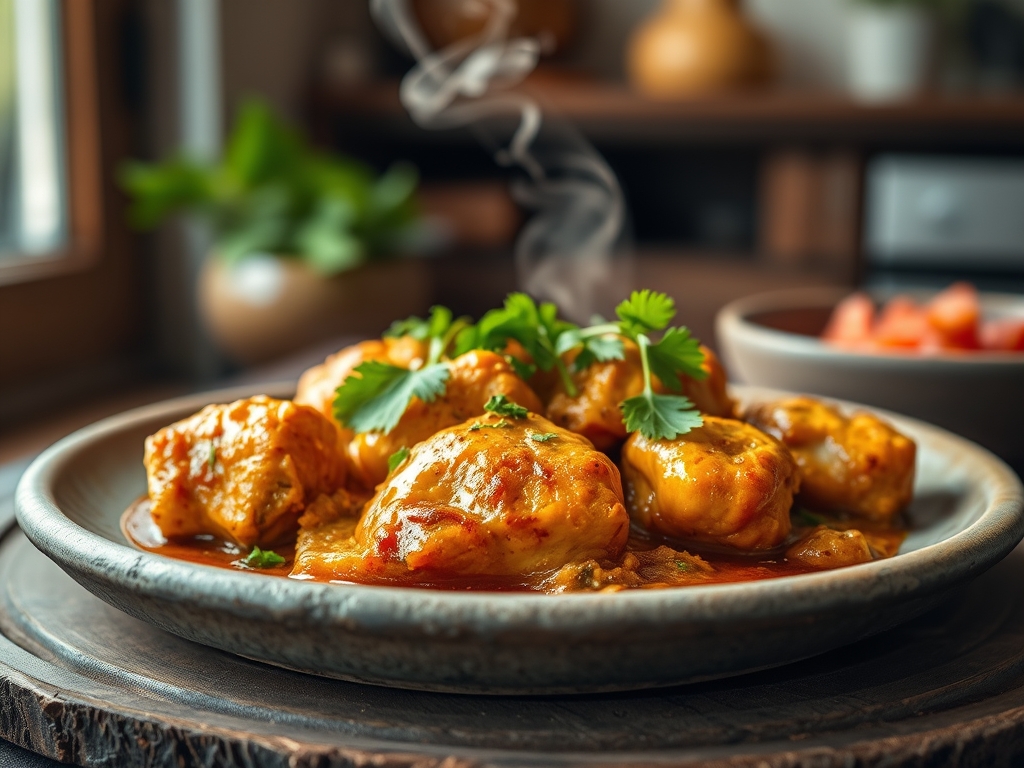
Imagine a kitchen counter where a solitary, skinless chicken breast sits like a blank canvas. It is the ultimate culinary paradox; it is simultaneously the most versatile protein on the planet and the most likely candidate for a dry, rubbery disaster. Mastering plain chicken recipes is not about complexity. It is about understanding the molecular architecture of poultry to transform "boring" into "brilliant" with professional precision.
We have all been there. You are staring at a pack of poultry, hoping for inspiration but fearing the beige, flavorless results of the past. The secret lies in the chemistry of heat and moisture. By manipulating surface tension and internal temperatures, we can turn a humble bird into a five star meal. Whether you are meal prepping for a busy week or hosting a last minute dinner, these nine hacks will elevate your kitchen game from amateur to executive chef. We are talking about succulent fibers, golden crusts, and deep, resonant flavors that defy the "plain" label.
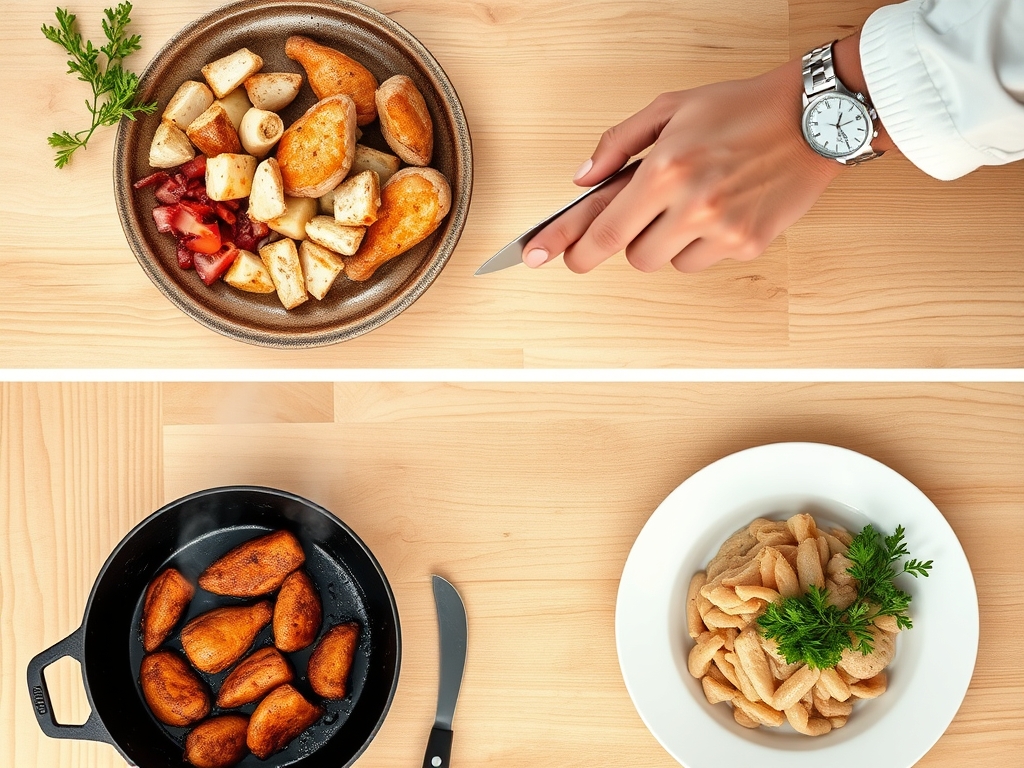
The Gathers:
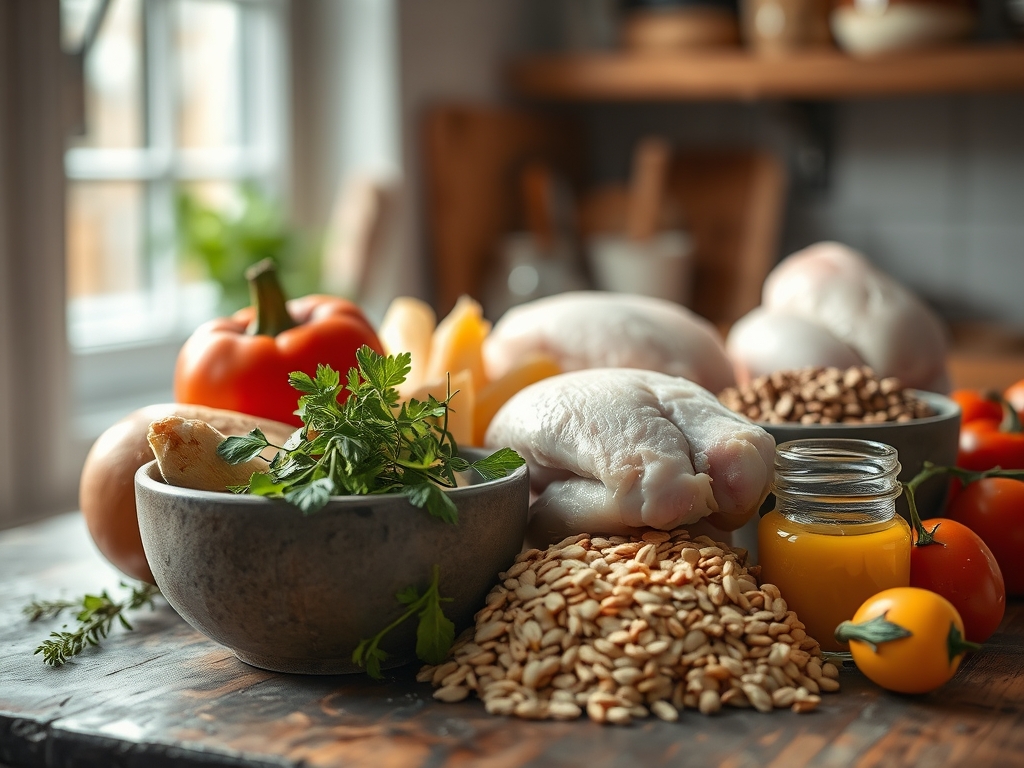
To begin our transformation, we must assemble a mise-en-place that respects the science of flavor. Start with high quality chicken breasts or thighs, ideally air chilled to ensure the skin (if present) or surface can achieve maximum crispness without excess water weight. You will need a heavy-bottomed skillet, preferably cast iron or stainless steel, to facilitate even heat distribution and the Maillard reaction.
Your pantry should boast high smoke point fats like avocado oil or clarified butter (ghee). For aromatics, gather fresh thyme, rosemary, and garlic cloves. A digital scale is essential for precision seasoning; aim for 1.5 percent salt by weight to ensure deep cellular seasoning through osmosis.
Smart Substitutions:
If you lack fresh herbs, use a high quality dried herb de Provence, but rehydrate it in your cooking oil first to infuse the fat. If you are avoiding sodium, use acidic brighteners like lemon zest or sumac to mimic the "lift" salt provides. For a dairy free richness, replace butter with a viscous coconut cream or a high quality extra virgin olive oil added at the very end of the cooking process to preserve its delicate volatile compounds.
The Clock:
Efficiency in the kitchen is governed by what I call the "Chef's Flow." Total active prep time for these hacks is approximately 15 minutes, while cooking times vary from 8 to 22 minutes depending on the thickness of the protein.
The flow begins with the "Temper Phase." Never pull chicken directly from the refrigerator and drop it into a hot pan. This creates a thermal shock that tightens the muscle fibers, resulting in a tough texture. Allow your chicken to sit at room temperature for 20 minutes. During this window, you perform your knife work and prepare your sauces. This synchronicity ensures that by the time your heavy-bottomed skillet is screaming hot, your chicken is relaxed and ready for its golden transformation.
The Masterclass:
1. The Dry Brine Technique
Pat the chicken completely dry with paper towels. Generously coat all sides with kosher salt and let it sit uncovered in the fridge for two hours. This allows the salt to penetrate the meat and denature the proteins, which helps the chicken retain moisture during cooking.
Pro Tip: This process utilizes osmosis to pull moisture out, dissolve the salt, and then pull the seasoned brine back into the fibers. This ensures every bite is seasoned to the core.
2. The Parchment Envelope (En Papillote)
Place your chicken on a large square of parchment paper with a splash of white wine and a knob of butter. Fold the edges tightly to create a sealed pouch. Bake at 400 degrees Fahrenheit.
Pro Tip: This method relies on convection and steam. The trapped moisture prevents the protein from exceeding 212 degrees Fahrenheit, ensuring the meat remains incredibly tender and never reaches the "rubbery" stage.
3. The Cold Pan Start for Skin-On
Place skin-on chicken thighs skin-side down in a cold heavy-bottomed skillet. Turn the heat to medium-low and wait. Do not touch them for at least 12 minutes.
Pro Tip: Starting with a cold pan allows the fat to render slowly. This prevents the skin from shrinking too quickly and creates a shatteringly crisp texture through gradual moisture evaporation.
4. The Velveting Secret
Slice the chicken into thin strips and toss them in a mixture of cornstarch, egg white, and a splash of rice vinegar. Let it marinate for 20 minutes before flash frying in a saucier.
Pro Tip: This creates a protective alkaline barrier that prevents the muscle fibers from tightening up. It is the secret to that "silk" texture found in high end stir fry dishes.
5. The Microplane Zest Infusion
Once your chicken is cooked, use a microplane to grate fresh lemon zest and garlic directly over the resting meat. Cover it loosely with foil for five minutes.
Pro Tip: The thermal carryover (the rise in internal temperature after removal from heat) will gently cook the garlic and release the essential oils in the zest without burning them.
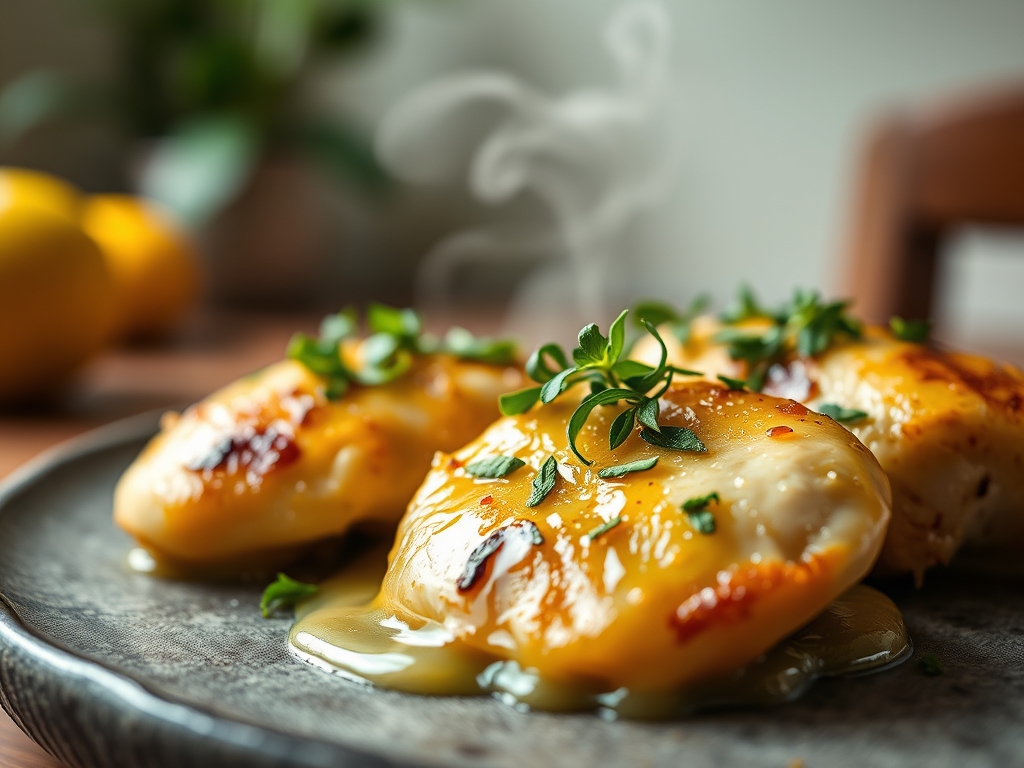
6. The Deglaze and Emulsify
After searing your chicken, remove it from the pan. Add a splash of chicken stock or dry vermouth to the hot pan, scraping up the brown bits (the fond) with a bench scraper or wooden spoon.
Pro Tip: This is called deglazing. By whisking in a cold pat of butter at the end, you create a stable emulsion that coats the chicken in a concentrated, savory glaze.
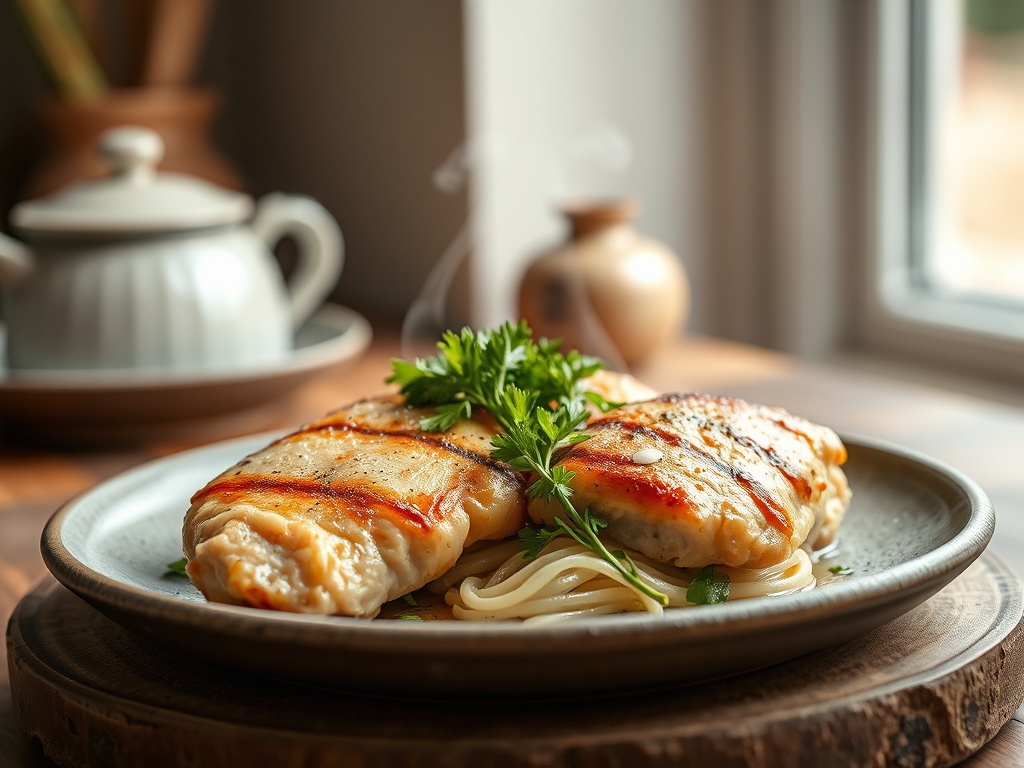
7. The Pounding for Uniformity
Use a meat mallet or the bottom of a heavy saucepan to pound chicken breasts to a uniform thickness of half an inch.
Pro Tip: Uniform thickness ensures even heat distribution. This prevents the thin "tail" of the breast from overcooking while the thick center remains dangerously underdone.
8. The Reverse Sear
Bake the chicken at a low temperature (225 degrees Fahrenheit) until it reaches an internal temperature of 145 degrees. Then, flash sear it in a hot pan for 60 seconds per side.
Pro Tip: This method minimizes the "gray band" of overcooked meat. It maximizes the enzymatic browning on the surface while keeping the interior edge-to-edge juicy.
9. The Resting Period
Never cut into your chicken immediately. Transfer it to a warm plate and wait at least eight minutes.
Pro Tip: During cooking, muscle fibers contract and push juices to the center. Resting allows the fibers to relax and reabsorb those juices. If you cut too soon, the liquid will end up on the cutting board instead of in your mouth.
The Deep Dive:
Macro Nutrition:
Plain chicken is a nutritional powerhouse. A standard 6-ounce serving provides approximately 52 grams of high quality protein with minimal fat and zero carbohydrates. It is rich in niacin and selenium, which support metabolic health.
Dietary Swaps:
For a Keto version, focus on skin-on cuts and use grass-fed butter for your pan sauces. For Vegan guests, these same techniques (specifically the dry brine and the deglaze) work wonders on extra-firm tofu or oyster mushrooms. If you are Gluten-Free, ensure your "velveting" agent is cornstarch or arrowroot powder rather than flour.
The Fix-It:
- The Chicken is Dry: Shred the meat and toss it in a viscous liquid like warm chicken stock or a vinaigrette. The fibers will act like a sponge.
- The Skin is Flabby: Use a kitchen torch to carefully crisp the skin, or return it to a dry, hot pan skin-side down for 90 seconds.
- No Flavor: Create a "board sauce" by chopping herbs and garlic on your cutting board with olive oil, then slice the hot chicken directly on top of it.
Meal Prep Science:
To reheat chicken without it becoming "rubbery," avoid the microwave. Use a low oven (300 degrees) with a tablespoon of water in the pan, covered tightly. This creates a mini-steam chamber that restores the original moisture levels.
The Wrap-Up:
You are now armed with the technical prowess to turn any "plain" chicken recipe into a culinary masterpiece. Remember, cooking is as much about physics and chemistry as it is about taste. By controlling your temperatures, respecting the rest period, and utilizing the right tools like your digital scale and heavy-bottomed skillet, you ensure a perfect result every single time. Now, get into that kitchen and show that chicken who is boss!
The Kitchen Table:
How do I prevent chicken from sticking to the pan?
Ensure your pan is properly preheated before adding fat. Wait for the oil to shimmer. Once the chicken hits the pan, do not move it; it will naturally release once a golden crust has formed through the Maillard reaction.
What is the safest internal temperature for chicken?
The USDA recommends 165 degrees Fahrenheit. However, if you pull the chicken at 160 degrees and let it rest, thermal carryover will usually bring it to 165 degrees while maintaining a much juicier texture.
Can I use these hacks for frozen chicken?
It is best to thaw chicken completely in the refrigerator first. Cooking from frozen prevents even heat distribution, leading to a tough exterior and an undercooked center. Always pat dry after thawing to remove excess moisture.
Why does my chicken turn out rubbery?
Rubbery chicken is usually the result of overcooking or "thermal shock" from cooking cold meat. Use a digital thermometer to track the internal temperature and always allow the meat to temper at room temperature before cooking.