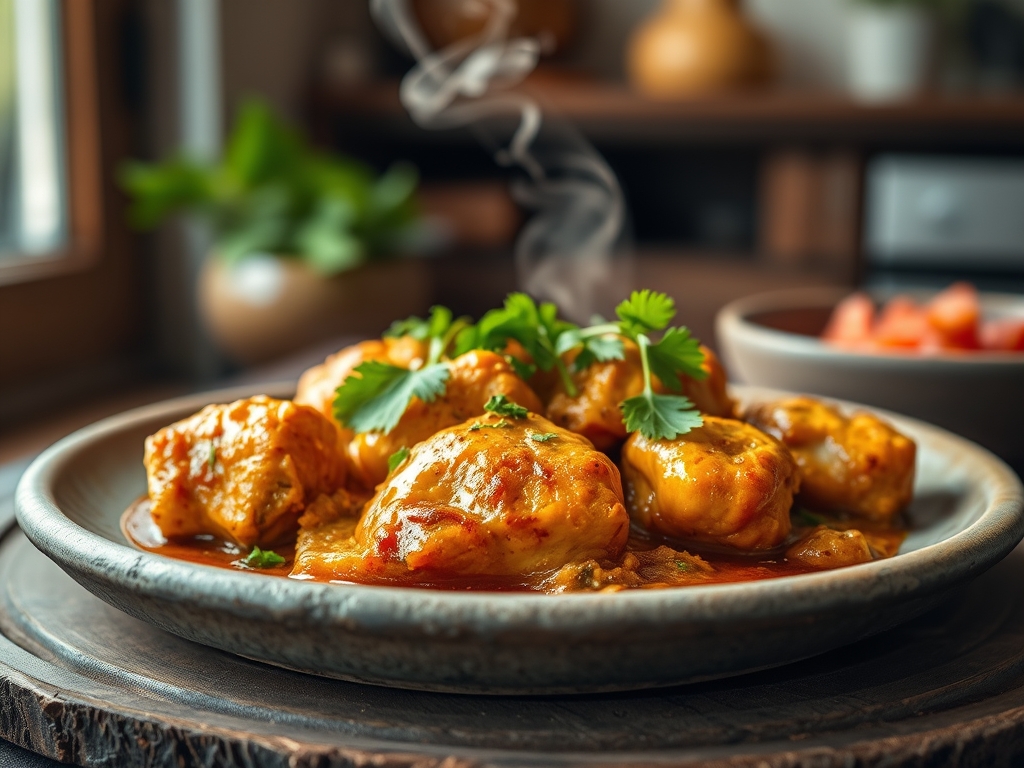
Imagine the scent of smoldering birch wood and the sharp, piquant aroma of dill hitting a hot, heavy-bottomed skillet. That is the soul of my favorite russian chicken recipes. We are moving far beyond basic poultry; we are diving into a world of velvet sour cream sauces, golden crusts, and herbs that sing. It is pure comfort science.
In the Russian kitchen, chicken is a canvas for texture. Whether we are pounding fillets for a delicate Kiev or simmering thighs in a rich Shkmeruli sauce, the goal is always the same: maximum moisture retention and deep, soulful flavor. These recipes are not just about feeding a family; they are about mastering the art of the braise and the sear. Grab your apron, because we are about to transform humble bird parts into a regal feast that would make a Tsar jealous. We will explore everything from the crispy crunch of Pozharsky cutlets to the aromatic depth of a classic Chakhokhbili.
The Gathers:
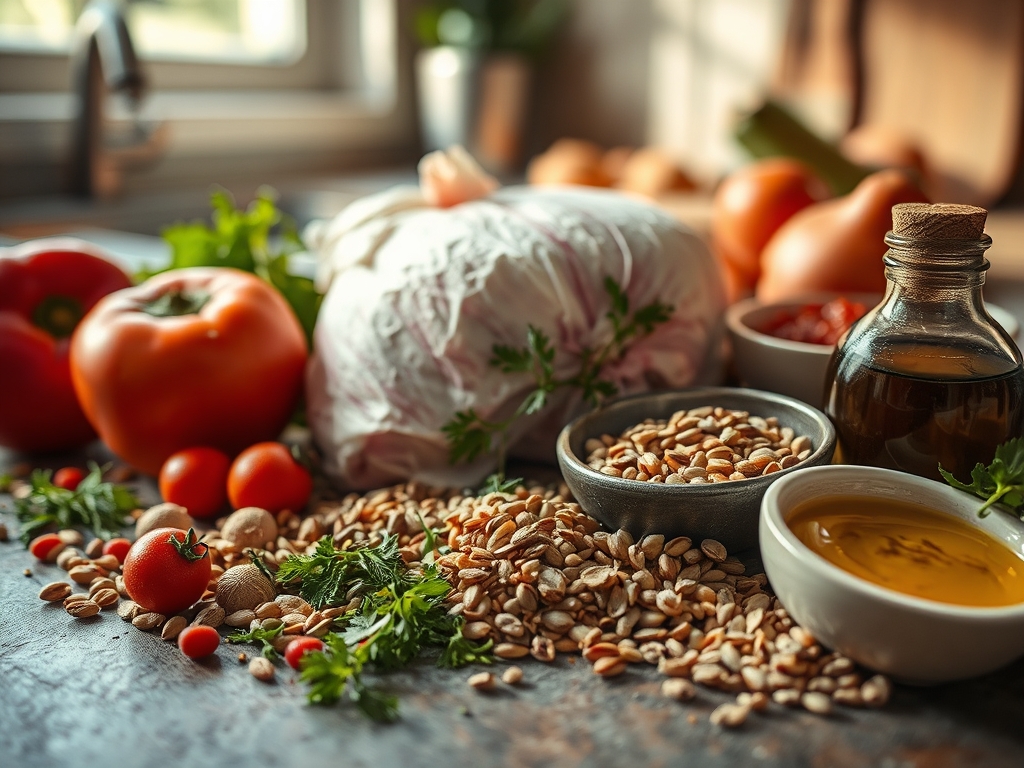
Before we fire up the range, your mise-en-place must be impeccable. For these russian chicken recipes, we rely on high-fat dairy and specific aromatics to create that signature mouthfeel. You will need high-quality chicken (preferably air-chilled to avoid excess water weight), unsalted European-style butter for its lower water content, and a mountain of fresh dill and parsley.
The pantry staples are equally vital. Gather your kosher salt, black peppercorns for the spice grinder, and a jar of high-quality smetana or full-fat sour cream. The acidity in the cream is not just for flavor; it acts as a tenderizer for the protein fibers. You will also need a microplane for zesting and grating garlic into a fine paste, and a digital scale to ensure your flour-to-butter ratios for thickening are precise.
Smart Substitutions:
If you cannot find smetana, whisk together heavy cream and a touch of Greek yogurt to mimic that viscous, tangy profile. For a lighter version of the breaded recipes, use panko instead of traditional breadcrumbs, though the authentic texture comes from day-old white bread processed into coarse crumbs. If you are avoiding gluten, a blend of almond flour and cornstarch provides a surprisingly effective crisp when pan-frying.
The Clock
Efficiency in the kitchen is all about the Chef's Flow. For these six recipes, prep time generally clocks in at 30 minutes, with cooking times ranging from 20 minutes for quick cutlets to 60 minutes for deep braises.
The "Flow" means you should be chopping your aromatics while the chicken tempers on the counter. Never throw ice-cold meat into a hot pan; it causes the muscle fibers to seize and push out moisture. By the time your heavy-bottomed skillet is shimmering with oil, your chicken should be at room temperature and seasoned to the bone. This synchronization ensures that while one dish simmers, you are already prepping the garnish for the next, keeping the total kitchen time under 90 minutes for a multi-course spread.
The Masterclass
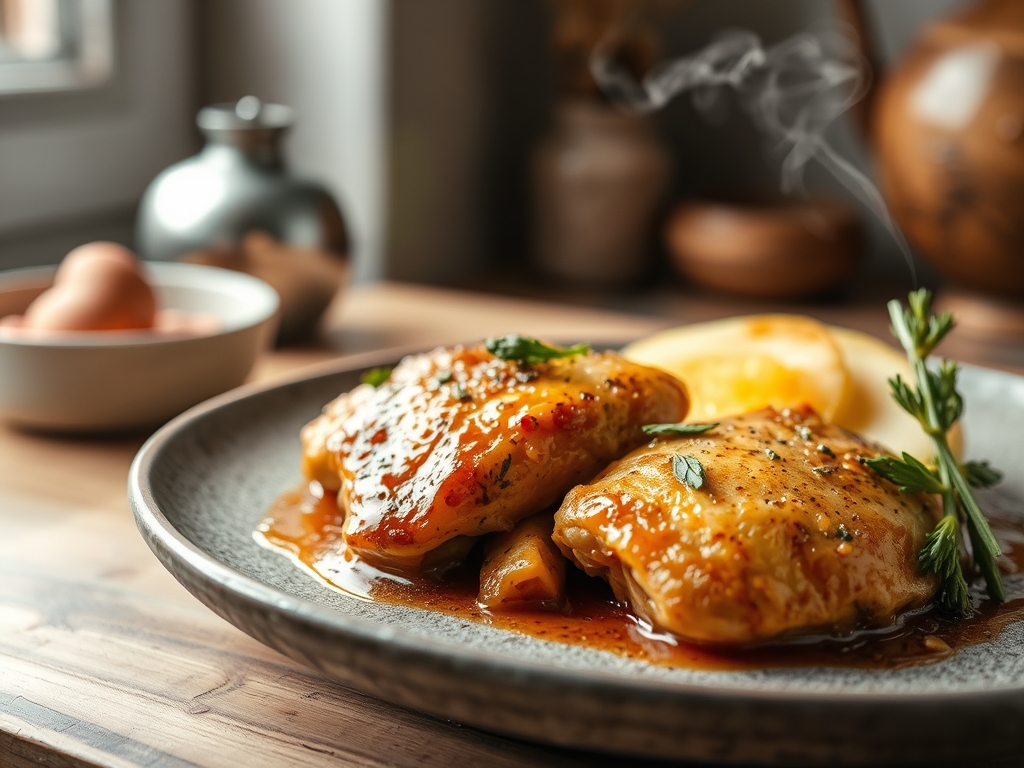
1. The Perfect Sear and Deglaze
Start by heating your skillet until it reaches the Leidenfrost point. Add a high-smoke-point oil and lay the chicken away from you. Once a golden-brown crust forms, remove the meat and deglaze the pan with a splash of white wine or chicken stock. Use a bench scraper or wooden spoon to lift those caramelized bits.
Pro Tip: This relies on the Maillard reaction, where amino acids and sugars rearrange to create hundreds of flavor compounds. If the pan is too crowded, the chicken will steam rather than sear, ruining the flavor profile.
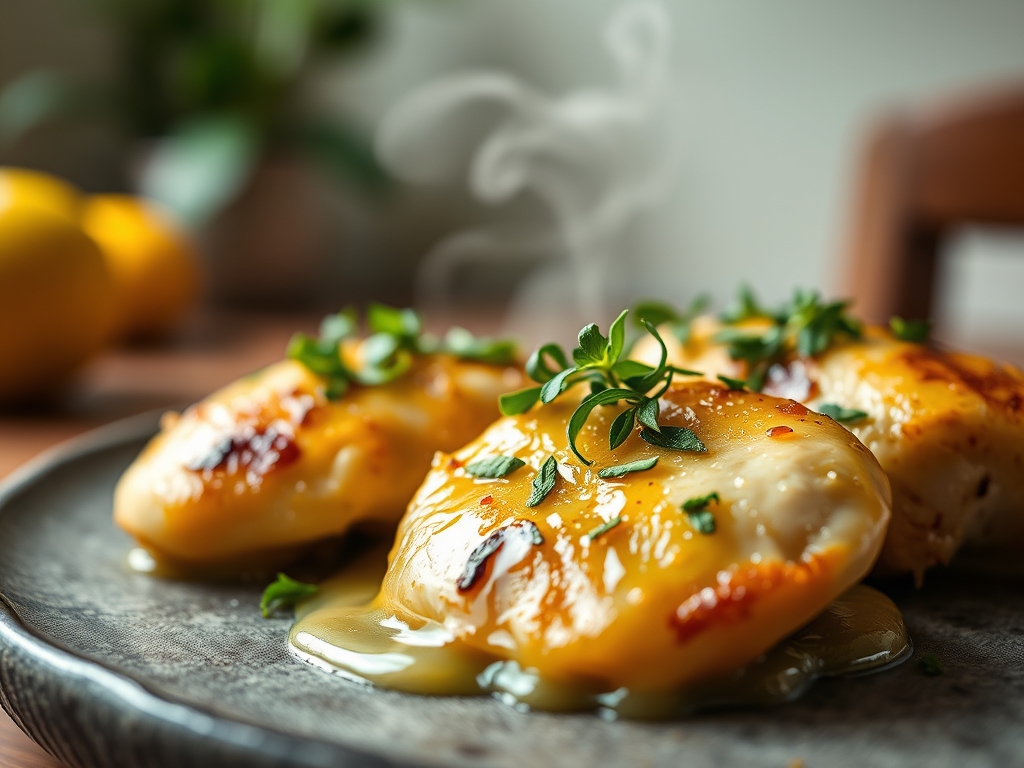
2. Emulsifying the Smetana Sauce
Reduce your heat to low before adding the sour cream to the pan drippings. Whisk constantly to incorporate the fats.
Pro Tip: This prevents the sauce from breaking. Sour cream is an emulsion of fat and water; high heat causes the proteins to clump and the fat to separate. Keeping the temperature below 180 degrees Fahrenheit ensures a viscous, smooth finish.
3. Pounding for Uniformity
For Chicken Kiev, use a meat mallet to flatten the breast to an even thickness. Place the meat between sheets of plastic wrap to prevent tearing.
Pro Tip: Uniform thickness ensures even thermal conduction. If one side is thicker, the thin edge will overcook and become stringy before the center reaches a safe internal temperature.
4. The Cold Butter Core
When stuffing chicken, ensure your herb butter is frozen solid. Wrap the meat tightly around the butter and chill the entire roll before breading.
Pro Tip: This uses the principle of phase change. The frozen butter absorbs heat slowly, allowing the chicken to cook through while the butter melts into a liquid gold center just as the exterior reaches peak crispness.
5. Aerating the Cutlets
For Pozharsky cutlets, fold chilled butter cubes into ground chicken rather than melting it.
Pro Tip: As the cutlets cook, the butter melts and creates tiny steam pockets. This aerates the meat, resulting in a light, pillowy texture rather than a dense, rubbery patty.
6. Infusing the Aromatics
Add your fresh herbs only in the final two minutes of cooking.
Pro Tip: The volatile oils in dill and parsley are highly heat-sensitive. Long exposure to heat destroys the piquant notes. Adding them at the end allows the residual heat to infuse the dish without dulling the vibrant green color.
The Deep Dive
Macro Nutrition:
Russian chicken recipes are protein-heavy and fat-forward. A standard serving of Chicken Stroganoff provides roughly 35g of protein, 22g of fat, and 8g of carbohydrates. To balance the richness, always serve these dishes with a side of fermented vegetables or a crisp cucumber salad.
Dietary Swaps:
- Vegan: Replace chicken with oyster mushrooms (which mimic the fibrous texture) and use a cashew-based cream with lemon juice for the sauce.
- Keto: These recipes are naturally keto-friendly. Simply swap the flour thickeners for a pinch of xanthan gum and serve over cauliflower rice.
- GF: Use crushed pork rinds or gluten-free breadcrumbs for the coatings.
The Fix-It:
- Broken Sauce: If your cream sauce separates, whisk in a tablespoon of heavy cream and a teaspoon of mustard to re-emulsify the fats.
- Dry Meat: If you overshot the temperature, shred the chicken and toss it back into the sauce. The capillary action will pull the liquid into the fibers.
- Soggy Breading: This happens if the oil temperature drops. Ensure you use tongs to flip the meat and never overcrowd the pan.
Meal Prep:
When reheating, avoid the microwave. The high-frequency waves cause the protein to toughen. Instead, use a saucier on the stovetop over low heat with a splash of broth to restore the moisture. This maintains "day-one" quality by gently re-hydrating the sauce.
The Wrap-Up
Mastering these russian chicken recipes is like learning a new dialect of comfort. It is about the balance of heavy cream against sharp herbs and the satisfying crunch of a perfectly fried crust. Once you understand the science of the emulsion and the importance of the Maillard reaction, your kitchen will transform into a warm, inviting bistro. Go ahead; grab those tongs and start searing. Your taste buds will thank you.
The Kitchen Table
Can I use chicken breasts instead of thighs?
Yes, but you must monitor the internal temperature closely. Breasts lack the connective tissue of thighs, meaning they dry out faster. Aim for 160 degrees Fahrenheit and let thermal carryover bring it to 165 during the rest.
Why is my sour cream sauce grainy?
The sauce likely boiled. High heat causes the proteins in sour cream to denature and clump. Always add your cream at the very end on low heat, or temper it by adding a little hot broth first.
How do I keep the butter inside Chicken Kiev?
The secret is a double-breading station and a deep chill. Flour, egg, and crumbs; then repeat the egg and crumbs. Freeze the prepared rolls for 20 minutes before frying to create a structural "shell" that traps the melting butter.
What is the best way to store leftovers?
Store in an airtight glass container for up to three days. To preserve the texture of breaded chicken, reheat in an air fryer or oven at 350 degrees to maintain the crispness while warming the interior.