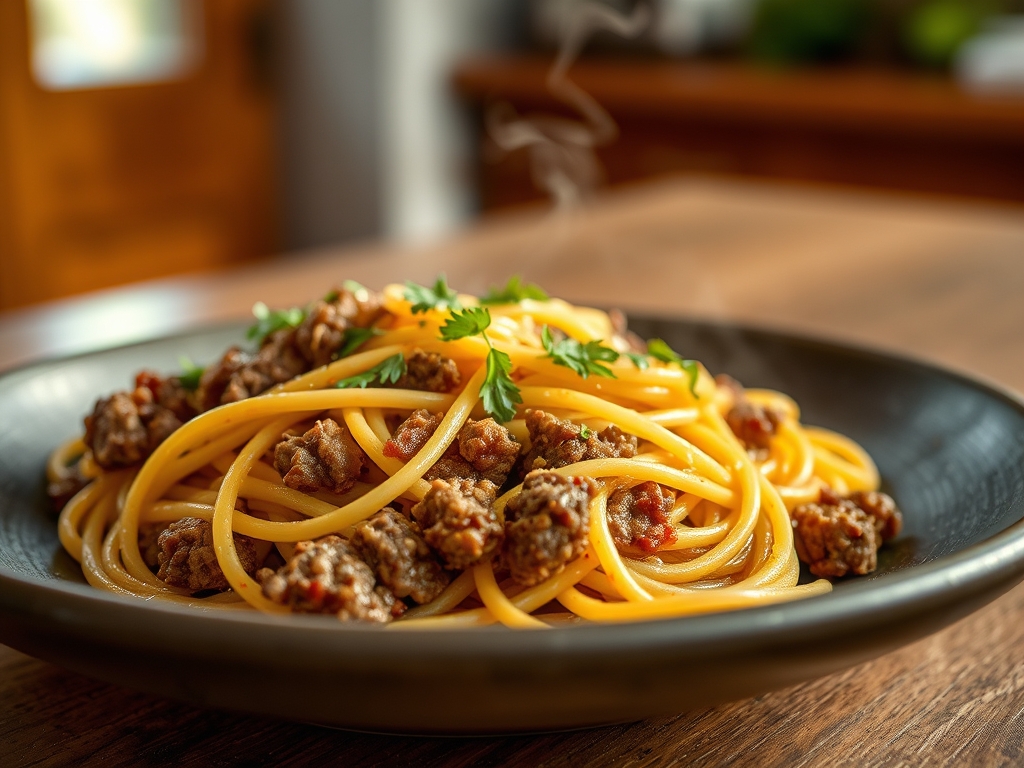
Steam rises in a fragrant, salty cloud as the noodles unfurl into a silky tangle of comfort. We have all been there at midnight; staring at a crinkled foil packet and wondering if we can turn a pantry staple into a five-star experience. Mastering top ramen beef recipes is not just about hunger; it is an exercise in culinary chemistry and the art of the quick-fire upgrade. By manipulating textures and layering umami, we can transform a humble block of wheat into a bowl that rivals the best noodle shops in the city. Forget the watery broth of your college days. We are here to talk about high-viscosity sauces, perfectly rendered fats, and the satisfying snap of fresh aromatics. It is time to treat your ramen with the respect it deserves; using science and a few professional techniques to elevate every single bite.
The Gathers:
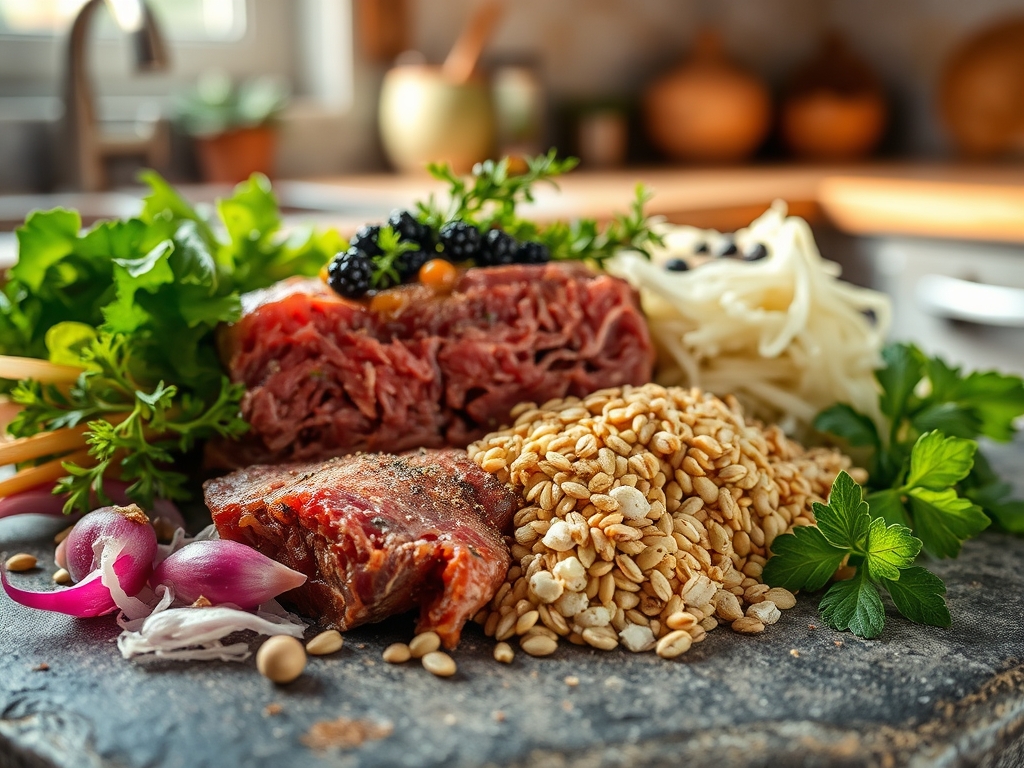
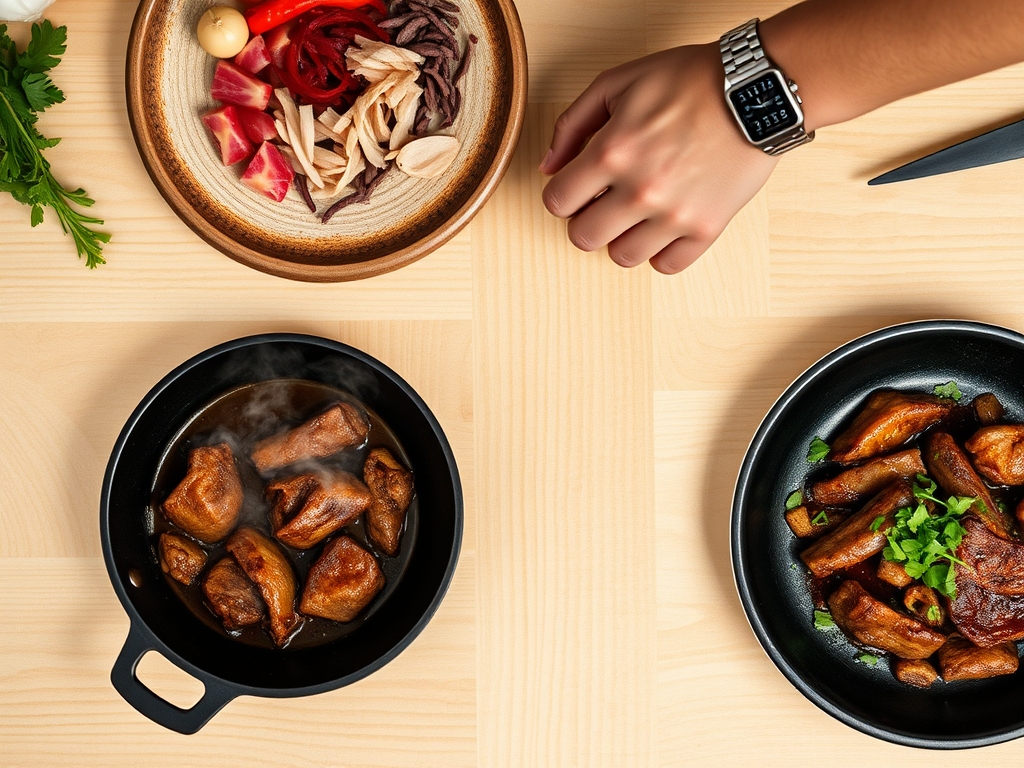
To achieve a restaurant-quality finish, your mise-en-place must be precise. Start with high-quality proteins; thinly sliced ribeye or flank steak works best because the high surface-area-to-volume ratio allows for rapid Maillard reaction browning without overcooking the center. You will need a heavy-bottomed skillet or a cast iron pan to maintain high thermal mass. For the aromatics, gather fresh ginger, garlic, and scallions. Use a microplane to grate the ginger into a fine paste; this ensures the essential oils infuse the sauce evenly rather than leaving behind woody chunks.
Smart Substitutions: If you lack fresh beef, high-quality frozen meatballs or even a well-seared block of extra-firm tofu can serve as the protein base. If you find the included seasoning packet too salty, swap half of it for a tablespoon of low-sodium soy sauce and a teaspoon of toasted sesame oil to build a more complex, viscous broth. Always keep a bottle of rice vinegar or lime wedges nearby; a hit of acid is necessary to cut through the richness of the beef fat.
The Clock
The beauty of these upgrades is the "Chef's Flow." This is a professional timing strategy where you overlap tasks to minimize downtime. Your total active time is ten minutes. Spend the first three minutes on prep; slicing your beef and grating aromatics. The next four minutes are for the "Hard Sear" and "Noodle Bloom." While the water reaches a rolling boil, your beef should already be hitting the hot oil. The final three minutes are for the "Emulsion Phase," where you toss the noodles directly into the pan with a splash of starchy cooking water to create a glossy, cohesive sauce. This synchronized rhythm ensures that the noodles stay al dente while the beef remains tender.
The Masterclass
1. The High-Heat Sear
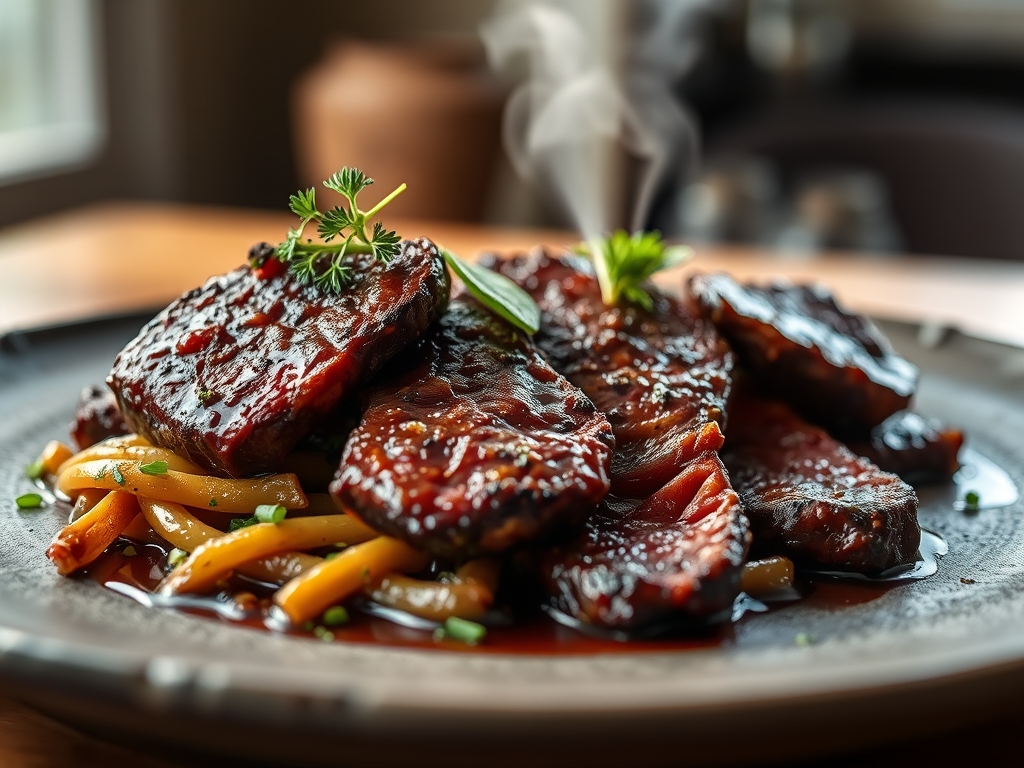
Pat your beef dry with a paper towel before it hits the pan. Moisture is the enemy of a good crust. Heat your heavy-bottomed skillet until the oil shimmers and just begins to smoke. Lay the beef in a single layer and do not move it for at least ninety seconds.
Pro Tip: This patience facilitates enzymatic browning, creating complex flavor molecules that do not exist in raw meat. Moving the meat too early causes it to steam in its own juices rather than sear.
2. The Aromatic Infusion
Once the beef is browned, push it to the perimeter of the pan. Drop your grated ginger, garlic, and the white parts of the scallions into the center. Use tongs to stir them rapidly until they become fragrant but not burnt.
Pro Tip: Aromatics are fat-soluble. By sautéing them in the rendered beef fat, you are effectively creating a flavored oil that will coat every single strand of ramen later.
3. The Deglaze and Emulsify
Pour in a small amount of liquid; this could be beef broth, a splash of mirin, or even water. Use a bench scraper or a wooden spoon to scrape up the "fond," which are the brown bits stuck to the bottom of the pan.
Pro Tip: This process is called deglazing. Those brown bits are concentrated umami. When you add the starchy ramen water, the starches act as a stabilizer to emulsify the fats and liquids into a thick, luxurious sauce.
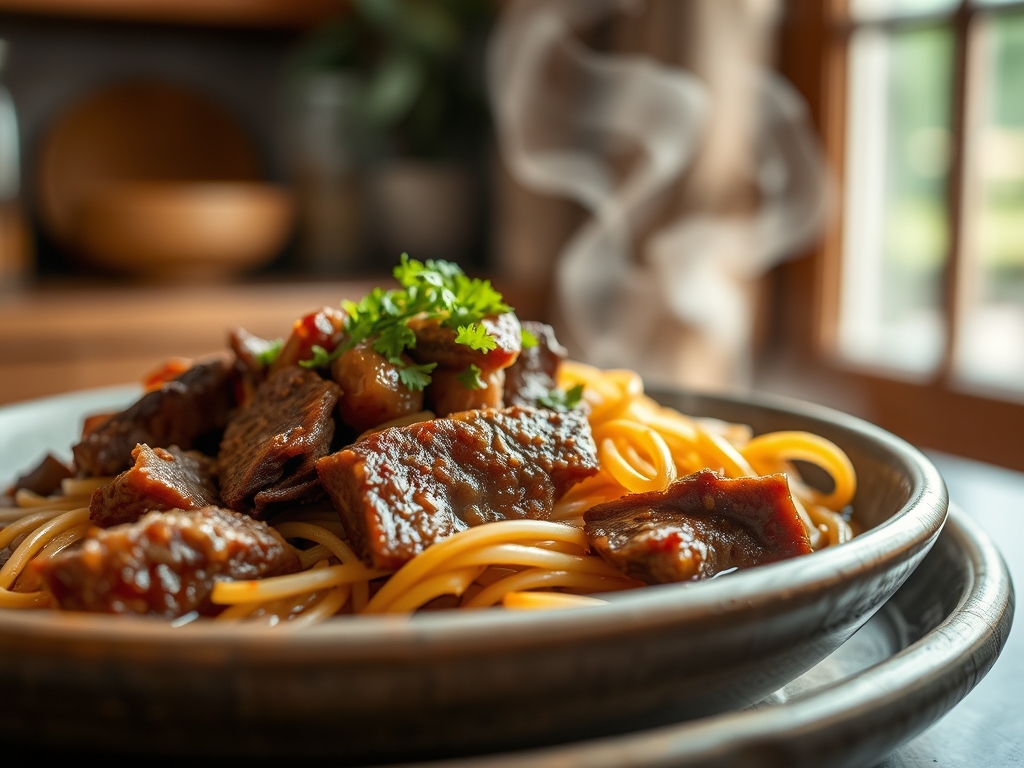
4. The Noodle Bloom
Boil your ramen noodles for exactly one minute less than the package instructions. They should still have a firm, slightly chalky core. Transfer them directly from the pot to the skillet using tongs.
Pro Tip: This is known as carryover cooking. The noodles will finish softening inside the sauce, absorbing the beef flavors into their structure rather than just being coated on the outside.
5. The Aeration Toss
Turn off the heat and add your final garnishes; sesame seeds, chili crisp, or fresh cilantro. Give the pan a vigorous toss to incorporate air and distribute the sauce.
Pro Tip: This final toss helps aerate the sauce, lightening the texture and ensuring the flavors hit your palate more dynamically. Note the texture in the step-by-step photos above.
6. The Acid Balance
Just before serving, squeeze a fresh lime wedge over the bowl or add a teaspoon of rice vinegar. This is the "brightening" phase that balances the heavy salts and fats.
Pro Tip: Acid interacts with your taste buds to "reset" them, making each subsequent bite of the rich beef ramen taste as vibrant as the first.
The Deep Dive
When we look at the macro nutrition of these top ramen beef recipes, we see a high-energy meal. A standard serving provides roughly 450 to 600 calories, with a significant boost in protein from the added beef. To make this Keto-friendly, swap the wheat noodles for shirataki (konjac) noodles, which are virtually carb-free. For a gluten-free version, use brown rice ramen and tamari instead of soy sauce.
The Fix-It:
- The Mushy Noodle: If your noodles are overcooked, stop the cooking immediately by rinsing them in cold water. In the future, always pull them from the heat while they still have a "snap."
- The Gray Meat: If your beef looks gray instead of brown, your pan was not hot enough or was overcrowded. Cook in smaller batches to maintain the temperature.
- The Salt Bomb: If the sauce is too salty, do not add more water. Instead, add a teaspoon of sugar or a splash of heavy cream to mellow out the sodium perception.
Meal Prep: To maintain "day-one" quality when reheating, store the noodles and beef separately from any extra broth. When you are ready to eat, reheat the beef and broth first, then drop the noodles in for the last thirty seconds to prevent them from becoming waterlogged.
The Wrap-Up
You are now officially armed with the technical prowess to turn a simple pantry staple into a gourmet masterpiece. By focusing on the Maillard reaction, proper emulsification, and the "Chef's Flow," you have elevated your kitchen game from basic to brilliant. These top ramen beef recipes are your new secret weapon for busy weeknights or impressive late-night hosting. Now, grab your saucier, get that pan screaming hot, and go create something delicious!
The Kitchen Table
How do I make ramen beef more tender?
Always slice your beef against the grain to break up tough muscle fibers. Searing over high heat quickly ensures the outside browns while the inside stays succulent. Using a digital scale to portion meat ensures even cooking across the batch.
Can I use ground beef for these recipes?
Absolutely. Ground beef provides excellent surface area for browning. Ensure you drain the excess fat after searing to prevent the sauce from becoming overly greasy; then proceed with the deglazing and aromatic steps as usual.
What is the best way to thicken ramen sauce?
The secret is starchy noodle water. Before draining your noodles, reserve half a cup of the cloudy liquid. Add it to your skillet with the seasonings; the starch acts as a natural thickener to create a viscous glaze.
How do I add more vegetables without making it watery?
Sauté hardy vegetables like bok choy or broccoli in the heavy-bottomed skillet before adding the noodles. This allows their natural sugars to caramelize and prevents excess moisture from diluting your carefully crafted umami-rich sauce.