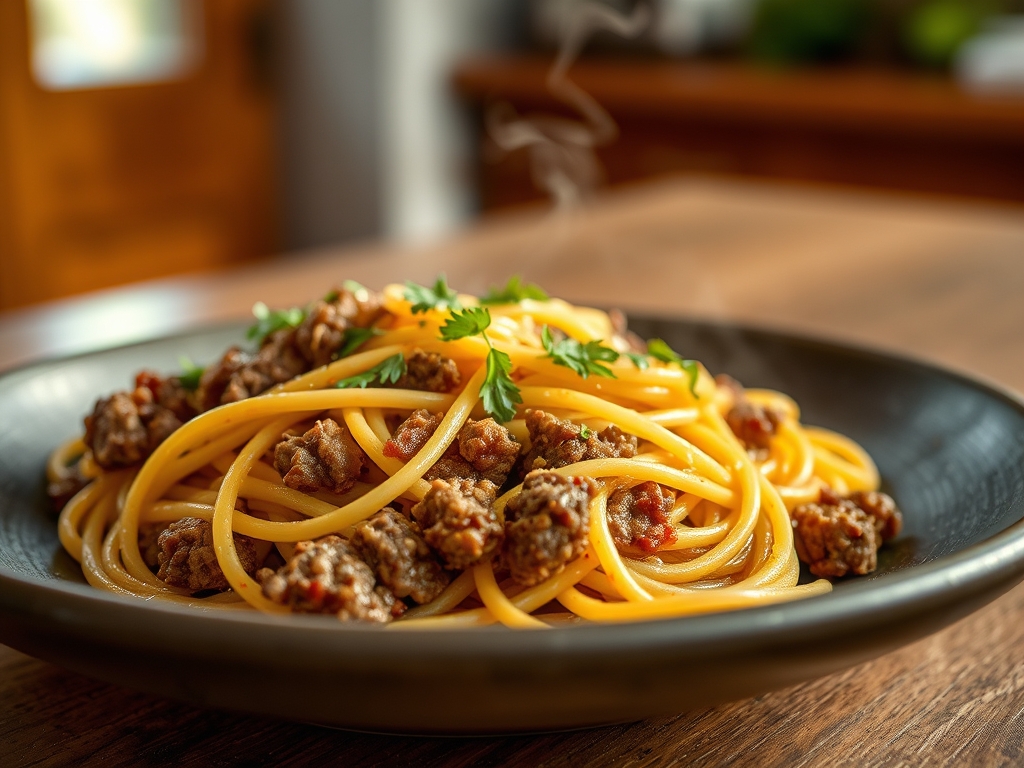
Picture this: a cool evening breeze, a cold drink in your hand, and the intoxicating scent of rendered fat hitting a blistering hot steel plate. That hiss is not just noise; it is the sound of the Maillard reaction transforming a humble cut of meat into a culinary masterpiece. When you are hunting for the ultimate blackstone beef recipes, you are actually looking for the intersection of high-octane heat and precision timing. Most people treat their griddle like a giant frying pan, but we are going to treat it like a high-performance engine. We are talking about crusts so dark and savory they border on spiritual, and interiors so tender they practically melt on contact.
The secret to restaurant-quality results lies in understanding how heat transfers through carbon steel. Unlike a standard kitchen range, the Blackstone offers a massive surface area that allows for moisture to evaporate instantly. This prevents the dreaded "gray meat" syndrome where steaks boil in their own juices. Instead, we are aiming for a deep, mahogany exterior that locks in every drop of flavor. Whether you are a weekend warrior or a seasoned pro, mastering these six secrets will elevate your outdoor cooking from basic backyard fare to a sophisticated steakhouse experience. Grab your bench scraper and your infrared thermometer; we are about to change the way you look at beef forever.
The Gathers:
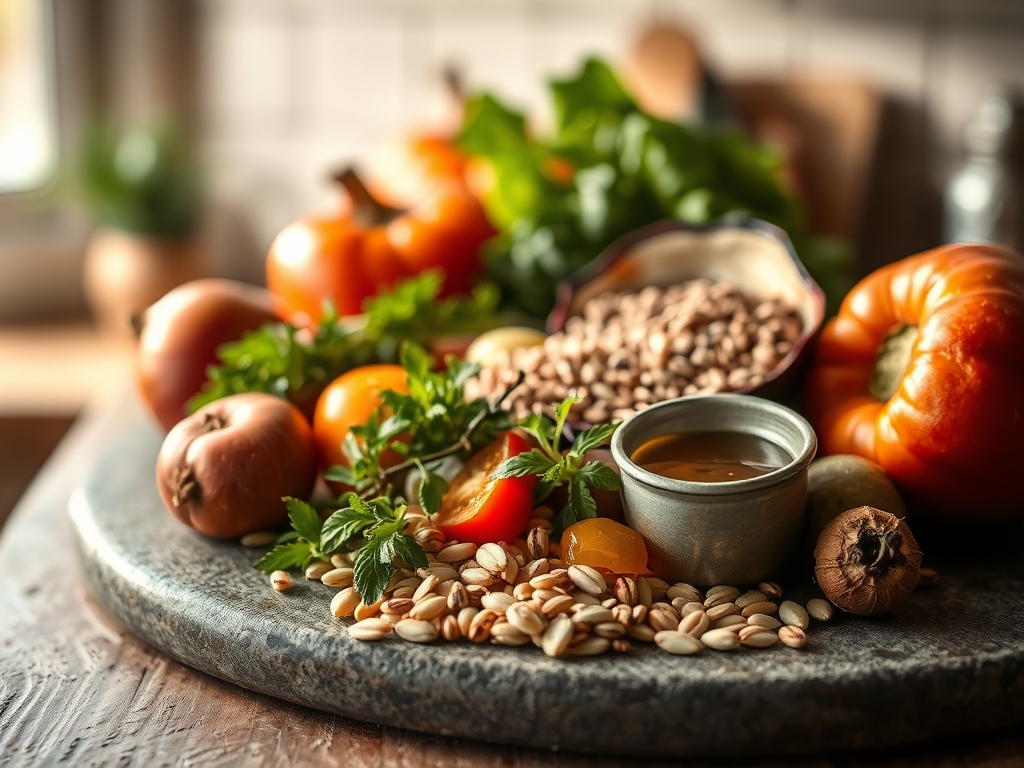
To execute these blackstone beef recipes with precision, your mise-en-place must be flawless. Start with your protein: high-quality Ribeye or New York Strip, ideally aged for at least 21 days to allow natural enzymes to break down connective tissue. You will need a high-smoke-point lipid; avocado oil or clarified butter (ghee) is essential because extra virgin olive oil will oxidize and turn bitter at these temperatures.
For the seasoning, skip the fine table salt. Reach for Kosher salt for its jagged crystal structure that clings to the meat fibers. You will also need freshly cracked black pepper, garlic cloves for infusing, and sprigs of rosemary or thyme.
Smart Substitutions:
If you are watching your saturated fat intake, swap the butter baste for a viscous emulsion of avocado oil and roasted garlic. If you cannot find Ribeye, a Picanha (sirloin cap) offers a similar fat-to-lean ratio but requires a sharper knife to score the fat cap. For a piquant kick, incorporate a dash of Worcestershire sauce or a smear of Dijon mustard before the beef hits the steel; the sugars in the mustard will accelerate the browning process.
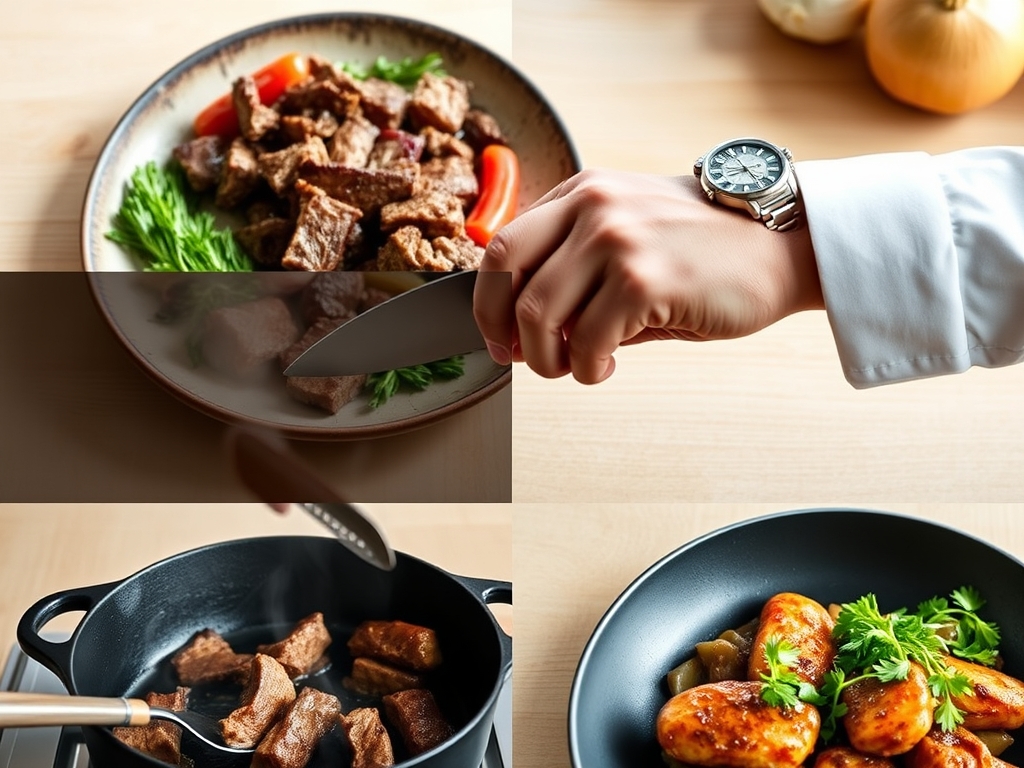
The Clock: Mastering the Chef's Flow
Time is your most volatile ingredient. The "Chef's Flow" is the sequence of actions that ensures nothing is overcooked while you are fumbling for a spatula.
- Tempering (30-45 minutes): This is non-negotiable. Cold beef causes the muscle fibers to contract violently when hitting heat, leading to a tough texture.
- Preheating (15 minutes): Your Blackstone needs time to saturate the steel with thermal energy.
- The Sear (3-4 minutes per side): This is the active window where the magic happens.
- The Rest (10 minutes): This is where the internal juices redistribute. If you cut too soon, you lose the viscous liquid gold that makes a steak juicy.
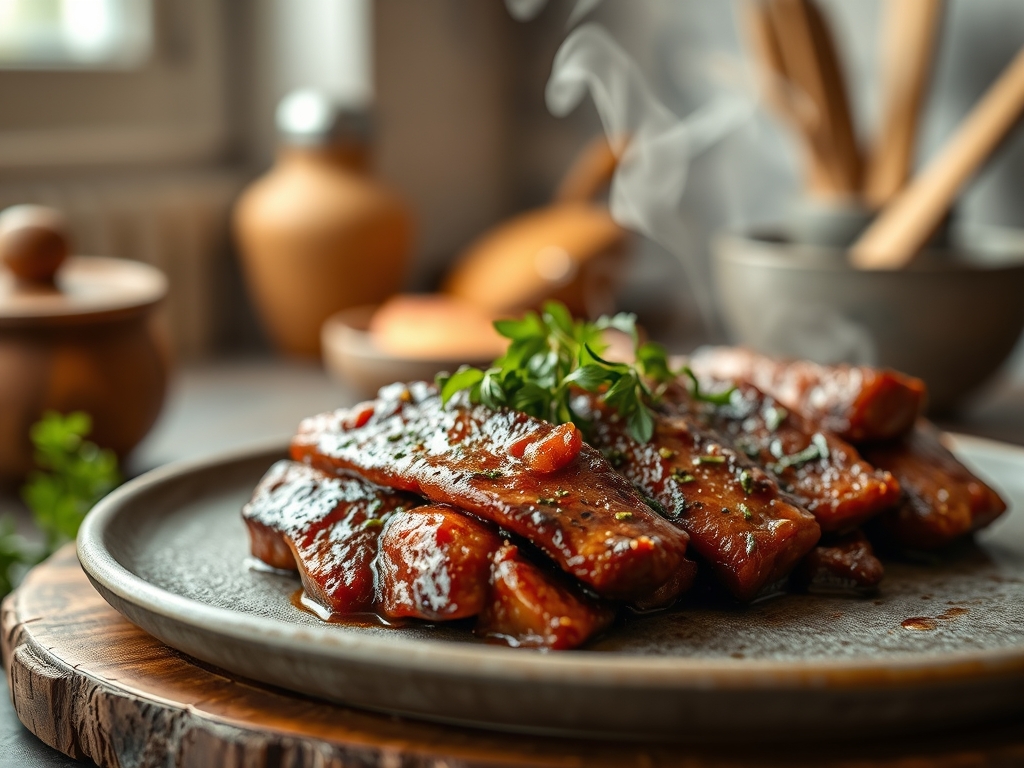
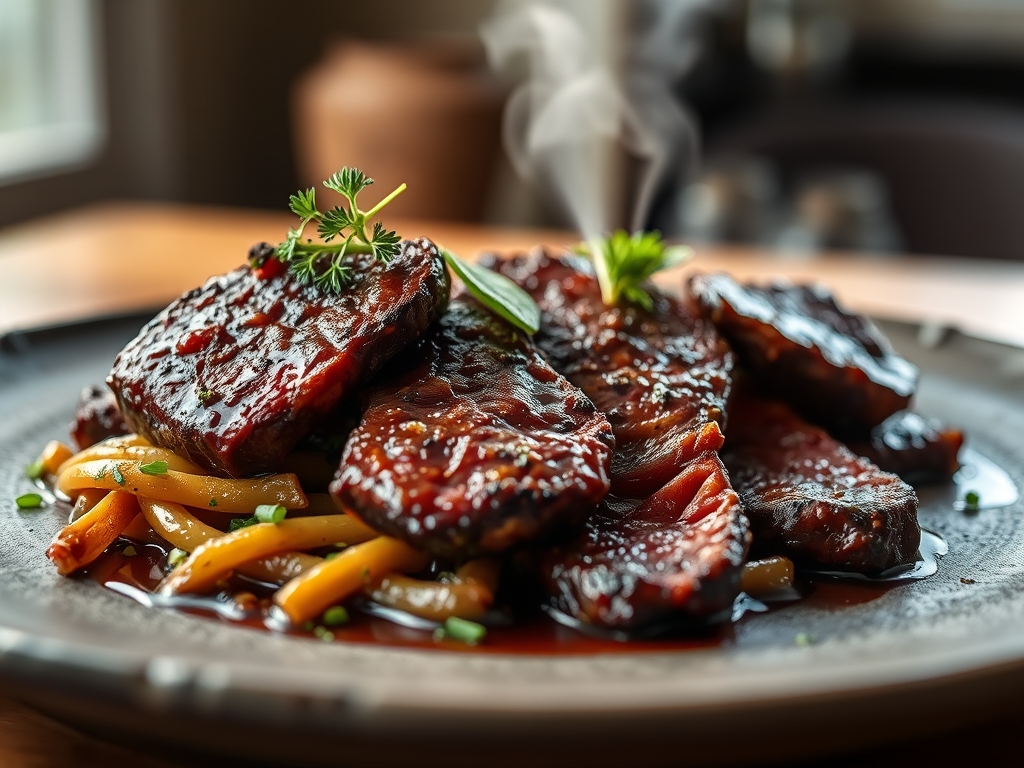
The Masterclass: 6 Secrets for Success
1. The Surface Dry-Down
Use a lint-free paper towel to pat the beef until the surface is bone-dry. Any residual moisture will turn to steam, which acts as a thermal barrier and prevents a hard sear.
Pro Tip: This is about evaporative cooling. If the surface is wet, the energy of the griddle goes into boiling the water rather than browning the proteins.
2. The Infrared Calibration
Do not guess the temperature. Use an infrared thermometer to ensure your "hot zone" is between 450 and 500 degrees Fahrenheit.
Pro Tip: This temperature range triggers the Maillard reaction without reaching the flash point of your oils, ensuring a complex flavor profile without a burnt aftertaste.
3. The Weighted Press
Use a heavy-bottomed grill press or a cast-iron bacon weight to ensure 100% surface contact between the meat and the steel.
Pro Tip: This maximizes conduction, the most efficient form of heat transfer, ensuring an even crust across the entire surface area of the steak.
4. The Aromatic Infusion
During the final two minutes of cooking, toss crushed garlic and herbs directly onto the griddle next to the beef. Use your bench scraper to move the rendered fat over the aromatics.
Pro Tip: Fat is a solvent. By heating the aromatics in the beef tallow, you infuse the lipid layer with essential oils that then coat the meat.
5. The Edge Render
Do not forget the sides. Use your tongs to stand the steak on its side, specifically the fat cap, for 60 seconds.
Pro Tip: This process, called rendering, transforms tough white collagen into a melt-in-your-mouth texture and adds a deep umami punch to the final dish.
6. The Carryover Calculation
Pull your beef off the griddle when it is 5 degrees below your target temperature.
Pro Tip: This accounts for thermal carryover. The residual heat on the exterior continues to move toward the center even after the meat is removed from the heat source.
The Deep Dive
Macro Nutrition:
Beef is a nutritional powerhouse, providing high-density bioavailable protein, Vitamin B12, and Zinc. A standard 6-ounce serving of lean beef contains approximately 45g of protein and 0g of carbohydrates, making it a staple for metabolic health.
Dietary Swaps:
- Keto/Paleo: This method is inherently compliant. Increase the fat content by adding a compound butter finish.
- Vegan: Use the same high-heat techniques for thick "steaks" of cauliflower or lion's mane mushrooms. Use a saucier to create a miso-based glaze to mimic the umami of beef.
- Gluten-Free: Ensure your dry rubs do not contain anti-caking agents derived from wheat.
The Fix-It:
- The Gray Band: If you see a thick gray ring under the crust, your heat was too low. Next time, wait for the oil to shimmer and slightly smoke.
- The Tough Chew: You likely skipped the tempering phase. Ensure the beef is room temperature before it hits the steel.
- The Bitter Crust: This happens when pepper burns. Apply salt before the sear, but save the pepper for the resting phase.
Meal Prep & Reheating:
To maintain "day-one" quality, reheat your beef in a low oven (250 degrees) until it reaches 110 degrees internally. This prevents the proteins from tightening up and becoming rubbery, a common side effect of microwave reheating.
The Wrap-Up
Mastering blackstone beef recipes is about more than just flipping meat; it is about controlling variables. By focusing on surface moisture, thermal contact, and the science of the rest, you are no longer just cooking; you are engineering flavor. The Blackstone is your laboratory, and that heavy steel plate is your greatest asset. Now, get out there, fire up the burners, and show that beef who is boss. Your taste buds will thank you.
The Kitchen Table
How do I get a better crust on my Blackstone?
Ensure the meat surface is completely dry and the griddle is at least 450 degrees. Use a heavy press to maximize contact between the beef and the steel, which accelerates the Maillard reaction for a superior mahogany crust.
What is the best oil for Blackstone steaks?
Use oils with high smoke points like avocado oil, grapeseed oil, or clarified butter. Avoid extra virgin olive oil or unrefined coconut oil, as they break down at high temperatures and create bitter, acrid flavors on your beef.
Should I salt my beef before or after cooking?
Salt your beef at least 40 minutes before cooking or immediately before hitting the griddle. This allows the salt to penetrate the fibers or stay on the surface to create a dry brine, enhancing both flavor and moisture retention.
Why is my steak tough on the Blackstone?
Toughness usually results from "cold-shocking" the meat. Always temper your beef by letting it sit at room temperature for 30 to 45 minutes before cooking. This ensures the muscle fibers relax, resulting in a much more tender texture.