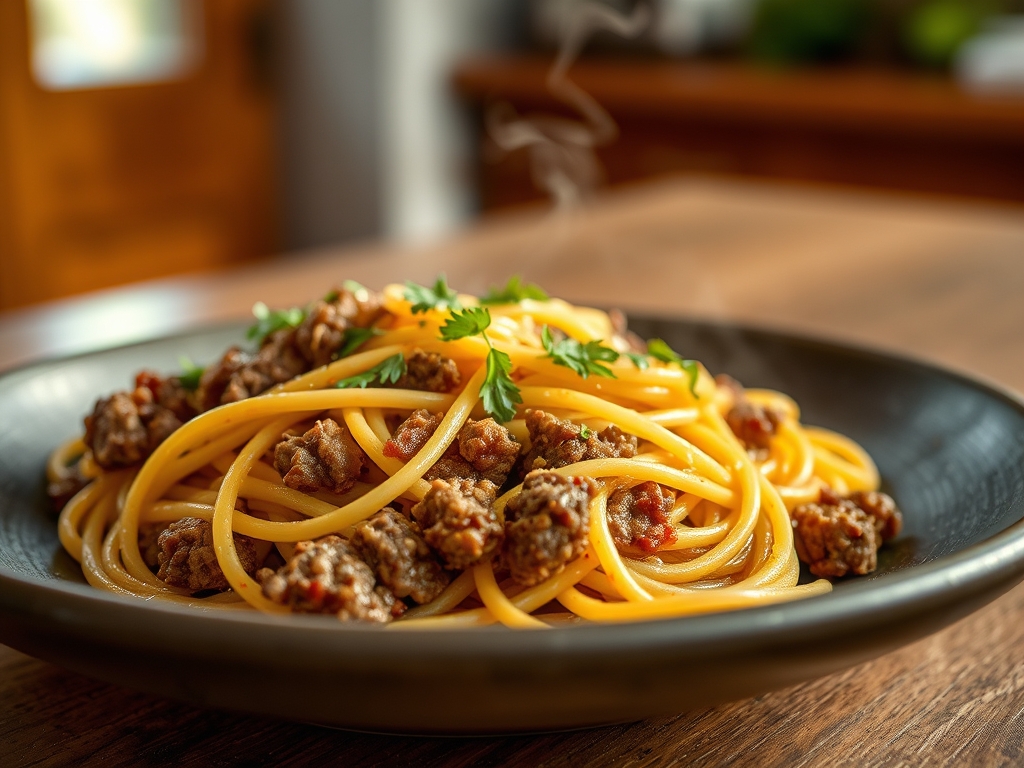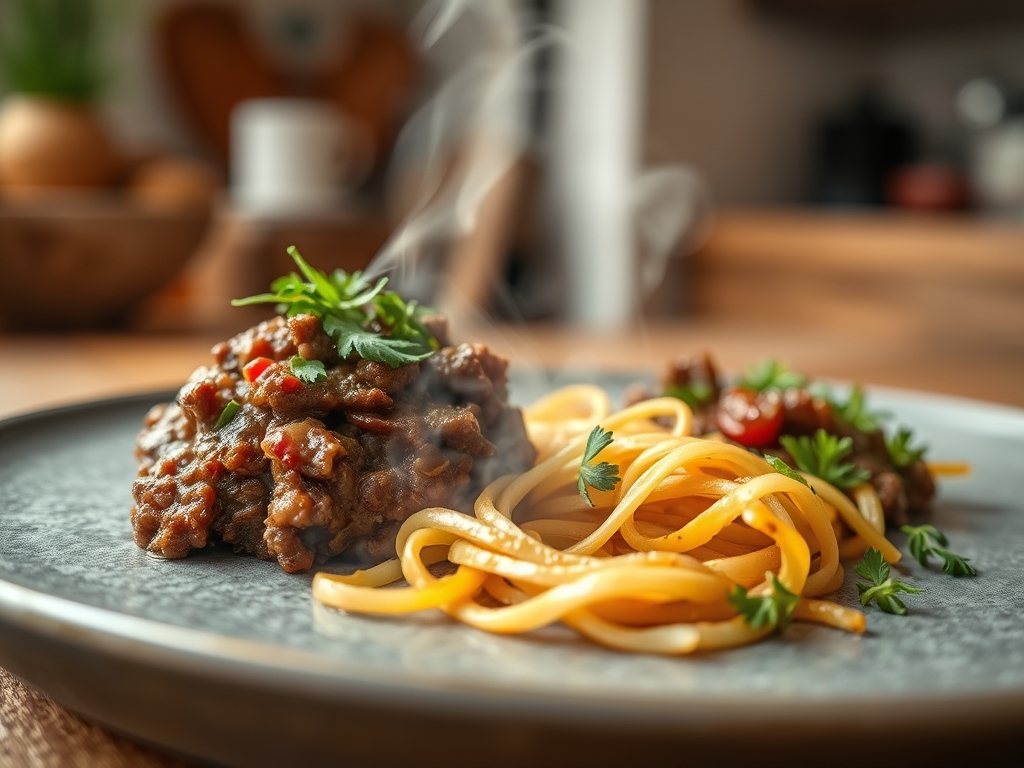
Picture the sizzle of fat hitting a heavy-bottomed skillet; it is the sound of comfort and the beginning of a culinary transformation. We have all been there at 6:00 PM with a pound of protein and a ticking clock. Finding good easy ground beef recipes is not just about convenience; it is about mastering the Maillard reaction to turn humble ingredients into a five-star experience. Whether you are craving a piquant Korean bowl or a viscous, cheese-laden pasta, ground beef is the ultimate canvas for flavor. It is reliable, forgiving, and incredibly efficient when you understand the chemistry of the sear. We are moving past basic burgers and into a world where nine distinct flavor profiles coexist in one repertoire. Get ready to elevate your weeknight routine with techniques that prioritize both depth of flavor and your precious time. We are going to make magic out of the mundane, ensuring every bite is as sophisticated as it is simple.
The Gathers:
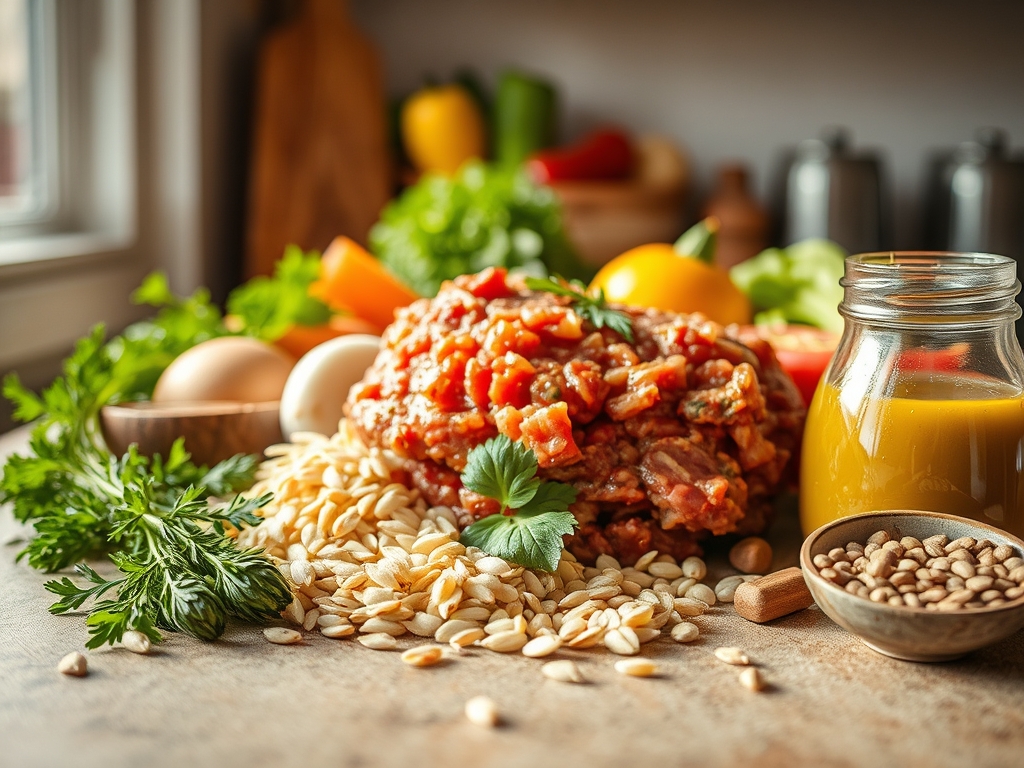
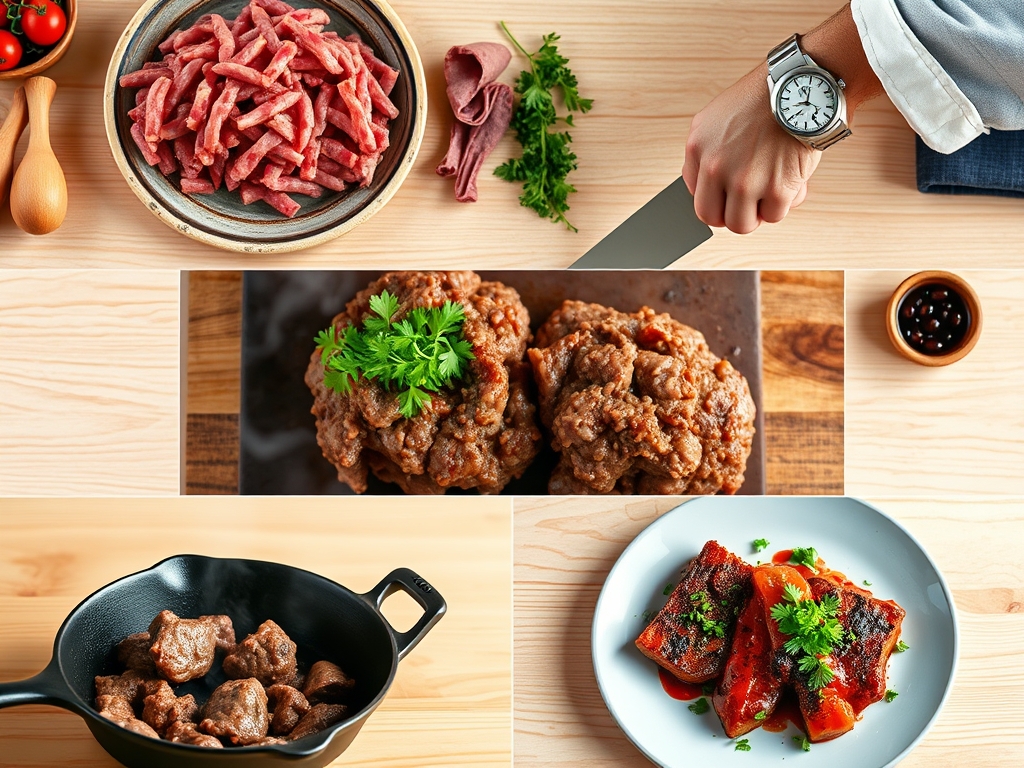
To execute these good easy ground beef recipes, your mise-en-place must be precise. Start with high-quality ground chuck, ideally an 80/20 fat ratio. This specific ratio ensures there is enough lipid content to render and carry fat-soluble aromatics throughout the dish. You will need a variety of aromatics: minced garlic, shallots for a delicate pungency, and ginger for a piquant bite in Asian-inspired dishes. Keep a bottle of dry white wine or beef stock nearby to deglaze the pan, capturing the flavorful brown bits known as fond.
Smart Substitutions: If you are looking to lighten the caloric density, you can swap half the beef for finely minced cremini mushrooms. This creates an umami-rich blend that mimics the texture of meat while increasing moisture retention. For those avoiding nightshades, replace tomato-based thickeners with a slurry of beef bone broth and arrowroot powder to maintain a viscous consistency without the acidity. Always use a digital scale to portion your meat if you are meal prepping; it ensures consistent cooking times across the board.
The Clock
Efficiency in the kitchen is governed by what I call the Chef's Flow. For these nine recipes, the active prep time is a mere 10 to 15 minutes, with cook times ranging from 12 to 20 minutes. The secret is to use a heavy-bottomed skillet or a cast iron pan. These vessels have high thermal mass, meaning they do not drop in temperature when the cold meat is added. This prevents the beef from steaming in its own juices, which is the enemy of a good sear. By the time your pasta water reaches a rolling boil or your rice cooker clicks to "warm," your beef should be perfectly caramelized and ready to serve.
The Masterclass
1. The Tempering Phase
Before the meat even touches the heat, take it out of the refrigerator for 15 minutes. Cold meat causes the muscle fibers to seize, resulting in a tough texture. By bringing the beef closer to room temperature, you ensure even heat distribution.
Pro Tip: This is known as thermal equilibrium. Reducing the temperature gap between the meat and the pan prevents a massive heat drop, allowing the Maillard reaction (the browning of sugars and amino acids) to begin immediately.
2. The High-Heat Sear
Place your skillet over medium-high heat until a drop of water dances and evaporates instantly. Add the beef in a single layer. Do not stir it immediately. Let it sit undisturbed for at least three minutes to develop a deep, mahogany crust.
Pro Tip: Stirring too early causes the meat to release moisture before the surface can dehydrate. You need that surface dehydration to achieve the complex, savory flavors that define professional-grade cooking.
3. Breaking and Aerating
Use a sturdy wooden spoon or a bench scraper to break the meat into small, uniform crumbles. Once the bottom is browned, flip the sections and continue breaking them down. This increases the surface area, allowing more of the meat to come into contact with the hot metal.
Pro Tip: This process is called aeration. By breaking the meat into smaller fragments, you allow steam to escape efficiently, which prevents the beef from graying and ensures a crisp, firm texture.
4. Infusing Aromatics
Once the beef is nearly browned, clear a space in the center of the pan (the "hot zone"). Add your garlic, onions, or spices directly to the rendered fat. Sauté for 60 seconds until fragrant before mixing them into the meat.
Pro Tip: Many flavor compounds in spices are fat-soluble. By "blooming" them in the rendered beef fat, you infuse the oil with flavor, which then coats every single morsel of beef more effectively than if you added them to a dry pan.
5. The Deglaze and Emulsify
Add your liquid component; whether it is soy sauce, wine, or balsamic vinegar. Use your spoon to scrape up every bit of the caramelized fond stuck to the bottom of the pan. Stir vigorously to incorporate the fats and liquids.
Pro Tip: This creates a pan sauce through emulsification. The proteins and fats in the beef act as natural stabilizers, turning a thin liquid into a glossy, viscous sauce that clings to the meat.
The Deep Dive
Ground beef is a nutritional powerhouse, offering high bioavailability of Vitamin B12, Zinc, and Heme Iron. On average, a 4-ounce serving of 80/20 beef provides 20 grams of protein and 22 grams of fat. If you are following a Keto protocol, this is your gold standard. For those on a Gluten-Free diet, simply ensure your soy sauce is replaced with tamari or coconut aminos.
The Fix-It:
- The Greasy Pan: If your dish feels too heavy, the fat did not emulsify. Fix: Add a splash of citrus or vinegar. The acid cuts through the lipids and brightens the flavor profile.
- Tough Meat: This usually happens from over-stirring or using meat that was too lean. Fix: Add a tablespoon of butter or a splash of heavy cream at the end to restore a velvety mouthfeel.
- Bland Flavor: If it tastes flat, it likely lacks salt or acidity. Fix: Use a microplane to zest a lemon over the dish or add a pinch of flaky sea salt right before serving.
Meal Prep Science: To maintain "day-one" quality when reheating, avoid the microwave if possible. Instead, use a saucier with a teaspoon of water or broth. Cover the pan to create a steam chamber. This rehydrates the proteins without overcooking them, preserving the original texture of your good easy ground beef recipes.
The Wrap-Up
Mastering the art of the ground beef dinner is a superpower for any home cook. By focusing on the science of the sear and the chemistry of aromatics, you turn a simple grocery staple into a gourmet foundation. These techniques ensure that your meals are never boring, never dry, and always impressive. Now that you have the technical roadmap, grab your tongs and your favorite skillet; it is time to turn that pound of beef into something extraordinary. Happy cooking!
The Kitchen Table
How do I keep ground beef from getting dry?
To prevent dryness, use beef with at least 15% fat. Avoid over-handling the meat and do not overcook it. Adding a "pan sauce" by deglazing with broth or wine at the end helps lock in moisture and flavor.
Can I freeze these ground beef meals?
Yes, ground beef dishes freeze exceptionally well. Allow the food to cool completely before sealing in airtight containers. To preserve texture, thaw in the refrigerator overnight and reheat gently in a skillet with a splash of liquid to rehydrate the proteins.
What is the best way to brown beef?
The best way is to use a preheated heavy-bottomed skillet on medium-high heat. Pat the meat dry with paper towels first. Let it sear undisturbed for three minutes to develop the Maillard reaction before breaking it into crumbles.
Is ground beef healthy for weeknight dinners?
Ground beef is a nutrient-dense protein source rich in iron and B vitamins. To keep it balanced, pair your beef with high-fiber vegetables and complex carbohydrates. Choosing grass-fed options can also increase the levels of heart-healthy Omega-3 fatty acids.