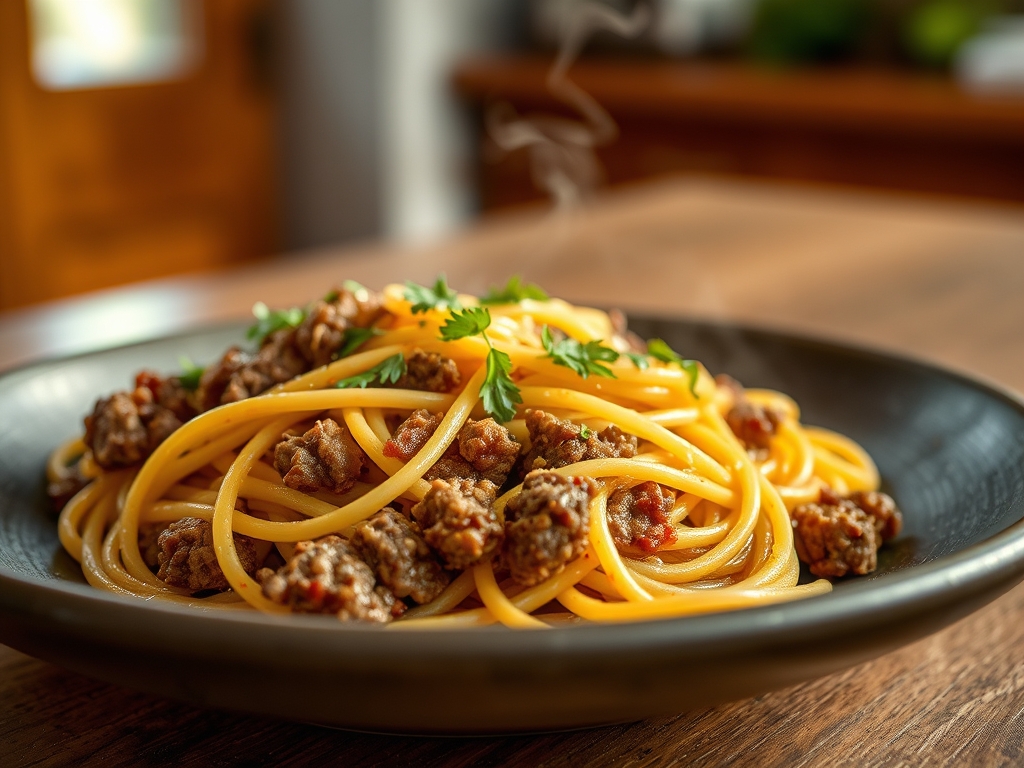
Picture the sizzle of a heavy bottomed skillet as the fat begins to render; it is a sound that signals the start of something truly transformative. When you master feta cheese and ground beef recipes, you are playing with a high stakes contrast between the rich, savory depth of protein and the piquant, briny punch of sheep milk cheese.
It is a match made in culinary heaven. The beef provides a robust, umami heavy canvas, while the feta acts as a bright, acidic highlight that cuts through the richness. We are not just making dinner; we are engineering a flavor profile that balances the Maillard reaction with a sharp, salty finish. Whether you are stuffing peppers or searing burgers, the chemistry remains the same. The goal is to achieve a perfect sear while keeping the feta intact enough to provide those creamy, tangy pockets of joy. Let us dive into the science of why this duo works and how you can execute it like a professional stylist.
The Gathers:
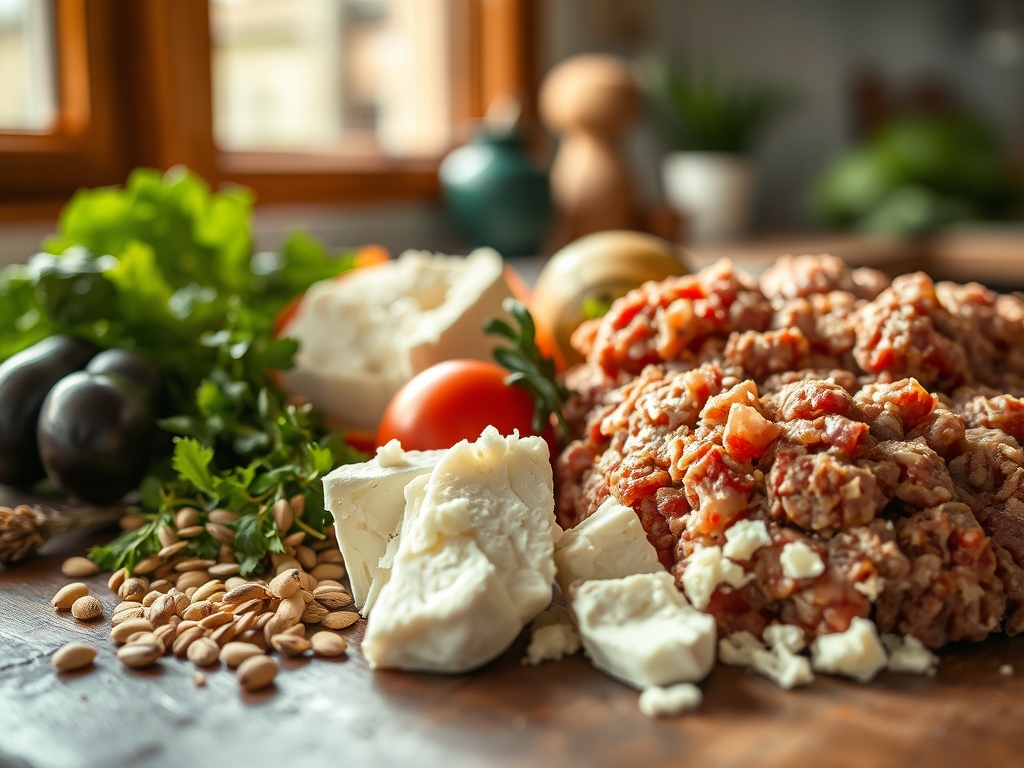
To begin our mise en place, we must treat our ingredients with technical respect. Start with 80/20 ground chuck; the 20 percent fat content is non negotiable for a moist mouthfeel. You will need a block of high quality Greek feta stored in brine. Avoid the pre crumbled variety as the anti caking agents prevent that luxurious, viscous melt we are after.
Gather your aromatics: fresh oregano, garlic cloves, and shallots. Use a microplane to zest a lemon, which provides the essential oils needed to brighten the heavy fats of the beef. You will also need a digital scale to ensure your portions are uniform, which guarantees even cooking across the board.
Smart Substitutions:
If you are looking to lighten the load, ground lamb is a traditional and highly aromatic alternative that pairs beautifully with feta. For a lower fat option, ground turkey works, but you must add a teaspoon of olive oil to compensate for the lack of natural tallow. If you find feta too aggressive, a firm ricotta salata offers a similar texture with a much milder salt profile.
The Clock:
Efficiency in the kitchen is all about the Chef's Flow. Your total active time for these pairings will clock in at approximately 20 minutes, with a total cook time of 15 to 30 minutes depending on the specific application.
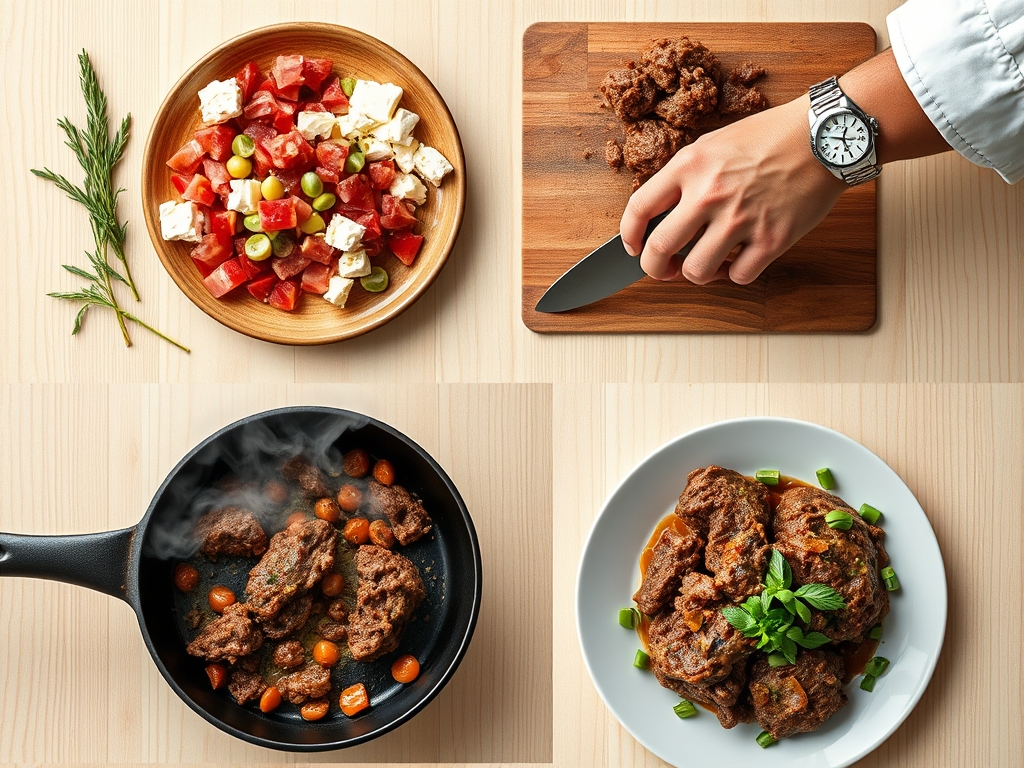
The Flow begins with the "Cold Prep." Chop your aromatics and crumble your cheese while the beef is still tempering on the counter. Never cook beef straight from the fridge; allowing it to reach room temperature for 15 minutes ensures the muscle fibers do not contract too violently when they hit the heat. While the beef sears, use that window to prep your sides or whisk together a lemon tahini dressing. This overlapping strategy ensures that everything hits the table at the peak of its thermal potential.
The Masterclass:
1. The Tempering Phase
Place your ground beef on a clean surface and allow it to sit for 15 to 20 minutes. Use a bench scraper to divide the meat into equal portions without overworking the proteins. Over handling the meat leads to a dense, rubbery texture because it prematurely develops the myosin filaments.
Pro Tip: This phase is crucial for thermal equilibrium. If the center of the meat is too cold, the exterior will overcook and become dry before the interior reaches a safe temperature.
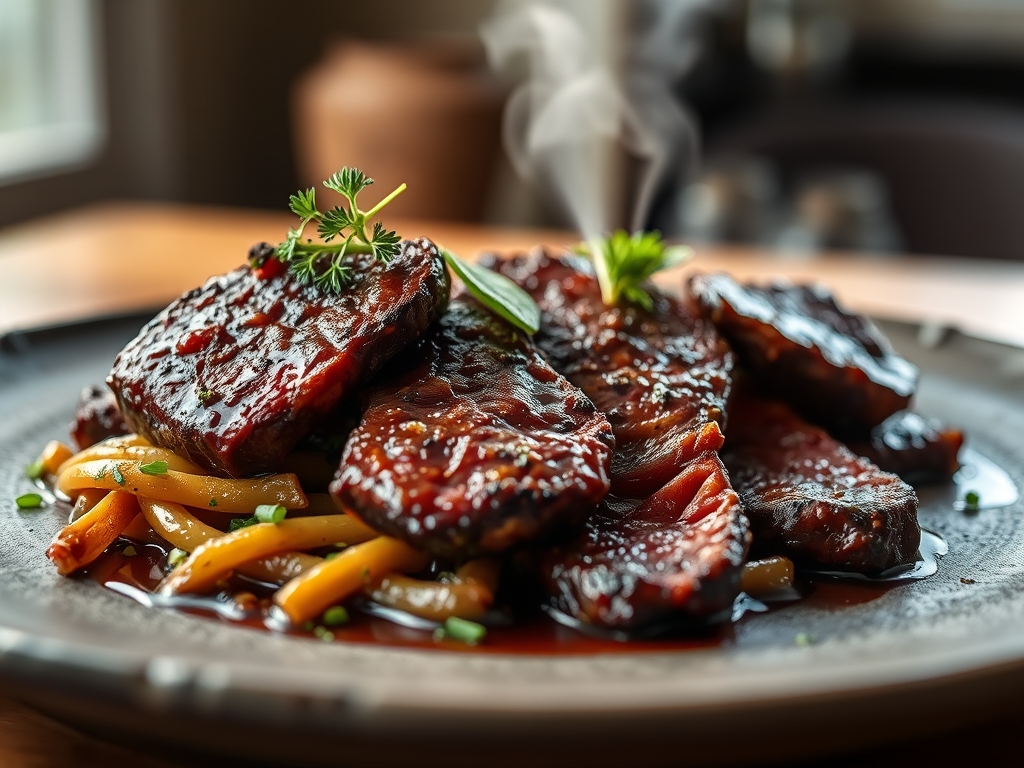
2. The High Heat Sear
Heat your heavy bottomed skillet until it is wisping with smoke. Add a high smoke point oil like avocado oil. Place the beef in the pan and leave it alone. Use a metal spatula to press down once to ensure maximum surface contact for the Maillard reaction.
Pro Tip: Resistance is key. If the meat sticks to the pan, the Maillard reaction is not yet complete. Once a proper crust has formed, the meat will naturally release from the surface.
3. Deglazing the Fond
Once the beef is browned and removed, you will see brown bits stuck to the pan. This is called "fond." Pour in a splash of dry white wine or beef stock and use a wooden spoon to scrape those bits up. This creates a deeply savory base for any sauce.
Pro Tip: This is an enzymatic extraction. The liquid dissolves the caramelized proteins and sugars, incorporating them back into the dish for a more complex flavor profile.
4. The Feta Integration
Turn the heat to low before adding your feta. If the pan is too hot, the cheese will lose its structural integrity and turn into an oily mess. Gently fold the crumbles into the beef using a silicone spatula to maintain those distinct white pockets.
Pro Tip: Feta has a high acid content, which acts as a denaturant. It slightly softens the beef fibers upon contact, making the final bite feel more tender.
5. The Rest and Carryover
Move your beef and feta mixture to a warm plate. Let it rest for at least five minutes before serving. This allows the internal juices to redistribute throughout the meat rather than spilling out onto the plate.
Pro Tip: Thermal carryover means the internal temperature will rise by about 5 degrees after you remove it from the heat. Pull your beef at 155 degrees Fahrenheit to reach a perfect 160 degrees.
6. The Aromatic Finish
Just before serving, shower the dish with fresh herbs and a final squeeze of lemon juice. The heat from the beef will aerate the volatile oils in the herbs, creating an immediate olfactory impact as the dish hits the table.
Pro Tip: This is known as volatile aromatic release. Adding herbs at the very end prevents the delicate compounds from breaking down under sustained heat.
The Deep Dive:
From a macro perspective, ground beef and feta are a powerhouse of protein and healthy fats. A standard serving provides roughly 25 grams of protein and is rich in Vitamin B12 and Zinc. For those on a Keto diet, this pairing is a gold mine of satiety. If you are Gluten Free, simply ensure your spices are pure and avoid using breadcrumbs as a binder.
The Fix-It:
- The Greasy Mess: If your dish looks oily, you likely didn't drain the beef fat before adding the cheese. Fix it by tilting the pan and using a spoon to remove excess tallow.
- The Rubbery Beef: This happens from over mixing. Fix it next time by using a "light touch" method, barely incorporating ingredients.
- The Disappearing Feta: If the cheese melted away, the heat was too high. Fix it by topping the finished dish with a fresh sprinkle of cold feta for texture.
Meal Prep Magic: To reheat, avoid the microwave if possible. Use a small saucier over low heat with a tablespoon of water. This creates a gentle steam that rehydrates the beef without toughening the proteins or "breaking" the cheese fats.
The Wrap-Up:
Mastering feta cheese and ground beef recipes is about more than just tossing two ingredients together; it is about respecting the chemistry of salt, fat, and heat. When you treat your beef with patience and your feta with a gentle hand, you create a dish that is sophisticated yet deeply comforting. Now, grab your skillet and go create something legendary!
The Kitchen Table:
How do I keep feta from melting into the beef?
Add the feta at the very end of the cooking process. Turn off the heat and gently fold the cheese in. The residual heat will soften the feta without causing it to lose its structural shape or turn oily.
Can I use fat-free feta for these recipes?
It is not recommended. Fat free feta lacks the creamy mouthfeel and the ability to soften properly. It often becomes rubbery when heated. Stick to full fat, brine-aged feta for the best flavor and texture integration.
What is the best beef-to-feta ratio?
A professional standard is roughly 4 ounces of feta for every 1 pound of ground beef. This provides enough salty contrast in every bite without overwhelming the savory, umami notes of the meat or making the dish overly salty.
How long does ground beef and feta last in the fridge?
When stored in an airtight container, the cooked mixture will stay fresh for up to three days. For the best quality, reheat it gently on the stovetop to maintain the texture of both the beef and the cheese.