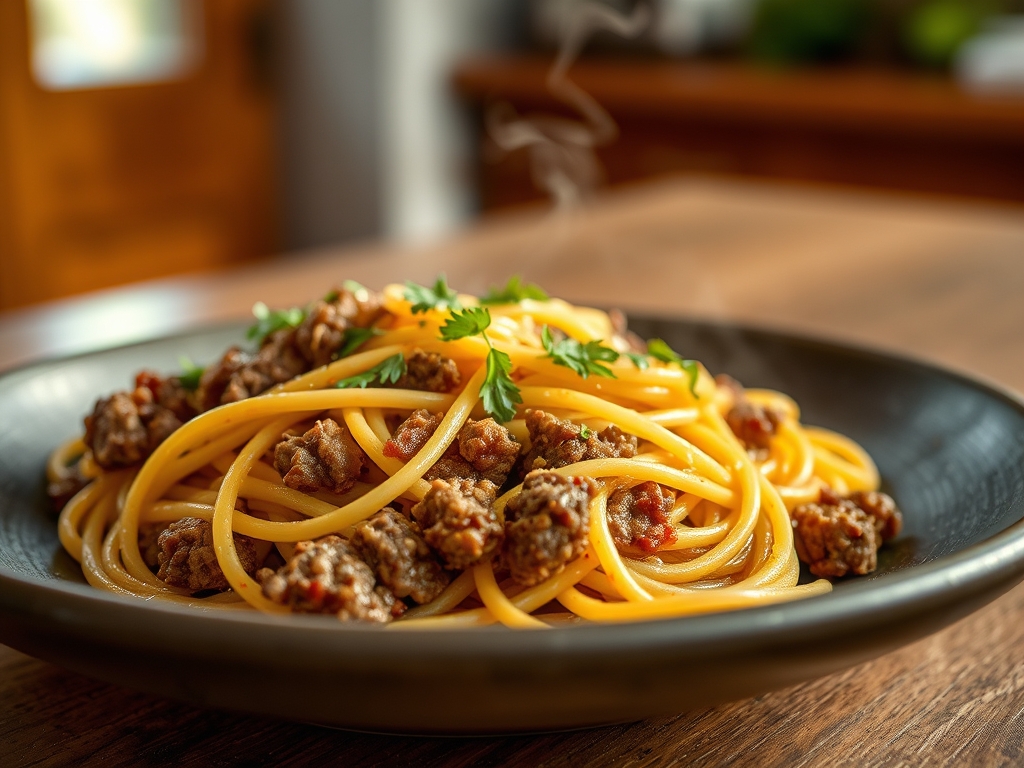
Picture the scene where a heavy-bottomed skillet meets a high-heat flame; the air thickens with the scent of rendering fat and the sharp, sulfurous bite of fresh allium. This is the foundation of the most versatile garlic ground beef recipes, a culinary marriage that defines comfort across every culture from Italian ragu to Korean bulgogi bowls. We are moving beyond the basic "brown and drain" method to explore how the Maillard reaction transforms humble proteins into umami-rich masterpieces. By understanding the molecular interplay between lipid-soluble garlic compounds and bovine muscle fibers, you can elevate a Tuesday night dinner into a restaurant-quality experience that lingers on the palate.
The Gathers:
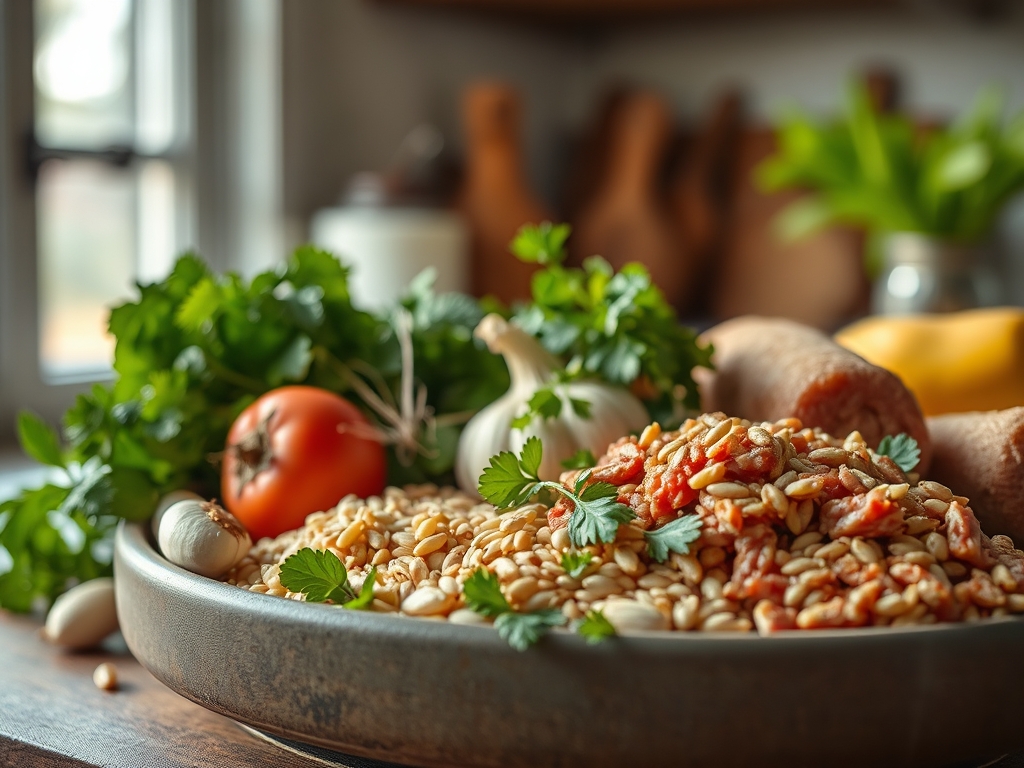
To execute these garlic ground beef recipes with precision, your mise-en-place must be impeccable. Start with high-quality ground chuck, ideally an 80/20 lean-to-fat ratio. This specific ratio ensures there is enough intramuscular fat to render and provide a viscous mouthfeel without drowning the meat in grease. For the garlic, skip the pre-minced jars; those have lost their volatile oils and often carry a metallic aftertaste. You want fresh, firm bulbs that feel heavy for their size.
You will also need a high-smoke-point fat like avocado oil or clarified butter (ghee) to facilitate the initial sear. For the aromatic base, gather a bunch of scallions, fresh ginger for a piquant kick, and a splash of low-sodium tamari or soy sauce to provide a deep, fermented saltiness.
Smart Substitutions: If you are watching your saturated fat intake, ground turkey or bison can be swapped in, but you must add a teaspoon of fish sauce to mimic the missing beefy depth. If fresh garlic is unavailable, a high-quality garlic confit or a fermented black garlic paste will offer a mellow, balsamic-like complexity that traditional powders cannot match.
The Clock
Efficiency in the kitchen is about mastering the Chef's Flow, which is the art of overlapping tasks to minimize downtime. For these garlic ground beef recipes, the total active time is approximately 15 minutes, with a 5-minute prep window.
The first 5 minutes are dedicated to the "Cold Prep." This is where you use your microplane to grate the garlic into a fine paste and use a bench scraper to move chopped aromatics into small bowls. The next 10 minutes are the "Heat Phase." You spend 4 minutes achieving the initial hard sear, 3 minutes breaking down the curds with a stiff spatula, and a final 3 minutes for the infusion of aromatics and sauces. Respecting this timeline prevents the garlic from scorching, which happens in a matter of seconds once the water content has evaporated.
The Masterclass
1. The Tempering Technique
Before the meat even touches the pan, take it out of the refrigerator for 20 minutes. Cold meat hitting a hot pan causes the muscle fibers to contract violently, squeezing out moisture and resulting in a grey, steamed texture rather than a brown, crusty one.
Pro Tip: This is known as thermal equilibrium. Reducing the temperature gap between the beef and the skillet ensures the surface energy is spent on browning rather than just raising the internal temperature.
2. The High-Heat Sear
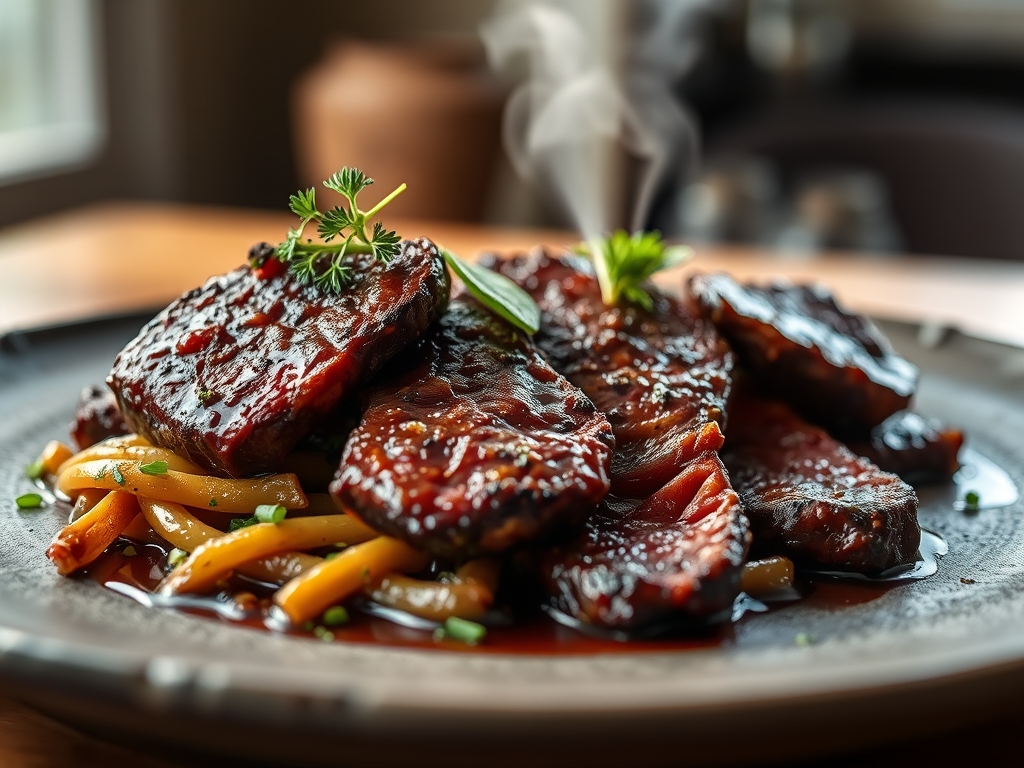
Heat your heavy-bottomed skillet (cast iron is king here) until a drop of water dances and evaporates instantly. Add your oil and then the beef in a single, flat disk. Do not stir it immediately. Let it sit undisturbed for at least three minutes to develop a deep mahogany crust.
Pro Tip: This triggers the Maillard reaction, a chemical reaction between amino acids and reducing sugars that creates hundreds of different flavor compounds. If you stir too early, you lose this complexity.
3. The Aeration Breakdown
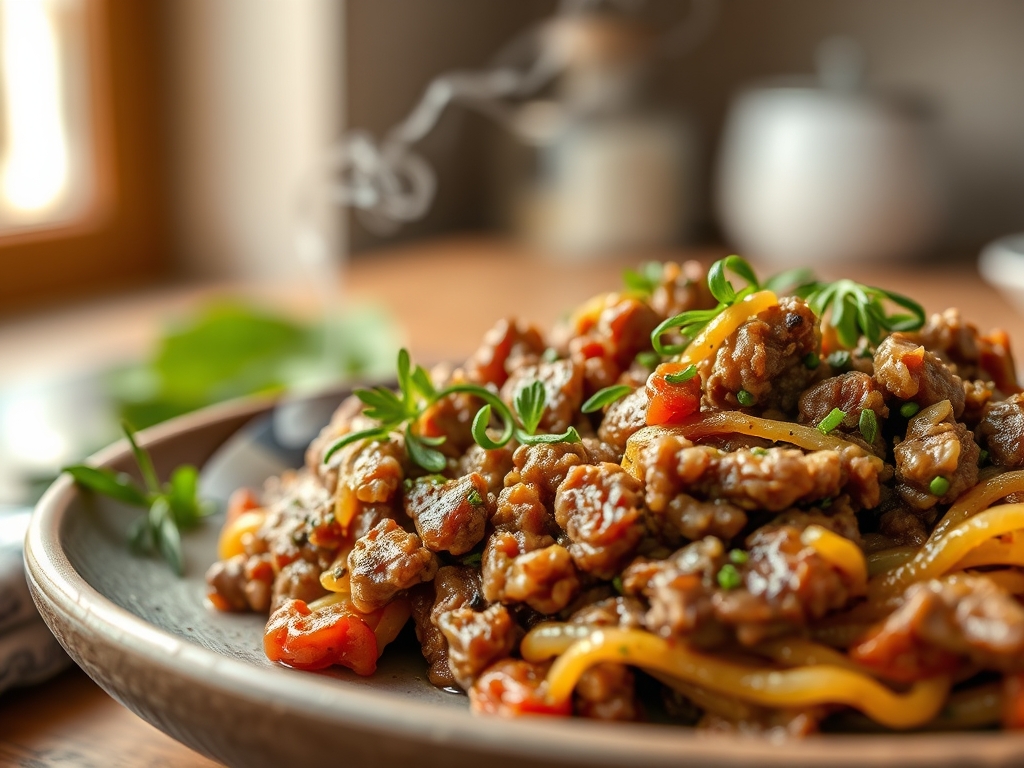
Once the bottom is seared, flip the meat in large chunks. Use a wooden spoon or a specialized meat masher to break the beef into uniform crumbles. This increases the surface area, allowing for even heat distribution and fat rendering.
Pro Tip: Aeration during the breakdown phase prevents the meat from clumping into dense, dry balls. Uniformity in size ensures every morsel cooks at the same rate.
4. The Garlic Infusion
Push the meat to the edges of the skillet, creating a "hot zone" in the center. Add your minced garlic here with a tiny splash of oil if the pan looks dry. Toast the garlic for only 30 to 45 seconds until it becomes fragrant and pale gold.
Pro Tip: Garlic contains alliicin, which is highly heat-sensitive. By adding it toward the end and "blooming" it in fat, you capture its peak aromatic profile without the bitterness of overcooking.
5. Deglazing the Fond
There will be brown bits stuck to the bottom of your pan; this is "fond," and it is concentrated flavor. Pour in a tablespoon of rice vinegar, broth, or wine. Use your spatula to scrape those bits back into the meat.
Pro Tip: Deglazing uses a liquid to dissolve the caramelized proteins. This creates a self-made sauce that coats every grain of beef, ensuring no flavor is wasted.
6. The Emulsified Finish
Turn off the heat and add a final pat of cold butter or a drizzle of toasted sesame oil. Toss the beef vigorously to combine the residual fats with the juices in the pan.
Pro Tip: This creates a temporary emulsion, giving the meat a glossy, professional finish and a luxurious mouthfeel that prevents the beef from feeling "grainy."
7. The Carryover Rest
Transfer the beef to a warm serving bowl immediately. Do not leave it in the hot skillet, or it will continue to cook and become rubbery.
Pro Tip: Thermal carryover can raise the internal temperature of the meat by another 5 degrees after it leaves the heat. Pulling it just before it looks "done" ensures it stays juicy.
8. The Fresh Garnish
Always top your garlic ground beef recipes with something fresh and acidic. Chopped cilantro, sliced scallions, or a squeeze of lime juice will cut through the richness of the beef and garlic.
Pro Tip: Contrast is the key to a balanced dish. The acidic brightness of a garnish resets the palate, making every bite feel as impactful as the first.
The Deep Dive
When we look at the Macro Nutrition of this dish, a standard 4-ounce serving provides roughly 26 grams of protein and 15 grams of fat. It is a powerhouse for muscle synthesis and satiety. For those following a Keto lifestyle, this is a perfect base; simply serve it over cauliflower rice. For a Vegan swap, use a pea-protein crumble and double the garlic to compensate for the lack of animal fat. If you are Gluten-Free, ensure your deglazing liquid is tamari or coconut aminos rather than standard soy sauce.
The Fix-It: Common Pitfalls
- The Meat is Greasy: You likely didn't drain the excess fat before adding the garlic. Tip the pan and use a spoon to remove all but one tablespoon of liquid fat.
- The Garlic is Burnt: You added it too early or the pan was too hot. Fix this by immediately adding a splash of liquid (water or broth) to drop the temperature and stop the cooking.
- The Beef is Tough: You over-handled the meat or cooked it too long. Next time, use a higher fat content (80/20) and stop cooking the moment the pink disappears.
Meal Prep Science: To reheat and maintain "day-one" quality, avoid the microwave if possible. Reheat in a skillet over medium heat with a teaspoon of water. The steam will re-hydrate the protein fibers without toughening them, keeping the garlic flavor vibrant.
The Wrap-Up
Mastering garlic ground beef recipes is about more than just throwing ingredients in a pan; it is about respecting the chemistry of heat and the delicate nature of aromatics. By focusing on the sear, the timing of the garlic, and the final emulsion, you transform a basic protein into a culinary staple. Whether you are stuffing this into peppers, tossing it with noodles, or eating it straight from the pan, these eight secrets ensure your kitchen always smells like a five-star bistro. Now, grab that skillet and let the Maillard magic happen!
The Kitchen Table
How do I prevent garlic from burning in beef recipes?
Add minced garlic only during the last 60 seconds of cooking. Push the beef to the sides, create a well in the center, and bloom the garlic in a small amount of oil until fragrant before mixing it back in.
What is the best beef-to-fat ratio for garlic beef?
An 80/20 ratio is ideal. The 20% fat content provides the necessary lipids to carry the garlic's fat-soluble flavors and ensures the meat remains succulent during the high-heat searing process required for the Maillard reaction.
Can I use garlic powder instead of fresh cloves?
You can, but the flavor profile changes significantly. Use 1/4 teaspoon of powder per clove. However, fresh garlic provides volatile oils and a pungent bite that powder lacks; powder is better suited for dry rubs rather than sautéing.
Why does my ground beef turn grey instead of brown?
This usually happens because the pan is overcrowded or the meat is too cold. The excess moisture creates steam. To fix this, cook in batches and ensure the meat is at room temperature before it hits the screaming-hot skillet.
How long does garlic ground beef last in the fridge?
Stored in an airtight container, it stays fresh for 3 to 4 days. For the best texture when reheating, add a splash of broth or water to the pan to help re-emulsify the fats and prevent the meat from drying out.