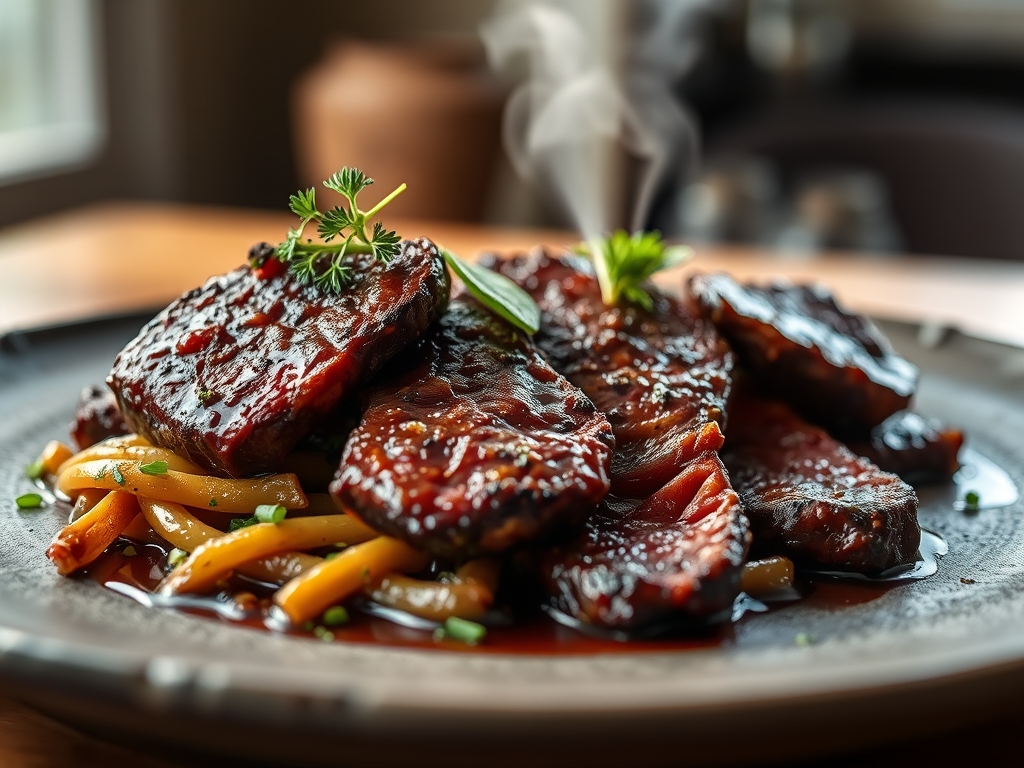
Picture the scene: a heavy-bottomed cast iron skillet sits on the range, radiating a shimmering heat that promises the ultimate crust. You drop a hand-selected cut into the pan, and the immediate, aggressive hiss is the sound of amino acids and reducing sugars beginning their complex dance. This is the foundation of the most elite certified angus beef recipes; it is a sensory experience that combines the primal allure of fire with the precision of modern food science. We are not just making dinner; we are mastering the art of the sear.
Achieving restaurant-quality results at home requires more than just a flame. It requires an understanding of marbling, which is the intramuscular fat that provides that buttery, melt-on-the-tongue texture. When you choose professional-grade beef, you are investing in a genetic standard that ensures consistent flavor and juiciness. Whether you are preparing a velvet-smooth tartare or a robust, slow-braised short rib, the quality of the protein dictates the ceiling of your success. Let us pull back the curtain on the techniques that elevate simple ingredients into a masterclass of flavor and texture.
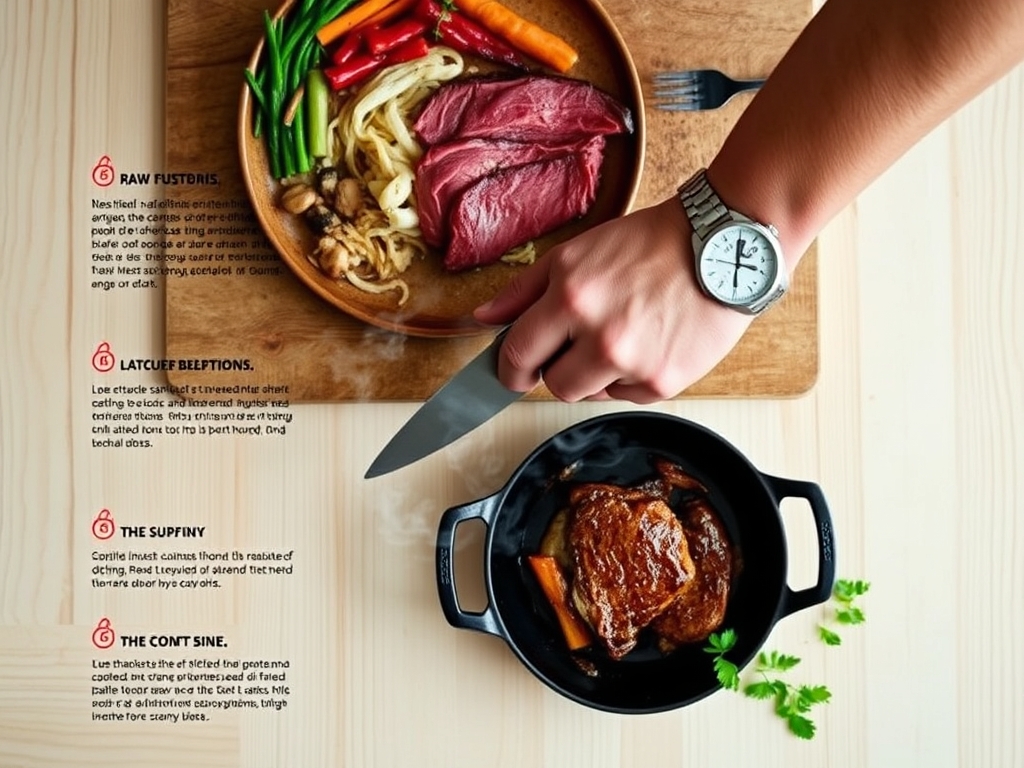
The Gathers:
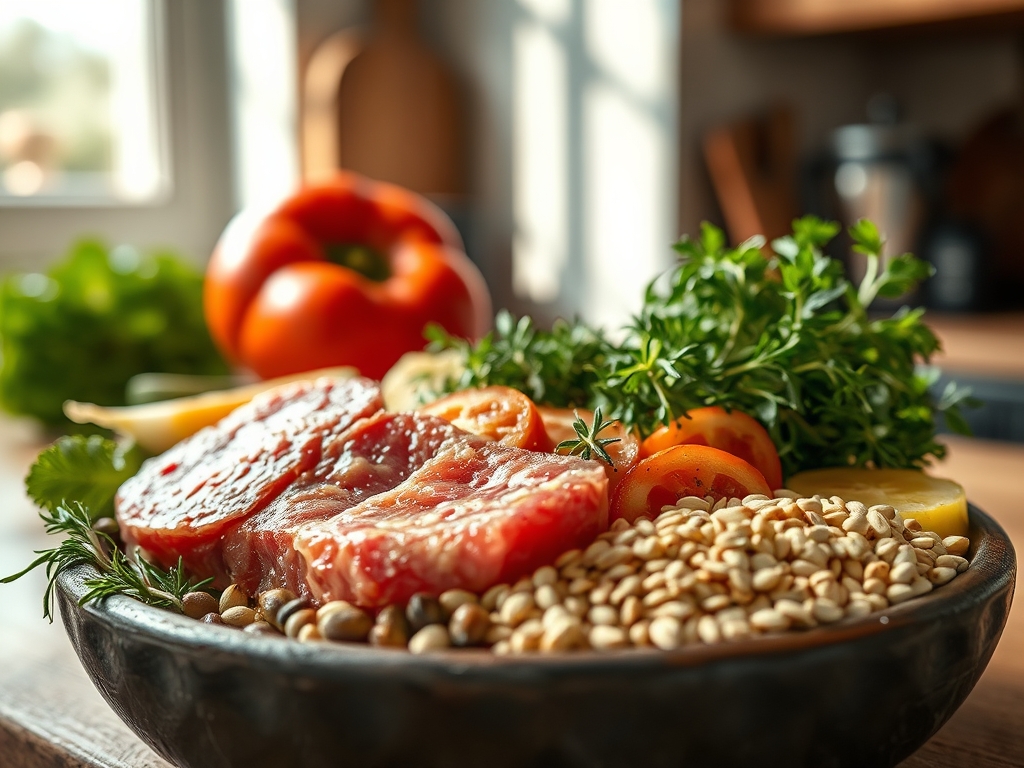
To execute these certified angus beef recipes, your mise-en-place must be as disciplined as a laboratory bench. Start with the protein: look for deep cherry-red hues and fine, white flecks of fat. You will need high-smoke-point lipids like clarified butter or avocado oil to facilitate the Maillard reaction without acrid scorching. Fresh aromatics are non-negotiable; think sprigs of woody rosemary, thyme, and heads of garlic sliced crosswise to expose the cloves.
Your toolkit is equally vital. Ensure you have a digital scale for precise portioning, a microplane for zesting citrus or grating horseradish, and a saucier for reducing pan drippings into a glossy, viscous demi-glace. For seasoning, use coarse kosher salt to provide a tactile grip on the meat and freshly cracked black pepper for a piquant bite.
Smart Substitutions: If you cannot find a specific cut like a T-bone, a thick-cut Porterhouse is its more robust sibling. For those avoiding dairy, replace butter during the basting phase with a high-quality tallow or a neutral oil infused with garlic to maintain that rich mouthfeel. If a recipe calls for red wine deglazing, a splash of pomegranate juice mixed with a teaspoon of balsamic vinegar provides the necessary acidity and depth without the alcohol.
The Clock
Efficiency in the kitchen is about the Chef's Flow, which is the ability to overlap tasks so that no second is wasted. For these recipes, expect a preparation window of 20 to 30 minutes. This includes tempering the meat, which means letting it sit at room temperature to ensure even heat penetration. The active cooking time varies from a lightning-fast 6-minute sear for a rare filet to a 3-hour gentle braise for brisket.
Always factor in the "Mandatory Rest." This is the 10-minute window after cooking where the muscle fibers relax and reabsorb the internal juices. If you cut too soon, the liquid escapes, leaving the meat dry and gray. By syncing your side dishes to finish during this resting period, you ensure every element of the plate arrives at the table at its thermal peak.
The Masterclass
1. The Tempering Ritual
Remove your beef from the refrigerator at least 45 minutes before cooking. Use a paper towel to pat the surface bone-dry. Moisture is the enemy of a good sear; any surface water will turn to steam, preventing the crust from forming.
Pro Tip: This process reduces the thermal shock when the meat hits the pan. If the center is ice-cold, the exterior will overcook and become tough before the interior reaches the desired temperature.
2. The Aggressive Seasoning
Generously coat every surface of the beef with salt from a height of about twelve inches. This ensures an even distribution. Use a bench scraper to tidy up your workspace after handling raw proteins.
Pro Tip: Salt acts as a brine, drawing moisture out and then reabsorbing it as a concentrated saline solution. This breaks down tight protein strands, resulting in a more tender bite through enzymatic tenderization.
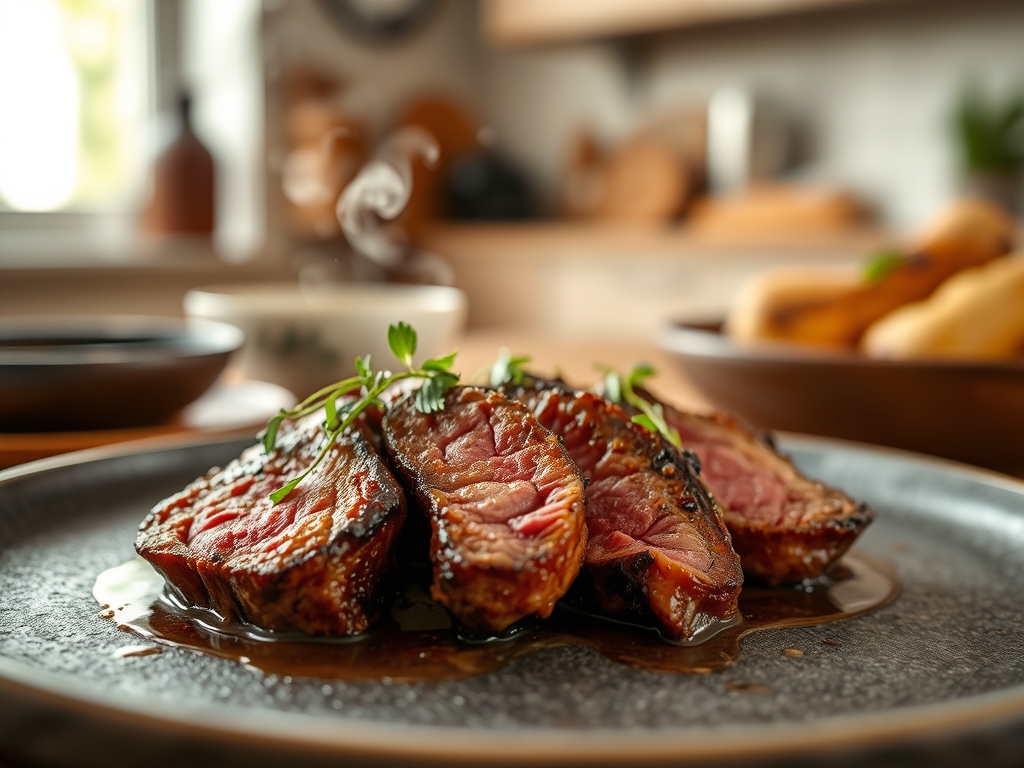
3. The High-Heat Sear
Place your heavy-bottomed skillet over medium-high heat until the oil just begins to wisp with smoke. Use tongs to lay the beef away from you to avoid oil splatter. Do not crowd the pan, as this drops the temperature and leads to gray, boiled meat.
Pro Tip: This is where the Maillard reaction occurs. At temperatures between 280 and 330 degrees Fahrenheit, proteins and sugars rearrange to create hundreds of different flavor compounds.
4. The Butter Baste (Arrosé)
Once you flip the meat, add a large knob of butter, crushed garlic, and herbs to the pan. Tilt the skillet and use a large spoon to continuously shower the beef with the foaming, nut-brown butter.
Pro Tip: This technique, known as arrosé, adds a layer of fat-soluble flavor and ensures the nooks and crannies of the meat are cooked by the hot fat, not just the direct contact with the pan.
5. The Precision Pull
Use a digital meat thermometer to check the internal temperature. For a perfect medium-rare, pull the beef at 130 degrees Fahrenheit.
Pro Tip: Account for thermal carryover. The internal temperature will continue to rise by 5 to 10 degrees after you remove it from the heat source as the energy moves from the hot exterior toward the cooler center.
The Deep Dive
From a nutritional standpoint, these certified angus beef recipes are powerhouses of bioavailable iron, B12, and zinc. A standard 6-ounce serving provides roughly 42 grams of protein, making it an ideal choice for muscle recovery and metabolic health.
Dietary Swaps: For Keto followers, pair your beef with a decadent béarnaise sauce to up the healthy fats. For a Gluten-Free approach, ensure your marinades use tamari instead of soy sauce. If you are hosting a vegan guest, apply these same searing and basting techniques to a thick "steak" of cauliflower or a large portobello mushroom to mimic the savory depth.
The Fix-It:
- The Gray Band: If you see a thick ring of gray meat around the pink center, your heat was too low or you didn't flip the meat often enough. Next time, use a higher initial heat and flip every 60 seconds.
- The Bitter Crust: This happens when pepper or garlic burns in the pan. Add these aromatics only in the final few minutes of cooking.
- Tough Texture: You likely cut with the grain. Always identify the direction of the muscle fibers and slice perpendicular to them to shorten the fibers for a tender chew.
Meal Prep: To reheat beef without it turning into rubber, use the "Low and Slow" method. Place the meat in a 250-degree oven with a splash of beef stock and cover with foil until it reaches 120 degrees. This preserves the internal moisture and prevents over-coagulation of the proteins.
The Wrap-Up
Mastering certified angus beef recipes is about more than just following a list of steps; it is about developing an intuition for the sizzle of the pan and the resistance of the meat. When you combine high-quality ingredients with technical precision, you transform a simple meal into a professional culinary event. Now, grab your favorite skillet and let the science of flavor work its magic in your kitchen!
The Kitchen Table
What makes Certified Angus Beef different?
It must pass ten strict quality standards for marbling and maturity. This ensures superior tenderness and flavor compared to standard USDA Choice or Select grades, providing a consistent professional-grade experience in every bite.
Why should I salt beef so far in advance?
Salting at least 40 minutes early allows the salt to dissolve into a brine, penetrate the meat, and break down muscle proteins. This results in a deeper seasoned flavor and a much more tender texture.
What is the best oil for searing beef?
Use oils with high smoke points like avocado, grapeseed, or canola oil. These can withstand the high temperatures required for the Maillard reaction without breaking down and creating bitter, burnt flavors in your dish.
How do I know when the meat is done without a thermometer?
While a thermometer is best, the "finger test" compares the firmness of the meat to the fleshy part of your palm. However, for professional consistency, always rely on internal temperature readings to ensure safety and quality.