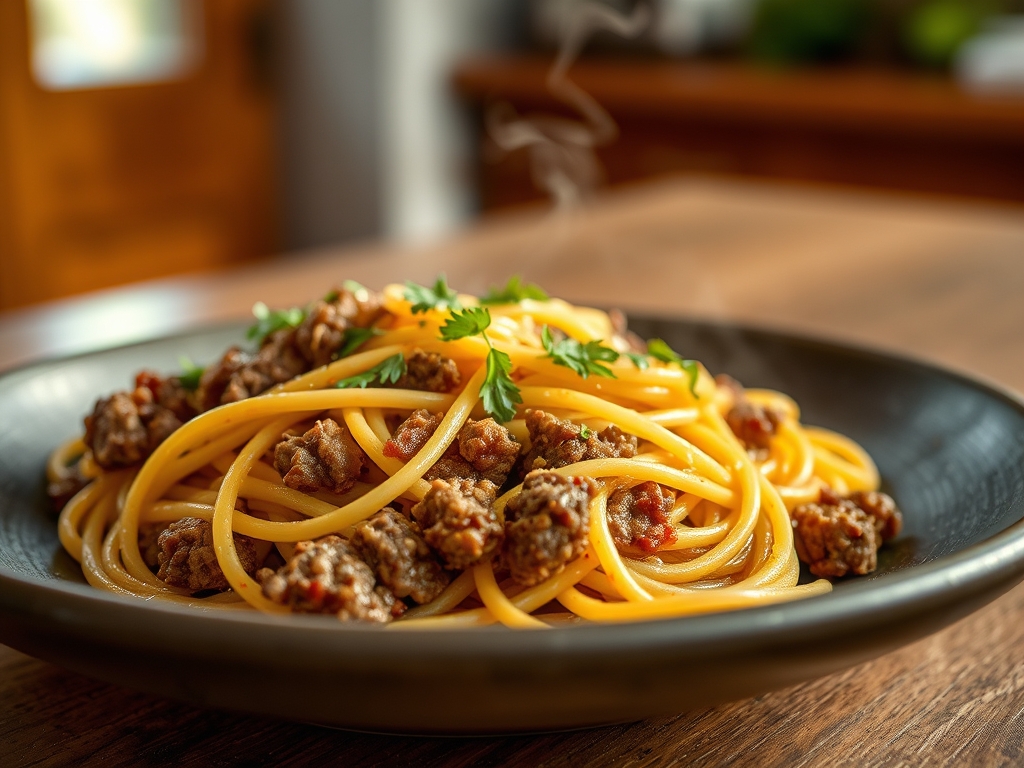
Picture the sound of a heavy-bottomed cast iron skillet meeting a high-heat burner. The air fills with the piquant scent of toasted garlic and onion powder as fat begins to render from premium chuck. You are about to master ranch ground beef recipes, transforming humble protein into a savory masterpiece using molecular chemistry and professional styling secrets.
The Gathers:
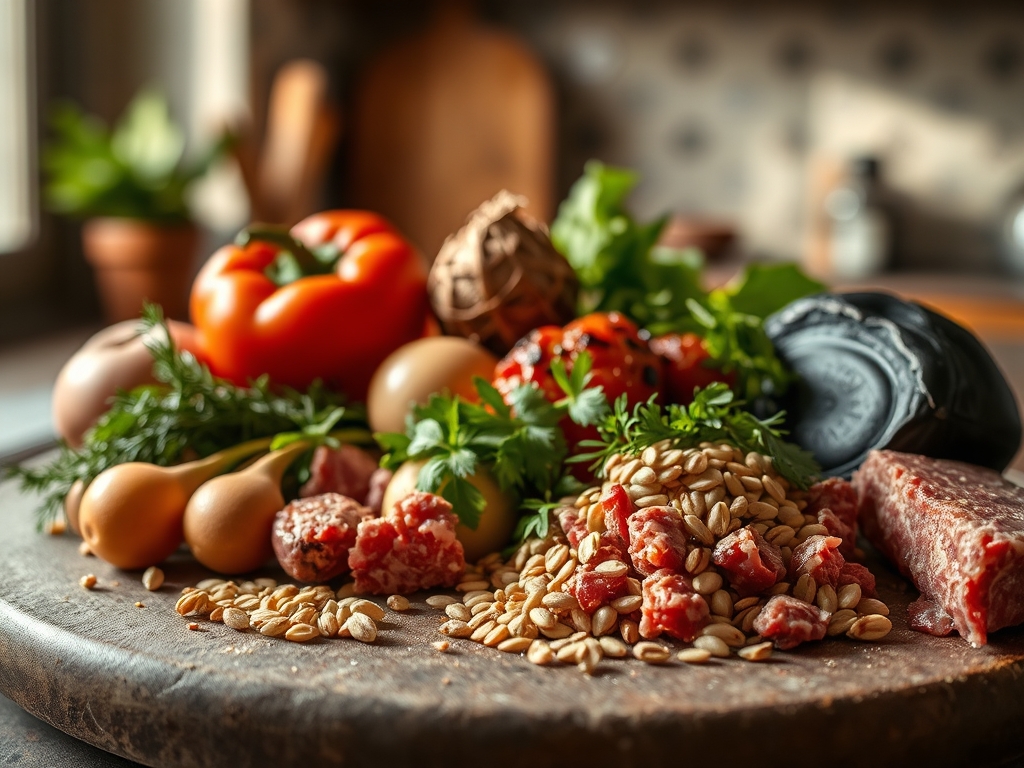
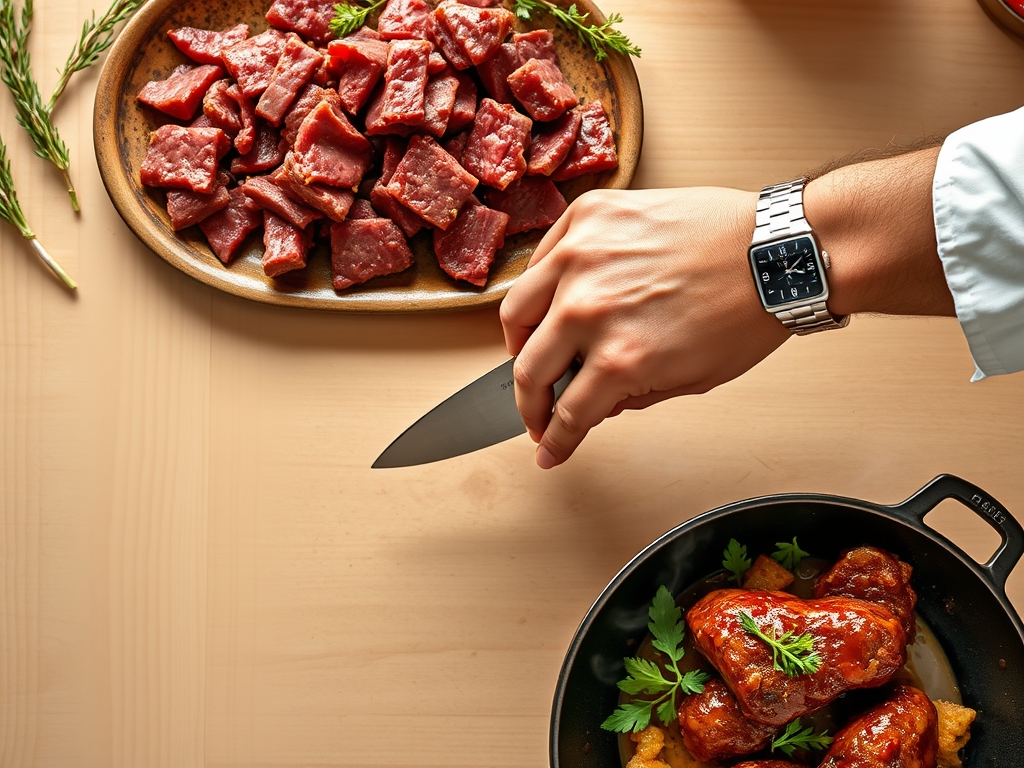
To execute these ranch ground beef recipes with precision, your mise-en-place must be flawless. Start with ground beef containing a 20 percent fat ratio; this provides the necessary lipids for a velvety mouthfeel and prevents the meat from becoming desicated during the Maillard reaction. You will need a high-quality ranch seasoning blend, which typically acts as a dry brine. The salt draws moisture to the surface, while the citric acid and buttermilk solids provide a sharp, lactic tang that cuts through the richness of the beef.
Gather your professional tools: a heavy-bottomed skillet for heat retention, a sturdy wooden spatula for breaking up clumps, and a microplane for finishing with fresh aromatics. For smart substitutions, swap traditional buttermilk powder for a vegan lactic acid powder if you are dairy-free. If you find yourself without a pre-made packet, a blend of dried dill, chives, and onion flakes creates an artisanal profile that surpasses store-bought options. Ensure your beef is at room temperature before it hits the pan to avoid a drastic temperature drop that leads to steaming rather than searing.
The Clock:
Efficiency in the kitchen is dictated by the Chef's Flow. Your total active prep time is approximately 10 minutes, focusing on the organization of dry spices and the dicing of any supplemental aromatics. The cooking phase requires 15 minutes of focused attention. This includes the initial sear, the deglazing process, and the final resting period. Total time from pantry to plate is under 30 minutes. By staggering your tasks; such as prepping your garnishes while the beef renders; you maintain a clean workspace and ensure every component reaches the table at its thermal peak.
The Masterclass:
1. The High-Heat Sear
Place your skillet over medium-high heat until a drop of water dances and evaporates instantly. Add the beef in a single, flat layer rather than a mound. This maximizes surface area contact, which is essential for enzymatic browning. Do not move the meat for at least three minutes.
Pro Tip: This delay allows the Maillard reaction to occur. When amino acids and reducing sugars react under heat, they create hundreds of flavor compounds. If you stir too early, you lose that savory crust.
2. The Systematic Break
Once a dark brown crust forms, use your spatula to break the beef into uniform bite-sized pieces. Aim for consistency in size to ensure even heat distribution. At this stage, the fat will begin to render into a liquid state, which acts as the heat transfer medium for the interior of the meat.
Pro Tip: Using a bench scraper or a specialized meat masher increases the surface area even further, allowing more ranch seasoning to adhere to every individual crinkle of the beef.
3. The Seasoning Infusion
Sprinkle your ranch blend evenly across the surface. The salt in the ranch mix will begin to draw out internal juices. Use a splash of beef stock or water to deglaze the pan, scraping up the fond; those flavorful brown bits stuck to the bottom.
Pro Tip: Deglazing is a chemical process that dissolves caramelized proteins back into a sauce. This creates a viscous coating that ensures the ranch flavor is deeply infused, not just sitting on the surface.
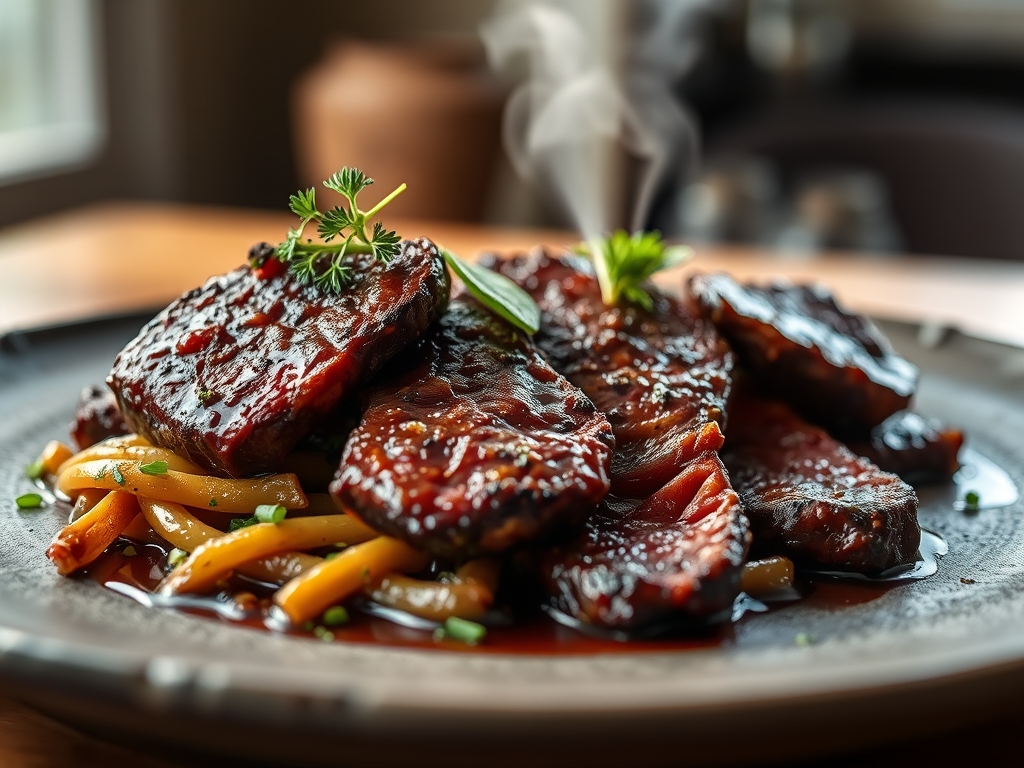
4. The Emulsification Finish
Lower the heat and add a tablespoon of cold butter or a dollop of Greek yogurt. Stir vigorously to create an emulsion between the rendered beef fat and the added moisture. This creates a glossy, professional finish that clings to the meat.
Pro Tip: This is known as mounting with butter. The cold fat creates a stable emulsion that provides a luxurious "umami" punch without making the dish feel greasy.
5. The Thermal Rest
Remove the pan from the heat when the beef is just slightly under your desired doneness. Transfer the mixture to a warm bowl and let it sit for three minutes before serving.
Pro Tip: Carryover cooking is a real scientific phenomenon. The internal temperature will continue to rise by 5 degrees after removal from heat, ensuring the beef stays succulent rather than overcooked and rubbery.
The Deep Dive:
From a macro nutrition perspective, ranch ground beef recipes are a powerhouse of protein and essential B-vitamins. A standard serving provides approximately 25 grams of protein. For those following a Keto lifestyle, the high fat content is ideal for satiety; simply ensure your ranch seasoning contains no hidden maltodextrin. Vegan enthusiasts can replicate this experience using a pea-protein crumble and a coconut-milk based ranch seasoning.
The Fix-It:
- Too Salty: If you over-seasoned, add a splash of heavy cream or a squeeze of lemon juice. The acid or fat will neutralize the perception of salt on the palate.
- Greasy Texture: If the fat has separated, use a paper towel to wick away excess oil, then add a teaspoon of cornstarch slurry to re-emulsify the sauce.
- Bland Flavor: This usually means you missed the sear. Add a dash of Worcestershire sauce or a microplaned clove of fresh garlic to provide an instant aromatic lift.
Meal Prep: To maintain "day-one" quality when reheating, avoid the microwave if possible. Use a small saucier with a tablespoon of water over low heat. This gently re-hydrates the proteins without toughening the muscle fibers through electromagnetic radiation.
The Wrap-Up:
Mastering ranch ground beef recipes is about more than just tossing a packet into a pan; it is an exercise in heat management and flavor layering. By utilizing professional tools like a heavy-bottomed skillet and understanding the science of the Maillard reaction, you elevate a weeknight staple into a culinary event. Whether you are topping a baked potato or filling a taco shell, these hacks ensure every bite is a perfect balance of savory, tangy, and rich. Now, get into that kitchen and show that skillet who is boss!
The Kitchen Table:
Can I freeze ranch ground beef?
Yes, you can freeze it for up to three months. Ensure the beef is completely cooled before sealing it in an airtight silicone bag to prevent ice crystals from damaging the protein structure during the freezing process.
How do I make it spicy?
Incorporate a teaspoon of red pepper flakes or a diced chipotle in adobo during the rendering phase. The heat from the peppers dissolves beautifully in the rendered beef fat, distributing a consistent spice level throughout the entire dish.
Why is my beef grey?
Grey beef occurs when the pan is overcrowded, causing the meat to steam in its own moisture rather than sear. To fix this, cook in smaller batches and ensure your skillet is scorching hot before adding the protein.
What is the best beef to use?
An 80/20 blend is the gold standard for ranch recipes. The 20 percent fat content provides the necessary lipids to carry the fat-soluble flavors found in dried herbs like dill and parsley, ensuring a moist final product.