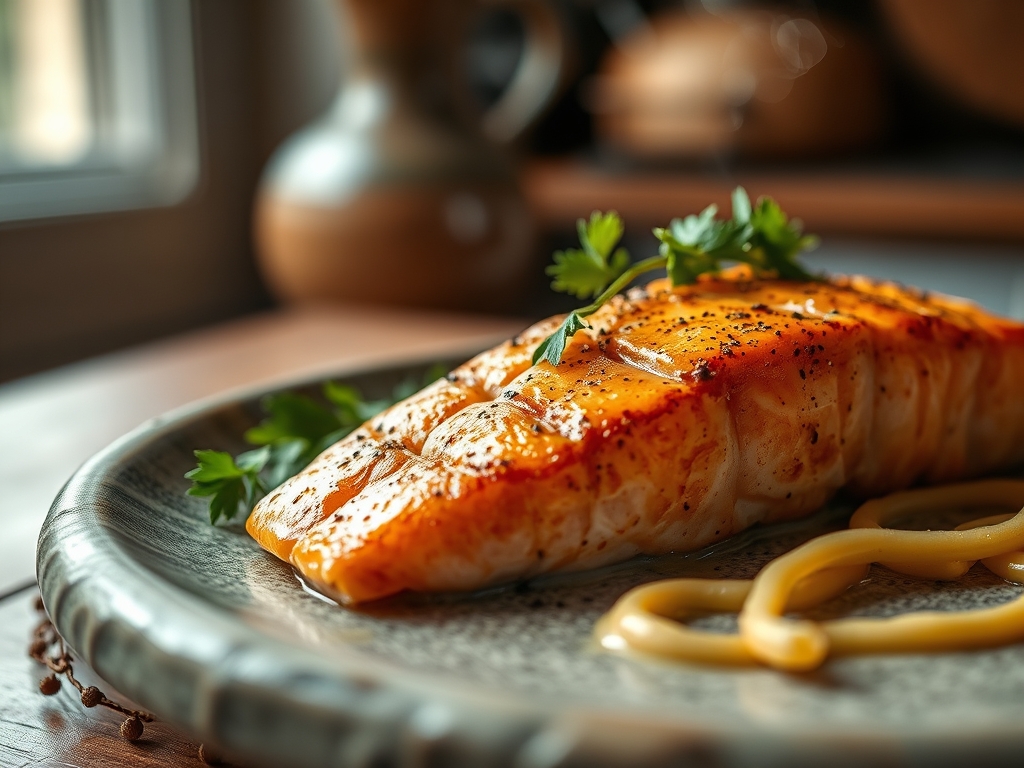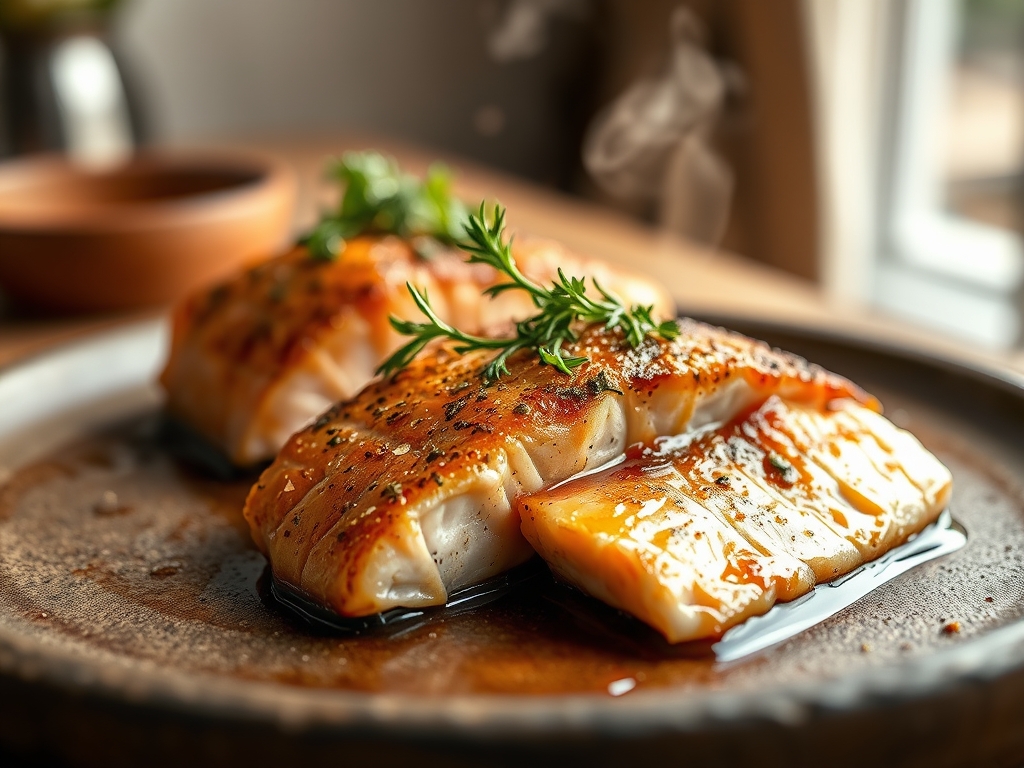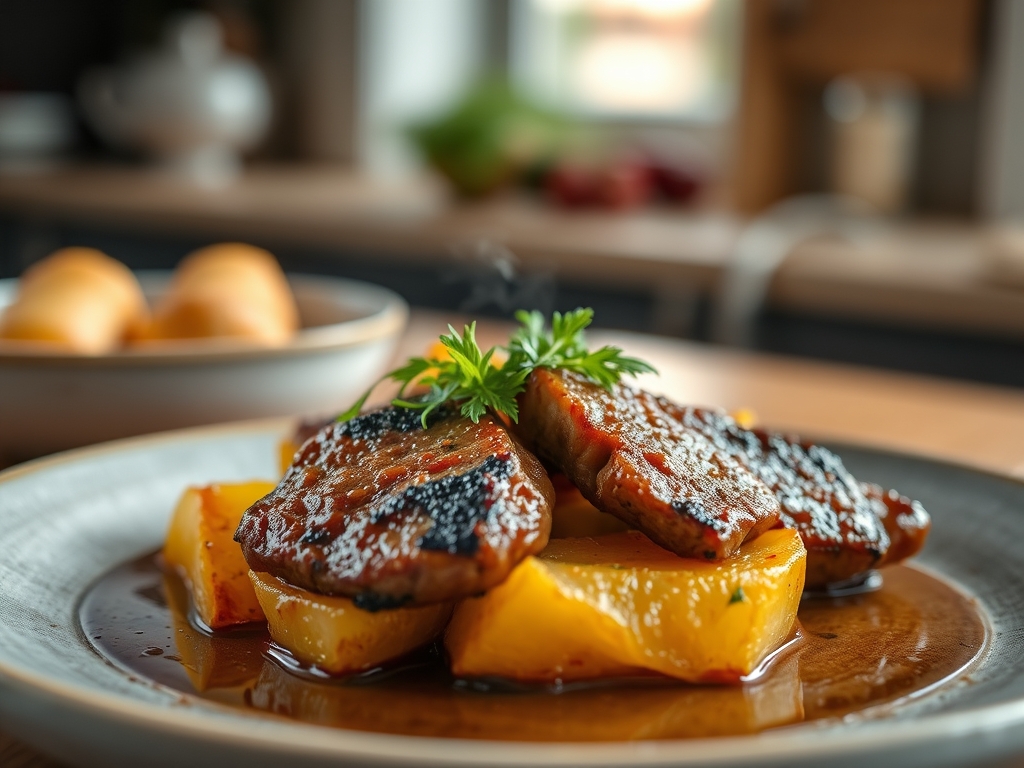
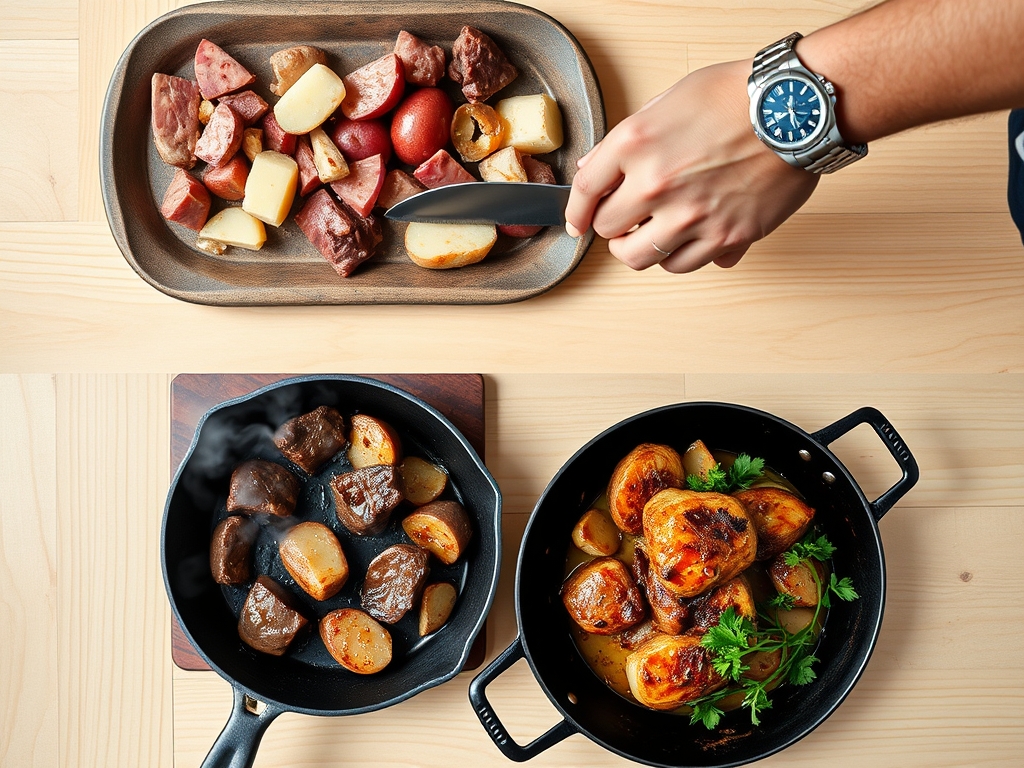
Picture the sound of a heavy-bottomed cast iron skillet meeting a high-flame burner. There is a specific, rhythmic sizzle that happens when cold protein hits shimmering oil; it is the sound of dinner coming together without the fuss. These easy meat and potato recipes are the backbone of a functional, delicious kitchen. We are talking about golden crusts, tender interiors, and that glorious, savory fond that builds up at the bottom of the pan. It is comfort food elevated by a little bit of chemistry and a lot of style.
You do not need a culinary degree to master the art of the one-pan meal. What you need is an understanding of how starch and protein interact under pressure. Whether it is a Tuesday night or a Saturday hosting session, these six variations on the meat-and-potato theme provide a high-protein, high-satisfaction solution. We are moving beyond the bland stews of the past. Today, we focus on the Maillard reaction; the chemical dance between amino acids and reducing sugars that creates that deep, umami-rich brown crust we all crave. It is time to turn your kitchen into a high-performance studio where the results are as beautiful as they are edible.
The Gathers:
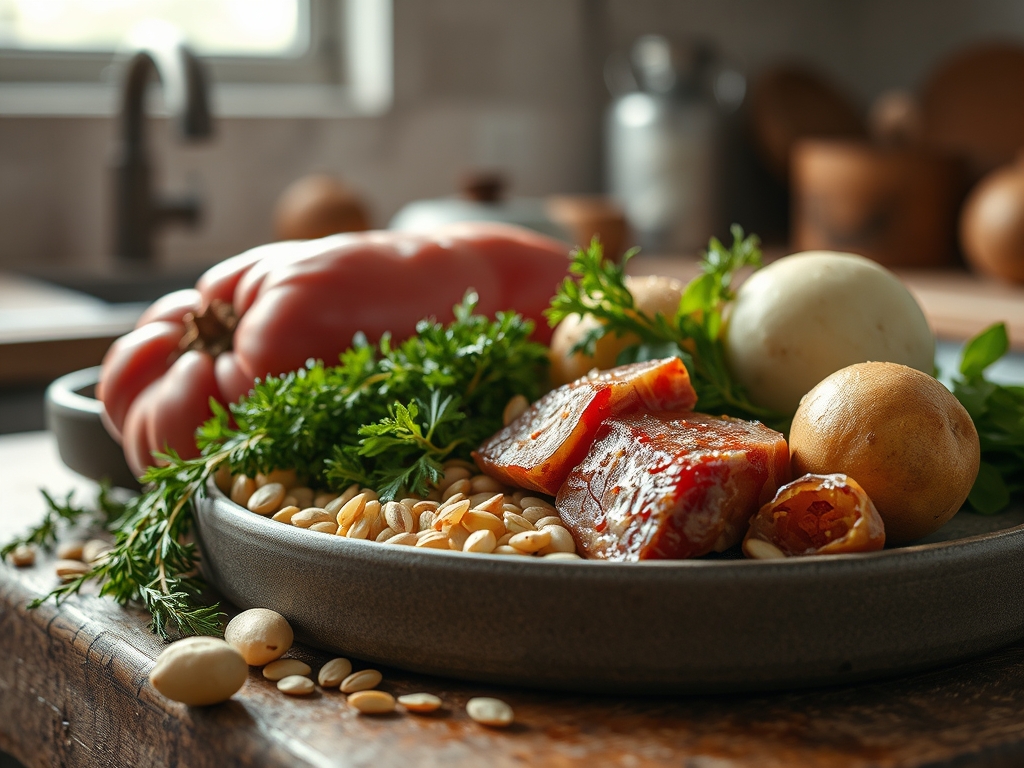
To execute these easy meat and potato recipes with precision, your mise-en-place must be tight. We start with the potatoes. For a high-starch option that fluffs up beautifully, reach for Russets. If you want a waxy, hold-its-shape texture that withstands heavy tossing, Yukon Golds are your best friend. Your protein should be varied: lean ground beef, piquant chorizo, or even thick-cut pancetta.
The aromatics are non-negotiable. We are looking for fresh garlic cloves to be smashed with a wide knife, shallots for a subtle sweetness, and woody herbs like rosemary or thyme that can stand the heat of a sear. You will also need a high-smoke-point fat. Avoid extra virgin olive oil for the initial sear; instead, use avocado oil or rendered beef tallow to ensure you do not reach the acrid smoke point before your potatoes are crisp.
Smart Substitutions:
If you are looking to lighten the caloric load, sub half the potatoes for celery root or parsnips. They mimic the texture but offer a different micronutrient profile. For a flavor pivot, swap the traditional black pepper for smoked paprika or Aleppo pepper to add a complex, earthy heat. If you find yourself out of fresh herbs, a splash of high-quality Worcestershire sauce or a teaspoon of tomato paste can provide that necessary umami depth.
The Clock:
Efficiency in the kitchen is about the Chef's Flow. This is the art of overlapping tasks so no heat is wasted. Total prep time for these skillets averages 15 minutes, with a cook time of 25 to 30 minutes.
The flow works like this: start your potatoes first. They require the most thermal energy to break down their cellular structure. While the potatoes are par-cooking or searing, use your bench scraper to clear your board and prep your aromatics. By the time the potatoes have developed a structural crust, your meat is ready to be added. This staggered entry ensures that the meat does not overcook into a rubbery texture while the potatoes are still raw in the center. Total time from pantry to plate is under 50 minutes.
The Masterclass:
1. The Initial Sear and Starch Gelatinization
Begin by heating your heavy-bottomed skillet until the oil moves with the fluidity of water. Add your cubed potatoes in a single layer. Do not crowd the pan; crowding creates steam, and steam is the enemy of the crunch.
Pro Tip: This stage relies on starch gelatinization. By hitting the potatoes with high heat, the starch granules swell and burst, creating a sticky surface that eventually dehydrates into a crisp shell.
2. Rendering the Fat
Push the potatoes to the perimeter and add your meat to the center. Use a stiff spatula to break up the protein. You want to render the fat out of the meat so it can coat the potatoes, acting as a flavor-infusion vehicle.
Pro Tip: This is where thermal carryover begins. Even when you move the meat, the residual heat in the cast iron continues to cook the protein from the bottom up.
3. Deglazing the Fond
Once the meat is browned, you will notice brown bits stuck to the bottom of the pan. This is the fond. Pour in a splash of beef stock or dry white wine and use your wooden spoon to scrape those bits up.
Pro Tip: This process is deglazing. It incorporates concentrated flavor back into the dish, creating a viscous sauce that binds the meat and potatoes together.
4. Aromatics and Infusion
Add your garlic, shallots, and herbs during the last five minutes of cooking. If you add them too early, the high heat will burn the delicate oils, resulting in a bitter flavor profile.
Pro Tip: This is lipid-soluble flavor extraction. The fats in the pan pull the essential oils out of the herbs and garlic, distributing the flavor evenly across the entire skillet.
5. The Acid Balance
Just before serving, use a microplane to zest a bit of lemon over the top or add a teaspoon of apple cider vinegar. This cuts through the heaviness of the starch and fat.
Pro Tip: This is about pH balancing. A small amount of acid brightens the dish and makes the savory notes of the meat pop against the neutral potato.
6. The Rest
Remove the skillet from the heat and let it sit for three minutes before serving. This allows the internal moisture to redistribute so the meat stays succulent.
Pro Tip: This resting period prevents evaporative cooling, ensuring your first bite is as hot and juicy as intended.
The Deep Dive:
Macro Nutrition:
A standard serving of these easy meat and potato recipes provides roughly 35g of protein, 40g of complex carbohydrates, and 15g of healthy fats. It is a balanced "power meal" that fuels muscle recovery and provides sustained glucose release.
Dietary Swaps:
For a Keto version, swap potatoes for cauliflower florets or radishes; when roasted, radishes lose their peppery bite and mimic a red potato. For a Vegan twist, use soy-based crumbles or lentils and add a dash of liquid smoke to replicate the savory depth of meat. All these recipes are naturally Gluten-Free as long as your stock or spices do not contain hidden thickeners.
The Fix-It:
- Soggy Potatoes: Usually caused by overcrowding. Fix: Remove half the contents and crank the heat to flash-fry the remaining bits.
- Burnt Garlic: This happens if added too early. Fix: Stir in a dollop of Greek yogurt or sour cream to mask the bitterness with acidity and fat.
- Dry Meat: Often a result of lean meat. Fix: Add a tablespoon of butter or a splash of heavy cream at the end to create an instant emulsified sauce.
Meal Prep:
To maintain "day-one" quality, reheat your skillet in an air fryer at 350 degrees for 5 minutes. This re-dehydrates the potato skin, restoring the crunch that a microwave would otherwise turn into mush.
The Wrap-Up:
Mastering these easy meat and potato recipes is like having a secret weapon in your culinary arsenal. It is about understanding the science of the sear and the beauty of the blend. You are not just making dinner; you are managing textures and temperatures to create something truly soul-warming. So, grab your favorite skillet, turn up the heat, and let the Maillard reaction do the heavy lifting. You have got this, chef.
The Kitchen Table:
How do I keep potatoes from sticking to the pan?
Ensure your skillet is preheated before adding oil. This creates a Leidenfrost effect where a vapor barrier forms, preventing the starch from bonding to the metal. Always use enough fat to coat the bottom of the pan.
Which potato is best for one-pan skillets?
Yukon Gold potatoes are the most versatile. They contain a medium starch content, allowing them to develop a crisp exterior while maintaining a creamy, buttery interior that does not fall apart during the deglazing process.
Can I use frozen potatoes for these recipes?
Yes, but you must adjust your technique. Thaw them completely and pat them dry with a paper towel to remove excess moisture. This prevents steaming and ensures you still achieve a golden-brown, crispy texture.
What is the best way to brown ground beef?
Do not move the meat immediately after it hits the pan. Let it sit undisturbed for 2-3 minutes to develop a deep crust. Use a heavy spatula to break it into large chunks for better texture.